


Viewer Project
-
By Ryan from OK
Added on August 25, 2010
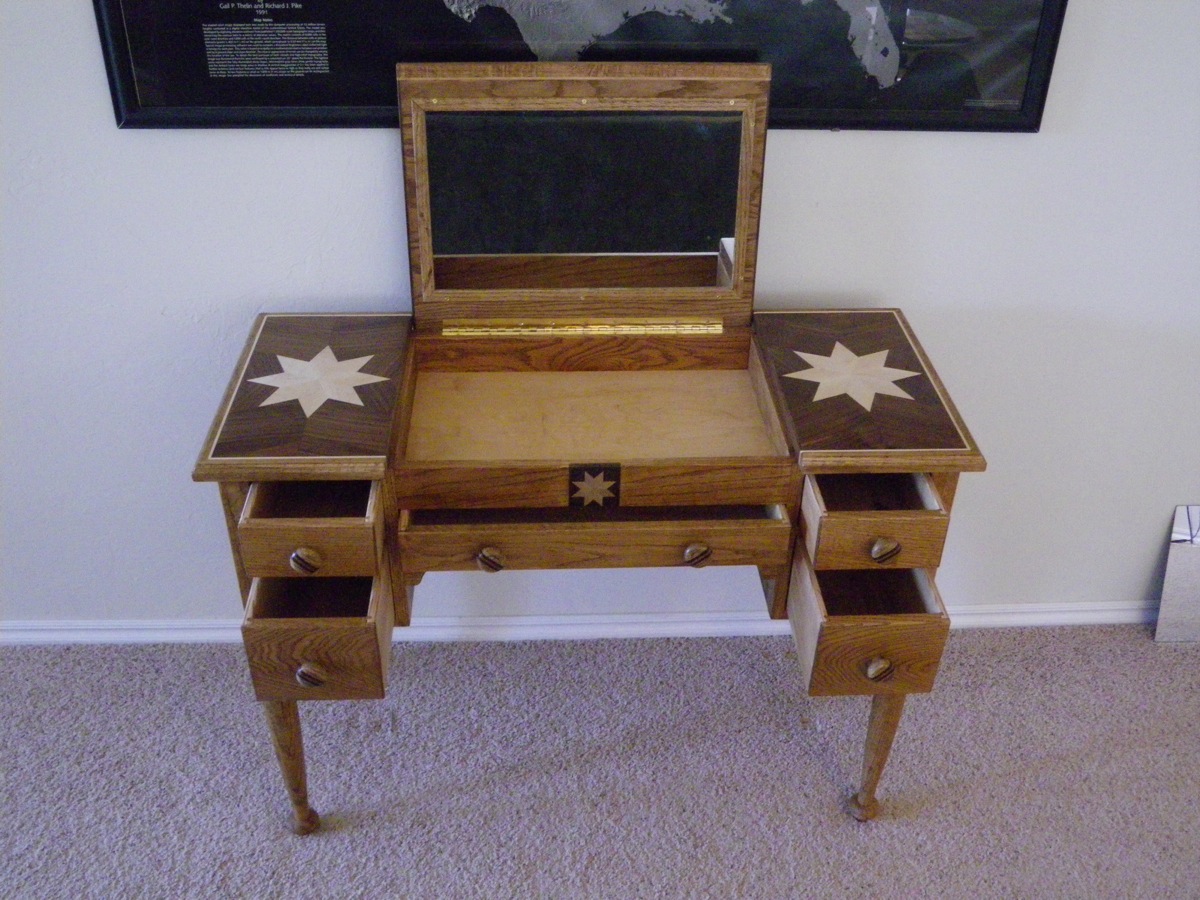
I made this vanity as a wedding gift for a friend. I hope you enjoy seeing it. I don’t know that the inspiration came from anything in particular, just an accumulation of influences from life (even though I’m 27 so my life experiences are limited).
I used Oak, Walnut, Maple, and Birch ply and finished it with a spray lacquer. The back and sides are mortise and tenon, while the front is dovetailed. The drawers have a lock rabbet joint. The drawers slide on a single runner (two for center drawer). It seems to work fine for these small drawers. I would also like to point out that the width of the square portion of the leg is smaller than the round portion. This really complicated things, but I think it looks better. Thank you for letting me share this project with you.
Copyright © 2006-2023 The Wood Whisperer Inc. The Wood Whisperer, The Wood Whisperer Guild, TWW, and TWW Guild are trademarks of The Wood Whisperer Inc. All rights reserved.
This site uses affiliate links. Given this, please assume that any links leading you to products or services are affiliate links that we will receive compensation from. However, there are millions of products and services on the web, and I only promote those products or services that I would use personally. The Wood Whisperer abides by word of mouth marketing standards and holds integrity in the highest regard. Should I ever be compensated to write, I will make full disclosure. I always give honest opinions, findings, and experiences on products. The views and opinions expressed on this blog are purely our own. Any product claim, statistic, quote or other representation about a product or service should be verified with the manufacturer, provider or party in question. All content on The Wood Whisperer is copyrighted, and may not be reprinted in full form without my written consent.
| Cookie | Duration | Description |
|---|---|---|
| cookielawinfo-checbox-analytics | 11 months | This cookie is set by GDPR Cookie Consent plugin. The cookie is used to store the user consent for the cookies in the category "Analytics". |
| cookielawinfo-checbox-functional | 11 months | The cookie is set by GDPR cookie consent to record the user consent for the cookies in the category "Functional". |
| cookielawinfo-checbox-others | 11 months | This cookie is set by GDPR Cookie Consent plugin. The cookie is used to store the user consent for the cookies in the category "Other. |
| cookielawinfo-checkbox-necessary | 11 months | This cookie is set by GDPR Cookie Consent plugin. The cookies is used to store the user consent for the cookies in the category "Necessary". |
| cookielawinfo-checkbox-performance | 11 months | This cookie is set by GDPR Cookie Consent plugin. The cookie is used to store the user consent for the cookies in the category "Performance". |
| viewed_cookie_policy | 11 months | The cookie is set by the GDPR Cookie Consent plugin and is used to store whether or not user has consented to the use of cookies. It does not store any personal data. |