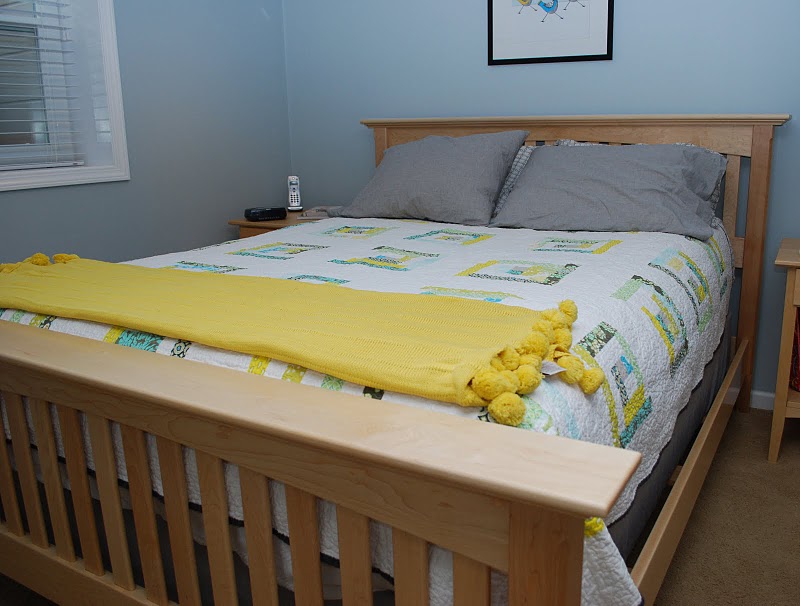
Interested in my new Hybrid Woodworking book? Sign up and be the first to know when pre-orders are open!

Ben’s Maple Bed

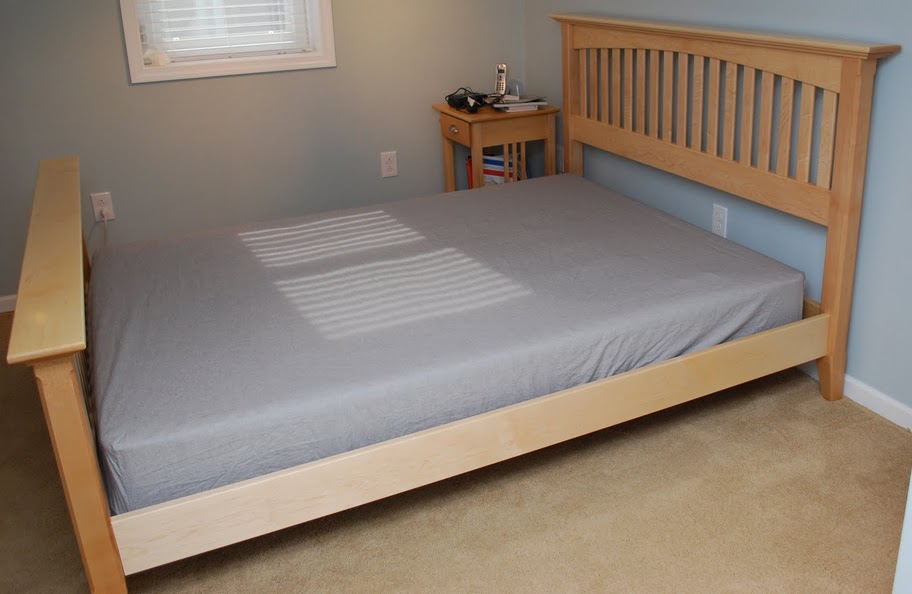
We recently finished a major remodel of the master bedroom and bathroom in our house and needed some nice new furniture to accompany the new room. (To the shop!!) At first I considered just a headboard, but wanted to push my ability and do a complete freestanding bed.

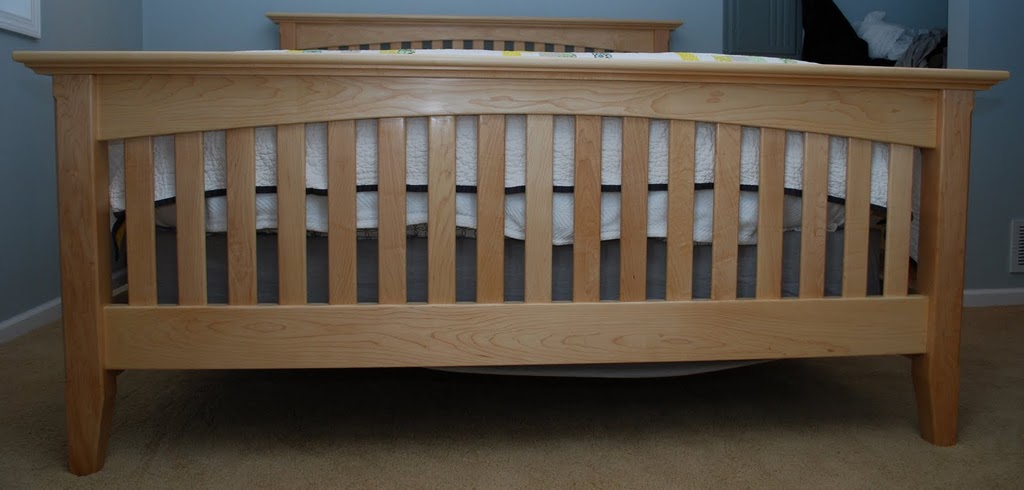
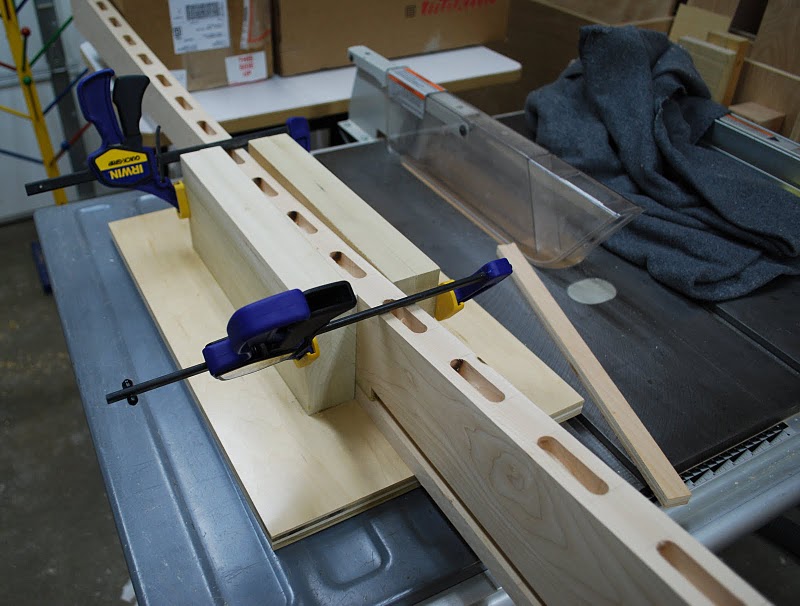
The design of the bed came from the “Classic Bed” plan sold by Rockler (http://www.rockler.com/product.cfm?Offerings_ID=10721) with a few notable deviations. The first is that the plan calls for glue-ups of 3/4 stock for all of the large pieces. I wanted to use all solid wood without glue lines, so that meant working with a big slab of 12/4 hard maple for the posts which was quite a strain on both my tools and my back. I also had to devise a router jig (pictured) to make mortises for the slats into the 6/4 curved upper rails in the headboard and footboard. Once the rail was clamped into the jig, I was able to use a 1/2″ spiral bit in the plunge router with an edge guide to produce smooth-edged mortises that were square to the rail. To match the mortises, I milled the slats to just over 1/2″ thickness and gave them a full round-over using a 1/4″ bit on each side. I could then finesse the fit of each slat with sandpaper to get a good tight fit. A big thanks to Marc for his advice during that part of the construction!

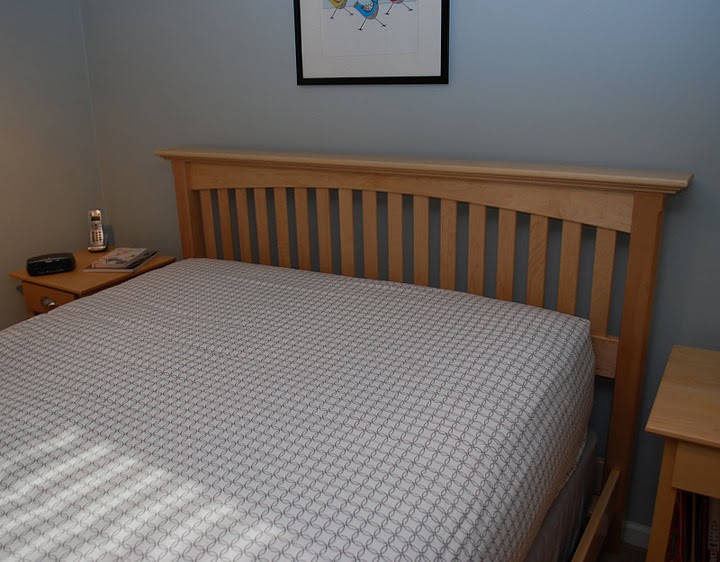
I used Marc’s Simple Varnish Finish process, including watching the “review” section of the DVD the day before I started to apply varnish. There are three build coats of GF Arm-R-Seal gloss with a final thin top coat in satin. Once the top coat had cured for a couple days, I lightly rubbed the surface with #0000 steel wool, mild soapy water and buffed with a cotton towel to a mild sheen.

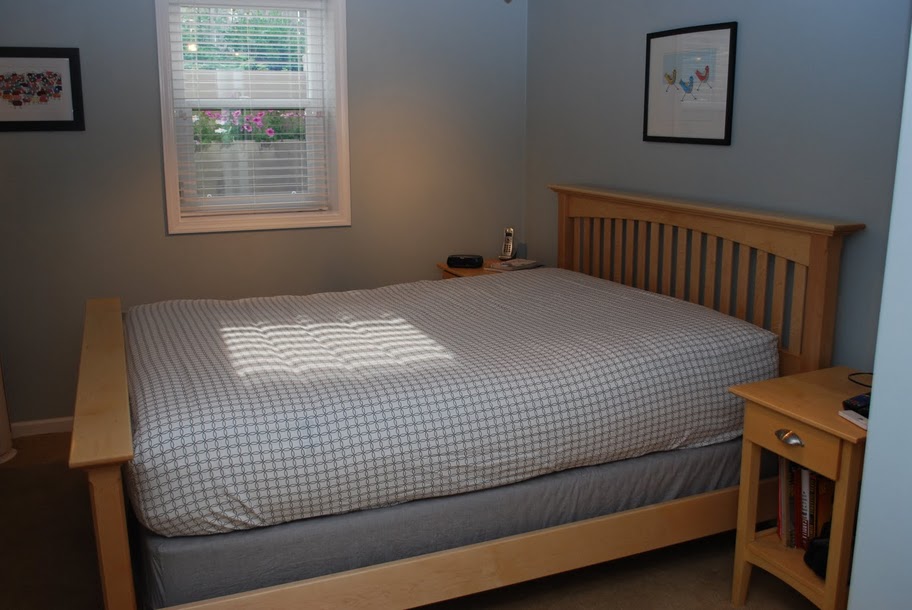
I’m proud to say this bed was a family project. The quilt shown in the final picture was designed and made specifically for this bed by my talented wife Sarah http://hiptopiecesquares.avenueb.org/.

Comments

  1. Daryn August 25, 2012

    I like it as well. I think after almost 20 years of marriage that we deserve a real bed frame with head and foot board. Probably end up being made of walnut and I might then need the next 5 years to pay for it all. Nice bed though.

  2. Ben August 23, 2012

    Thanks for all the kind words; I appreciate your compliments! This was a fun project to build and it looks great in the new room.

  3. John Daugherty August 21, 2012

    I too like the lines. My son has about outgrown his bed. I’ll for sure keep this one in mind when it comes time to make his.

  4. Great piece…nice clean lines following the old KISS adage. Very nicely done.

  5. Patrick Schupbach August 21, 2012

    Beautiful clean lines…. NICE WORK!!!

  6. Jerry S August 20, 2012

    It is lovely. I want to make a bed for my daughter, this is giving me some great inspiration.

    Thanks for sharing.

  7. Preston Gallwas August 19, 2012

    Wow, quite striking! I’d like to do a smaller bed like this for my son.

  8. S.Wellington August 18, 2012

    I really like the way your bed turned out. Looks simple, but beautiful. I like the lighter shade. Brings out the wood. Very nice! Great work! You should be proud!

  9. Dave August 17, 2012

    Very nice work. I bought the same plan years ago but haven’t gotten to that project yet. It’s a nice design.

  10. Mike_M August 17, 2012

    That’s a very nice bed. Everything is very clean and precise. Very nicely done. I especially like the figure in the footboard. Very nice in deed.

  11. Patrick Schupbach August 17, 2012

    Beautiful work… I really like the router jig, a great solution!!!

  12. Nick J August 16, 2012

    Beautiful bed! I’m hoping to one day to get to that point in my wood working. Congratulations on a great piece!

  13. Dan Drabek (http://deleted) August 16, 2012

    It’s got a pleasant, light and airy feel for a heavy piece of furniture. And Sarah’s beautiful quilt matches it perfectly.

  14. Greg F August 16, 2012

    Nicely done and a good design match to the bedside tables.

  15. TennesseeYankee August 16, 2012

    This looks just like the bed I made my son. Wait, let me go check.
    Yep, still there. Good job. I love making beds.

  16. Doug August 16, 2012

    Good looking bed! We are practically neighbors, I am also from Mason.

    • Ben August 23, 2012

      That’s great Doug! I’d love to arrange a local meet up some time. I haven’t met many people around here who are TWW fans.

  17. Mike P August 16, 2012

    Very cool. With regard to the curved pieces, does anyone see potential pitfalls with milling the mortises before cutting the curve? It seems a simpler process.

    •  

      Depending on the depth of your curve, it just might not be possible. My longest bit has a 2″ cutting length. His curved look like they might be at least 2″. So there’s just too much wood in the way. You might be able to use that technique on some of the outside mortises though.

      • Alex August 16, 2012

        What about using the new domino from festool? How deep does it go? Could it work?

      • Richard Armstrong August 17, 2012

        I too wondered about doing the mortises before the curve, butb I also wonder if they could be done with a chisel mortiser so they would be square sided.

    • Ben August 23, 2012

      I thought about milling the mortises before cutting the curve, but I came to the conclusion that the mortises would just have to be too deep to be practical near the center point of the curve. At that point, the mortises would have been about 4″ deep which is difficult to do with any tooling, hand or power.

      The plan I was working from recommended cutting matching dados in two thin boards and gluing them up to form the mortises; however I wanted to avoid the glue line and preferred the look of the rounded mortises instead of square.

Leave a reply

XHTML: You can use these tags: <a href="" title=""> <abbr title=""> <acronym title=""> <b> <blockquote cite=""> <cite> <code> <del datetime=""> <em> <i> <q cite=""> <strike> <strong>

*

Online project based woodworking education.

3 Membership types

  • A la Carte
    Starting at $25/project
  • Subscription
    $129/year
  • Superfan Subscription
    $299/year
Learn more →

Simple Varnish Finish DVD

Coming Up


  • There are no upcoming events

  • Turning the Post Pt. 2

    May 24, 2013
  • The Router Jig and Dovetail Slots

    May 31, 2013
  • The Legs

    June 7, 2013
  • The Top & Pivot Block

    June 14, 2013
clearvue-200x200
TWW_v6_200x200

Pressure Treated Wood Utility Poles for building structures, distribution or transmission.

bellforest200x200-tww10