


Viewer Project
-
By Patrick
Added on April 26, 2008
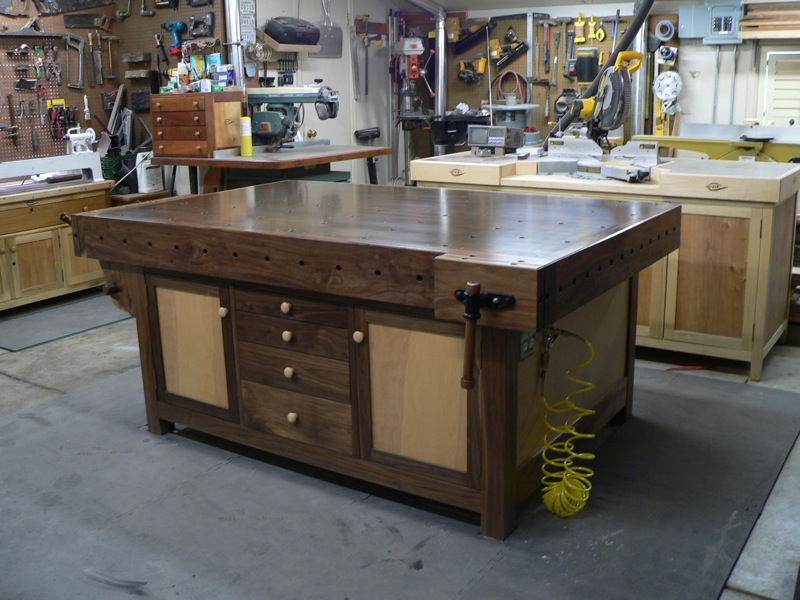
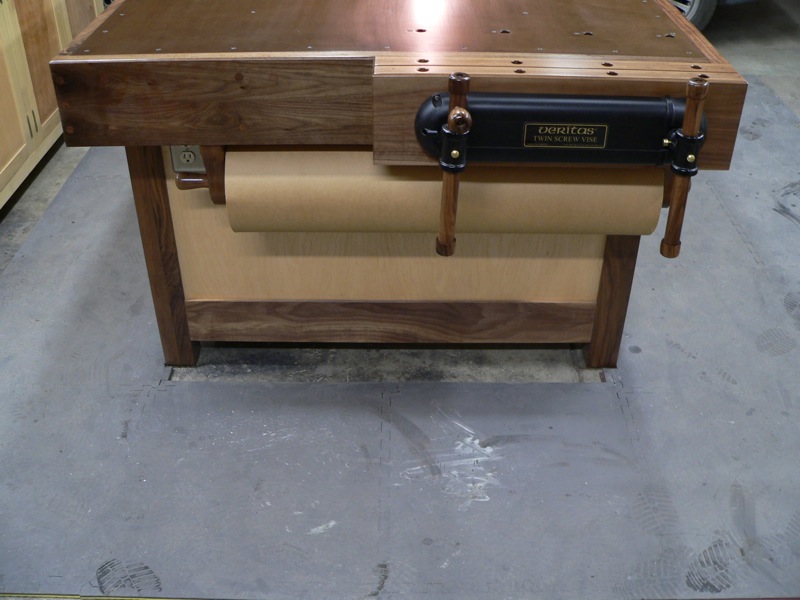
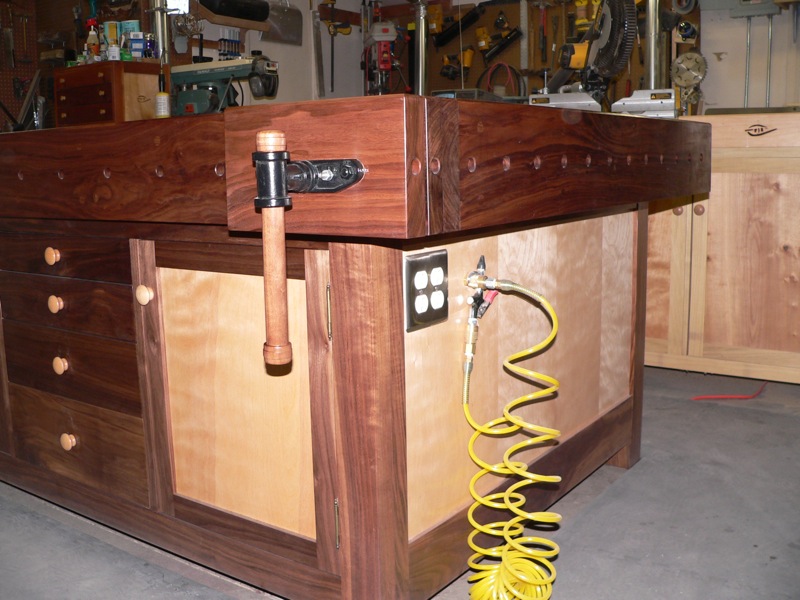
This is my take on Marc’s assembly table. I had been contemplating what to do for a replacement bench for a couple of years. It was not until I saw the assembly table Marc had built that I decided to combine the features of a work bench with the features of an assembly table. It was this idea that actually ended up saving space despite the fact this new bench is larger than the two it replaced combined. It measures approximately 81″x 51″x 36.5″. The base is walnut, the panels are birch ply and the joinery is mortise and tenon. The top is a seven inch thick torsion box, wrapped in walnut, and includes two vises with the requisite bench dog holes. The bench dog holes presented a problem because I did not believe MDF would be substantial enough for the dogs to react against. Therefore, I glued walnut blocks in wherever a hole was intended. Blocking the dog holes also had the added advantage of not turning the top into a time capsule for every small part I set on the bench. Finally, I have a surface big enough to assemble a large project without the assistance of shims and saw horses.
**UPDATE** Patrick sent in a Sketchup file that details the construction of the torsion box and the role of the solid wood dog hole supports. Download Sketchup File
Copyright © 2006-2023 The Wood Whisperer Inc. The Wood Whisperer, The Wood Whisperer Guild, TWW, and TWW Guild are trademarks of The Wood Whisperer Inc. All rights reserved.
This site uses affiliate links. Given this, please assume that any links leading you to products or services are affiliate links that we will receive compensation from. However, there are millions of products and services on the web, and I only promote those products or services that I would use personally. The Wood Whisperer abides by word of mouth marketing standards and holds integrity in the highest regard. Should I ever be compensated to write, I will make full disclosure. I always give honest opinions, findings, and experiences on products. The views and opinions expressed on this blog are purely our own. Any product claim, statistic, quote or other representation about a product or service should be verified with the manufacturer, provider or party in question. All content on The Wood Whisperer is copyrighted, and may not be reprinted in full form without my written consent.
| Cookie | Duration | Description |
|---|---|---|
| cookielawinfo-checbox-analytics | 11 months | This cookie is set by GDPR Cookie Consent plugin. The cookie is used to store the user consent for the cookies in the category "Analytics". |
| cookielawinfo-checbox-functional | 11 months | The cookie is set by GDPR cookie consent to record the user consent for the cookies in the category "Functional". |
| cookielawinfo-checbox-others | 11 months | This cookie is set by GDPR Cookie Consent plugin. The cookie is used to store the user consent for the cookies in the category "Other. |
| cookielawinfo-checkbox-necessary | 11 months | This cookie is set by GDPR Cookie Consent plugin. The cookies is used to store the user consent for the cookies in the category "Necessary". |
| cookielawinfo-checkbox-performance | 11 months | This cookie is set by GDPR Cookie Consent plugin. The cookie is used to store the user consent for the cookies in the category "Performance". |
| viewed_cookie_policy | 11 months | The cookie is set by the GDPR Cookie Consent plugin and is used to store whether or not user has consented to the use of cookies. It does not store any personal data. |