James’ Oak Cot
Viewer Project
-
By James Rimell from Prague - Czech Republic
Added on June 12, 2014
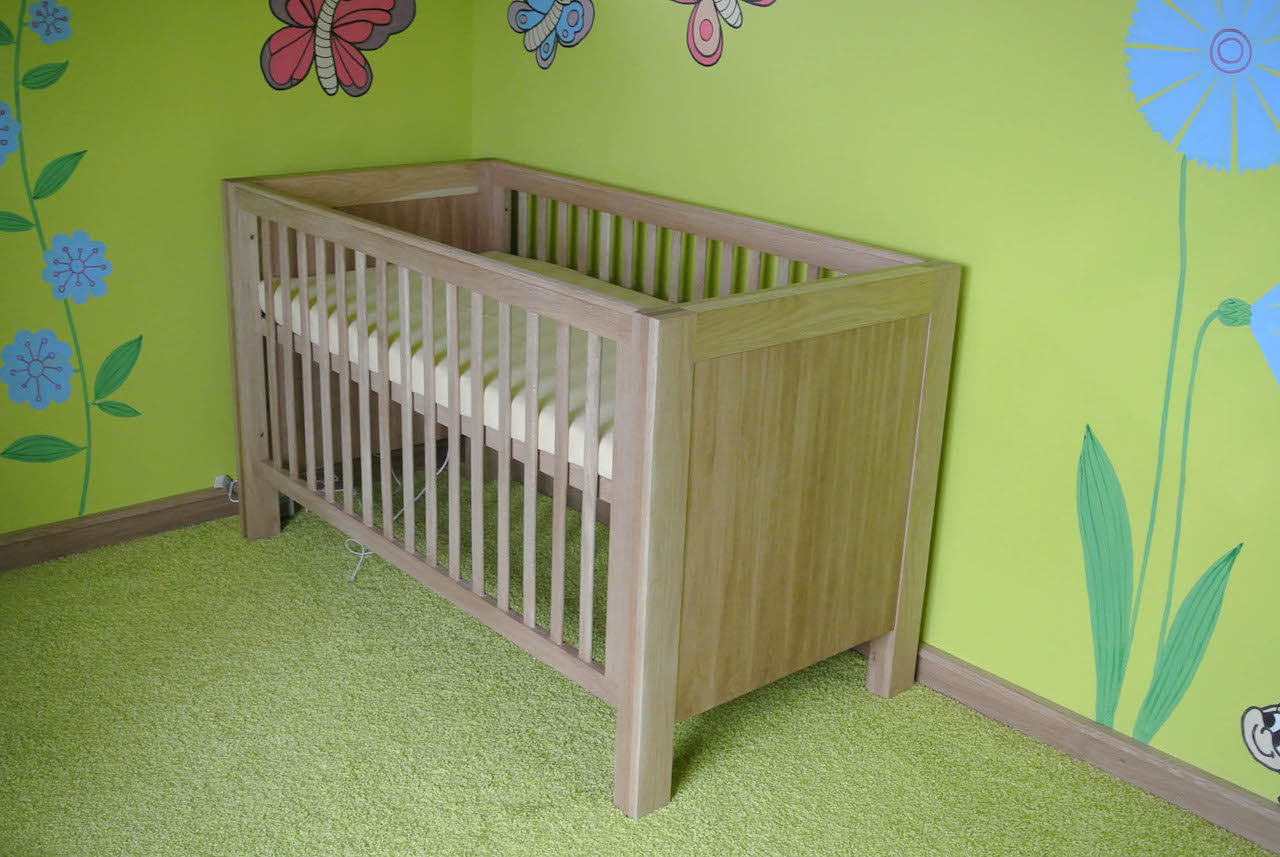
This was my first large furniture build. I’ve made small tables, but nothing of this size. It was inspired firstly by wanting to do something for my upcoming child, but mainly because to buy anything remotely similar would cost upwards of 700 Euros. I did not want her to be enclosed in a Swedish manufacturer’s generic frame.
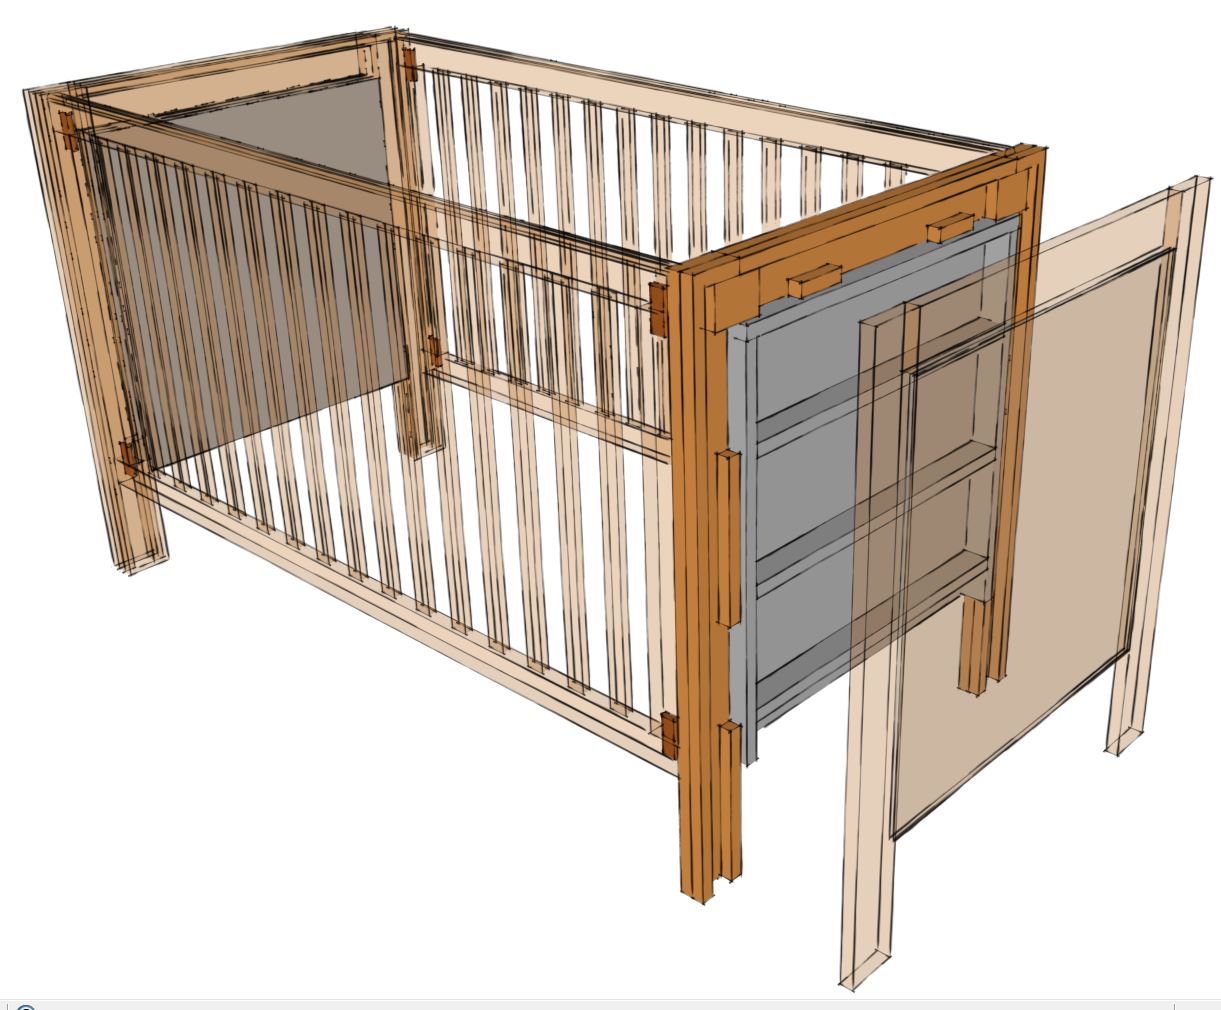
The Design:
Wearing my creative hat and spending some time on Google images, I fired up Sketchup and got the basic design sorted. This process also allowed me to play virtually with the pieces to determine joint and connection strategy. Then there were a few more weeks of Googling to work out what regulations actually apply to cots! For anyone interested, apparently American, Australian, British and European infants are all different sizes since the regulations for each country concerning various sizes/ratios are all different! Finally pacifying my conscious that I was not creating a potential deathtrap, a few sizing adjustments were made to the build and I was ready to go.
The Build:
I decided on a much chunkier design than originally planned, so it was off to the timber merchants to supplement the already purchased material with about 200% extra oak. All stock was bought as rough sawn planks and I was lucky that they allowed me to sort through the stacks to get what I wanted.
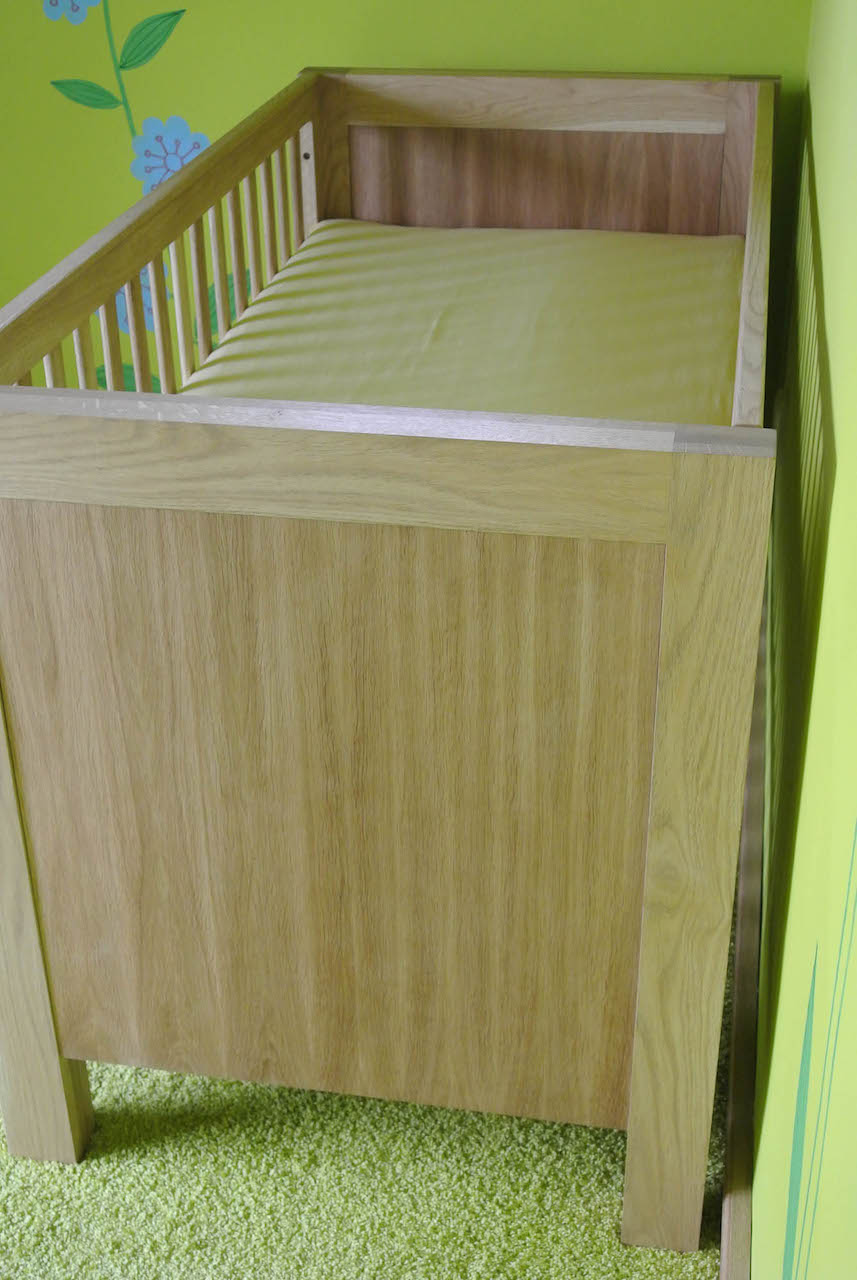
The veneered end panels, of which there are four (inside and outside), took one of the longest—the veneers where cut from 60mm thick stock on a table saw (I do not have a bandsaw) and bookmatched when glued—the learning here was to stop curling on gluing, I actually needed 2mm veneers, not my originally planned 3mm. Fortunately, I worked this out on the first ‘test’ panel.
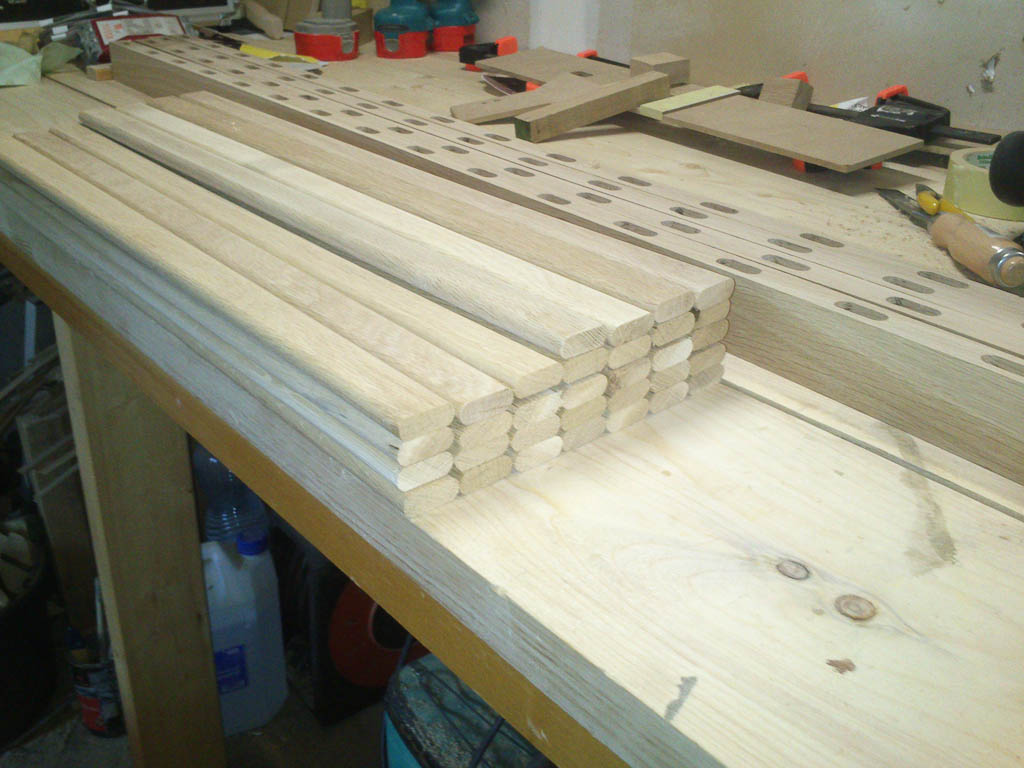
For the mortises in the rails that received the bars, I created a simple jig which worked well since I had no play at all since these are visible.
The only midway design change was the addition of the 15mm replaceable ‘chew’ bars to the top rails of the sides. Since this actually added to the depth of the cot, there was no issue. I had not drilled the bolt holes for the sides at that point, so I could easily adjust.
The Finish:
Sanding, lots of sanding – I had made the rounded sides of the bars with a top and bottom pass of a quarter inch round-over bit which left a very small lip at the joint. I didn’t want to sand beforehand in case I created a gap at the mortice ends, so I ended up sanding in a very awkward position once the sides where assembled.
The Lessons Learned:
Watch a lot more of The Wood Whisperer—it is the little things you pick up that make the difference…like using copious amounts of blue/masking tape instead of clamps, and the use of grease-proof paper as a glue barrier to aid in paneling/veneering.
What I would do differently:
Buy a rounded bull nose router bit—sanding down all the slight lips of the bars from two passes of a round-over bit is not fun!
Put shoulders on the rails so tenon fit does not need to be so perfect and tight all the way around.
Take more photos during the build!
Advertisers


