Eric’s Stylish Workbench Assembly Table
Viewer Project
-
By Eric Ball from Rancho Santa Margarita, CA
Added on October 23, 2012
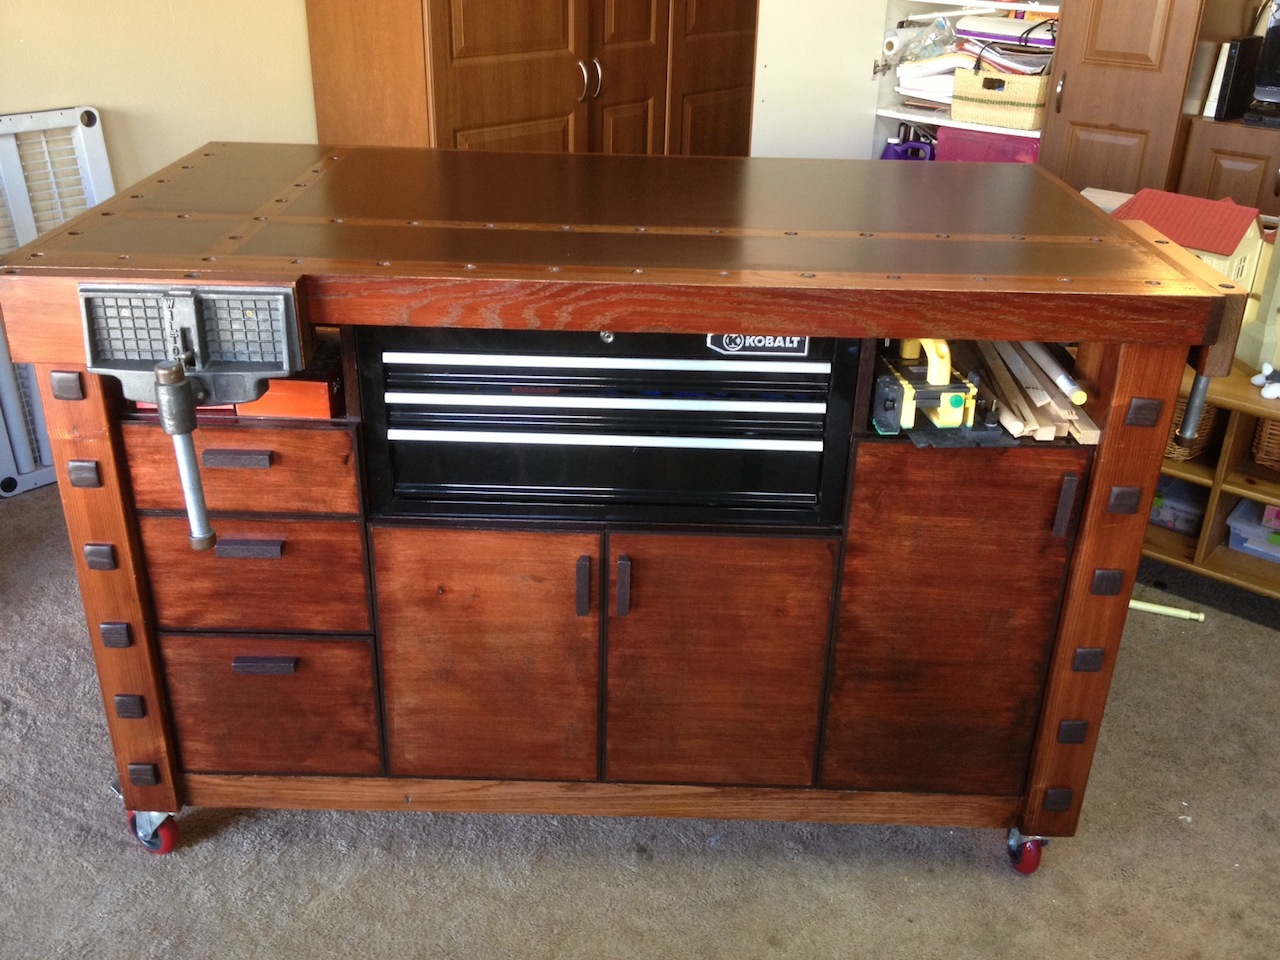
After buying a few tools (my 10 yr anniversary present) and as a newbie hobbyist woodworker, I figured I needed a good workbench (the folding table just wasn’t cutting it). Like many of you, I have a very limited amount of space (12’ section of garage wall to be exact) and with that limited space, I needed to design a workbench that would serve many needs: bench, assembly table, storage, etc. It had to be mobile and very sturdy since I work out on the sloped driveway. The idea behind it was not only to be functional, but also to utilize as many new (new to me) techniques as I could. I figured practicing those techniques on ‘shop’ furniture was the best option. After looking at many designs, this is what I came up with.
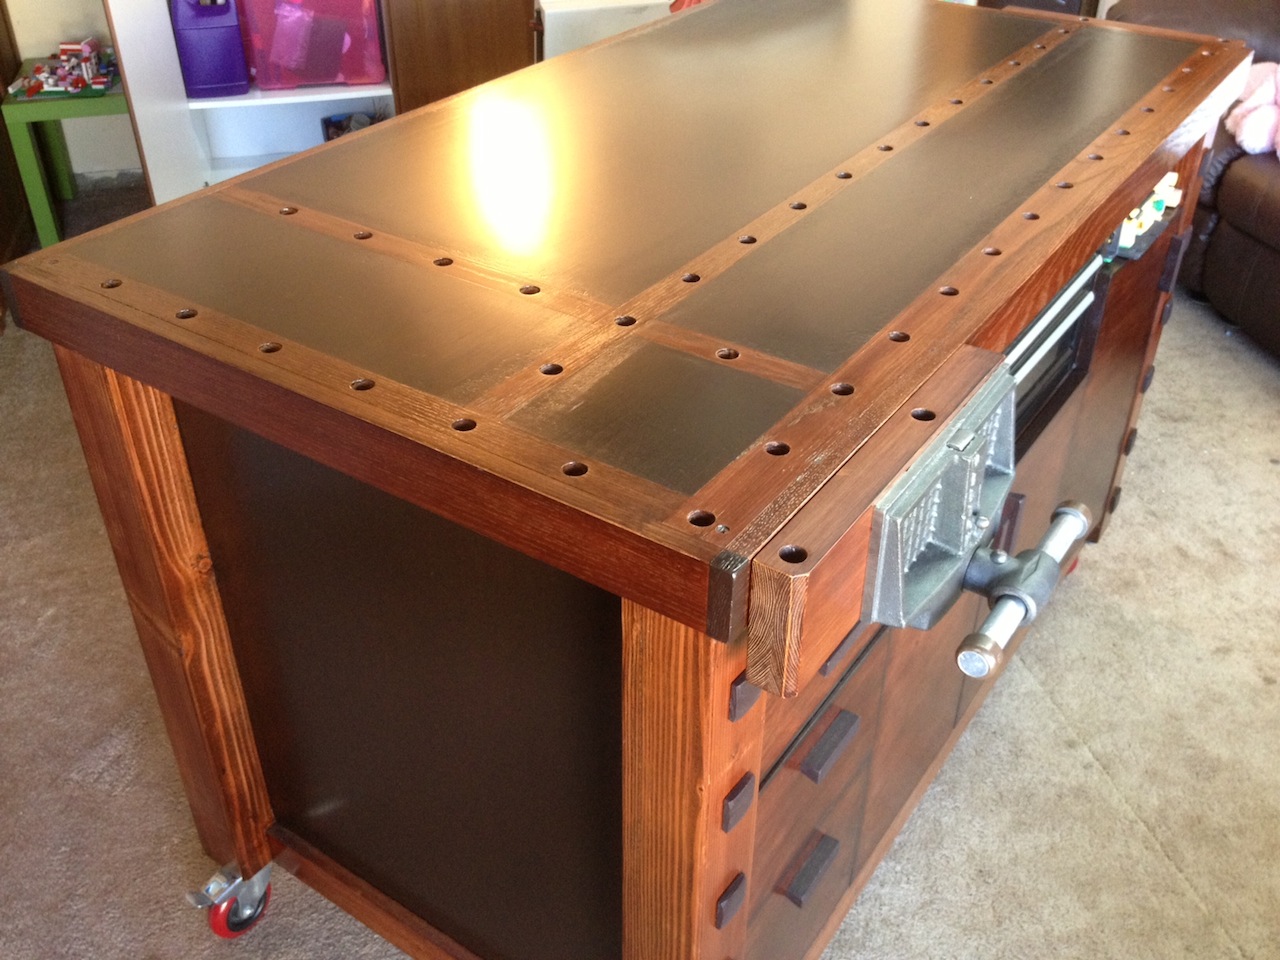
The bench is 39.5” tall, 32.5” deep, and 60” wide. It is a roughly estimated at 600 pounds when loaded (OK, so I went a bit overboard). The vises are old Wilton woodworking vises I bought from Craigslist for $30 each. They are 10” wide with 12” travel (9.5” after installed).
The base is two layers of Baltic birch with a support grid underneath. The posts are just 4×4 pine posts from Lowe’s. As a newbie, the joinery here was probably my most difficult task. Design wise, I didn’t want the bottom to stick out beyond the posts, or the sides to be just tacked to the inside taking up more valuable space. Matching up multiple rabbets and drawbore mortise & tenons with long heavy pieces and keeping it square proved very humbling. Not having perfectly planed posts didn’t help.
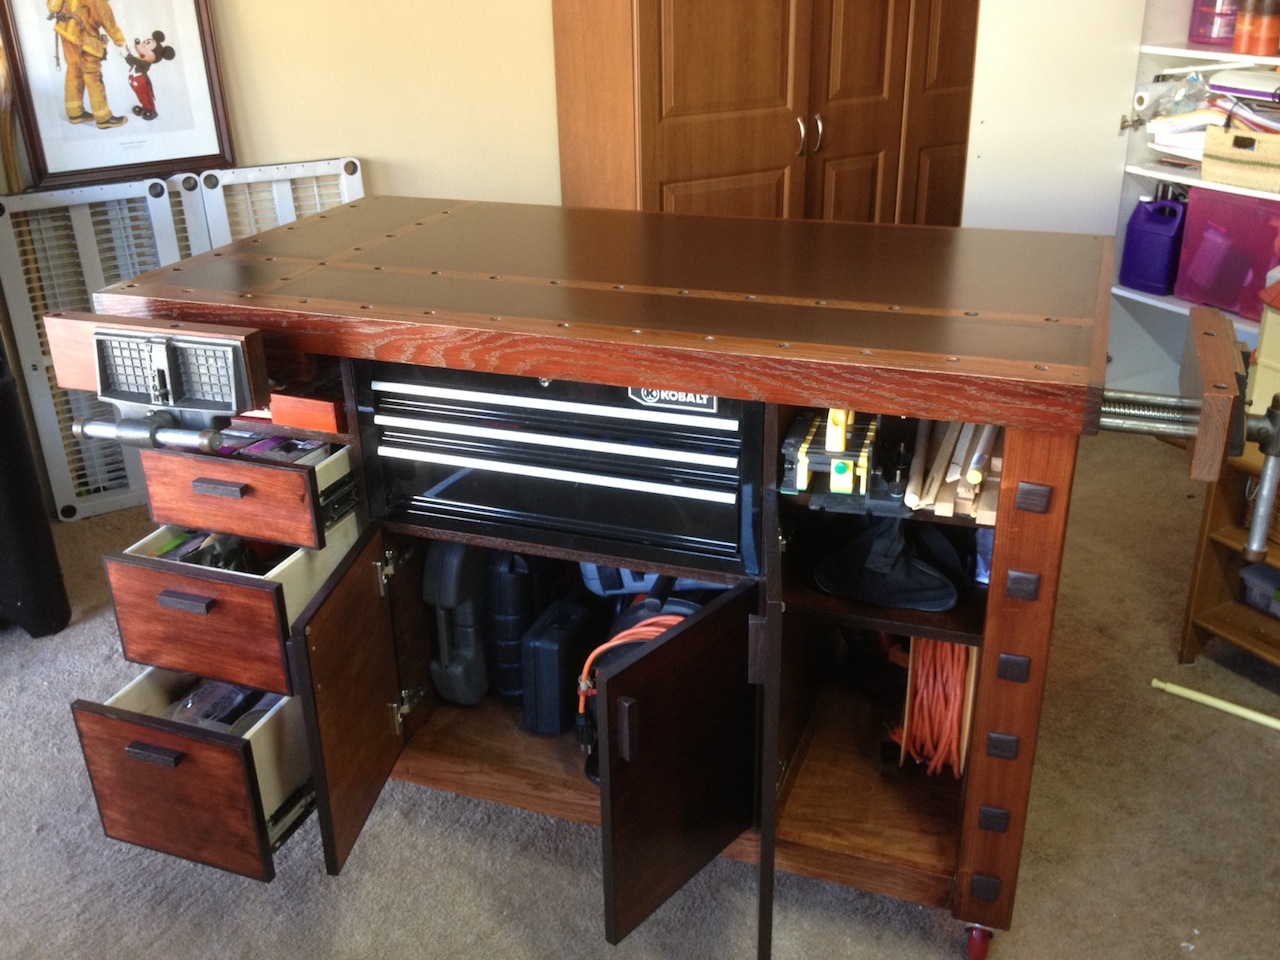
The interior is all 3/4 plywood joined with dadoes and all edged with 1/4″ oak. I do not have a good setup for routing out dadoes or an out-feed table, so I had to build a second crosscut sled specifically to cut the dadoes for the larger pieces on my table saw.
The top is two more sheets of Baltic birch, then a top layer of MDF & hardboard puzzled with oak runners (for the dogs). The surrounding trim is oak. Also, the entire top layer is designed to be able to lift out and be replaced if I ever need to. I didn’t want to waste the space underneath the two vises (which I got for $30 ea off CL!), so I made pass-through shelves for each. That way I could still have storage beneath.
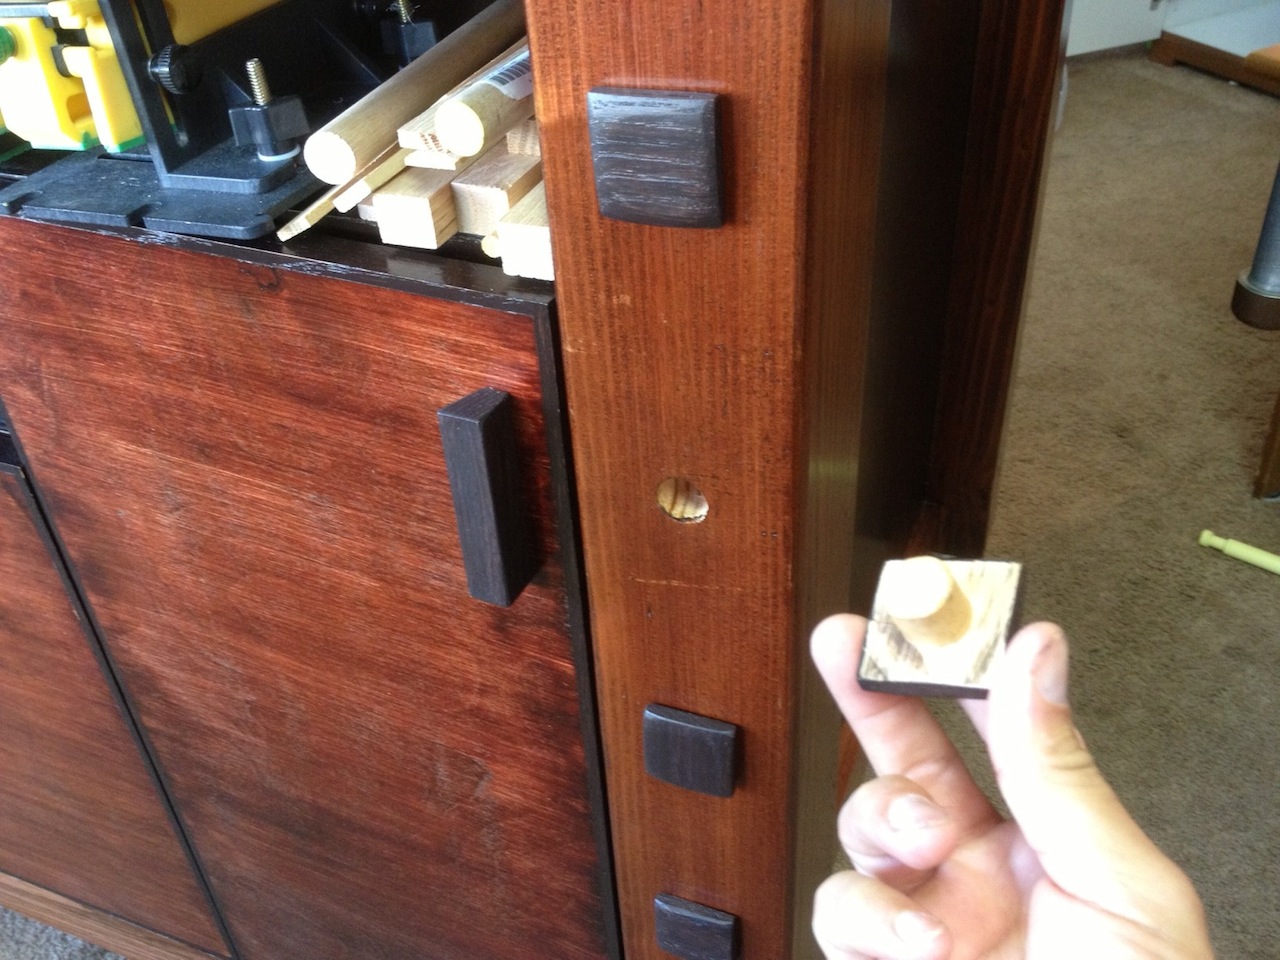
Doors and drawer faces were put on the front for appearance since my garage is also the kids’ rec room. The back is left open with additional shelving. The front posts have removable plugs for board jack holes and the dog holes were made with a 3/4” Forstner bit. The whole bench is mobile riding on 4” lockable casters. I base coated everything with a 1lb cut of shellac, then two coats of Minwax Red Mahogany 225. I finished with multiple coats of General Finishes EF High Performance Polyurethane.
This is step one of a 3 step project for my shop. Next will be to build some wall mounted cabinets and a pegboard cabinet. Then I want to build a mobile base to join my table saw and router table together.
Advertisers


