Diana’s Sewing Table
Viewer Project
-
By Larry Speight from Waddell, AZ
Added on August 23, 2014
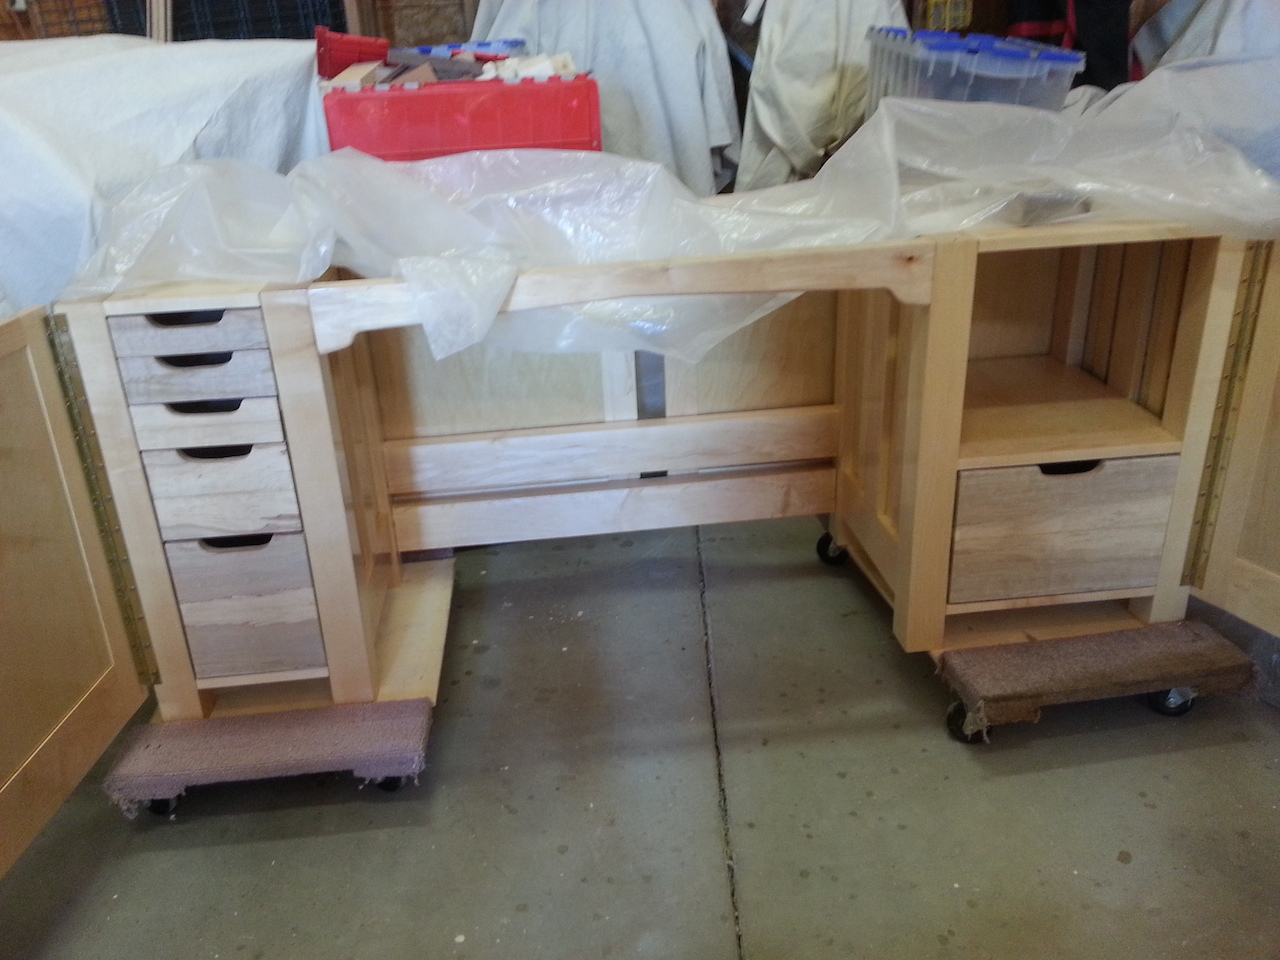
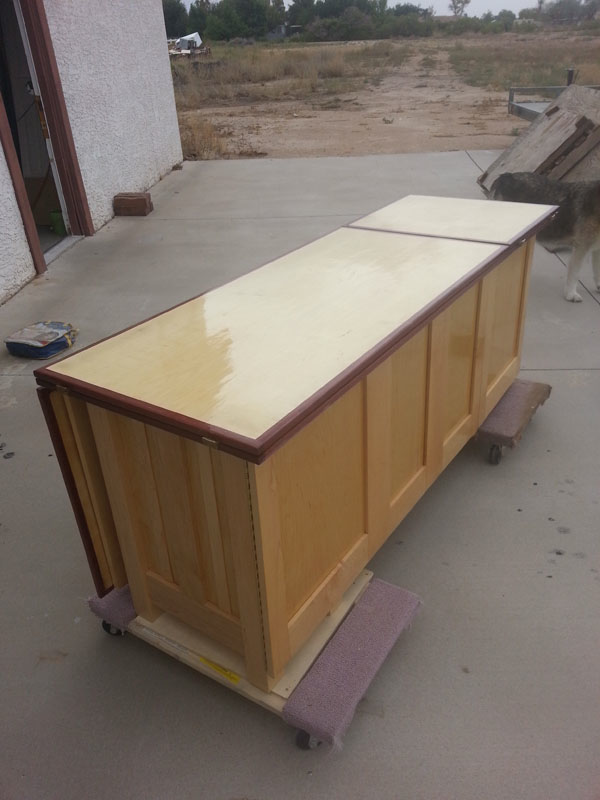
My daughter needed a sewing table. She liked the Rockler plans but wanted an additional table added to provide more room for material. I got the Rockler plans and started re-working them in an attempt to meet her needs when my wife pointed out something interesting with the plans. The area where the sewing machine lift was placed had the needle of the sewing machine on the extreme left side of the sitting area. This would mean that an individual would have to sit crooked in order to position their body behind the needle. With this revelation, I extended the seating area so that the sewing machine operator could sit directly behind the needle. I didn’t change the cabinet sizes so the overall cabinet grew in length. I think the biggest frustration I faced was the table tops. I had hoped to make them out of solid maple but after glue up, I could not get the boards to stay flat. They cupped really badly. So I fell back to using maple plywood which worked well. I surrounded the maple plywood with purpleheart (inspired by some work Marc had done) and it turned out pretty well. The drawer fronts are spalted maple with poplar sides and plywood bottoms. I used dovetails for the drawer fronts.
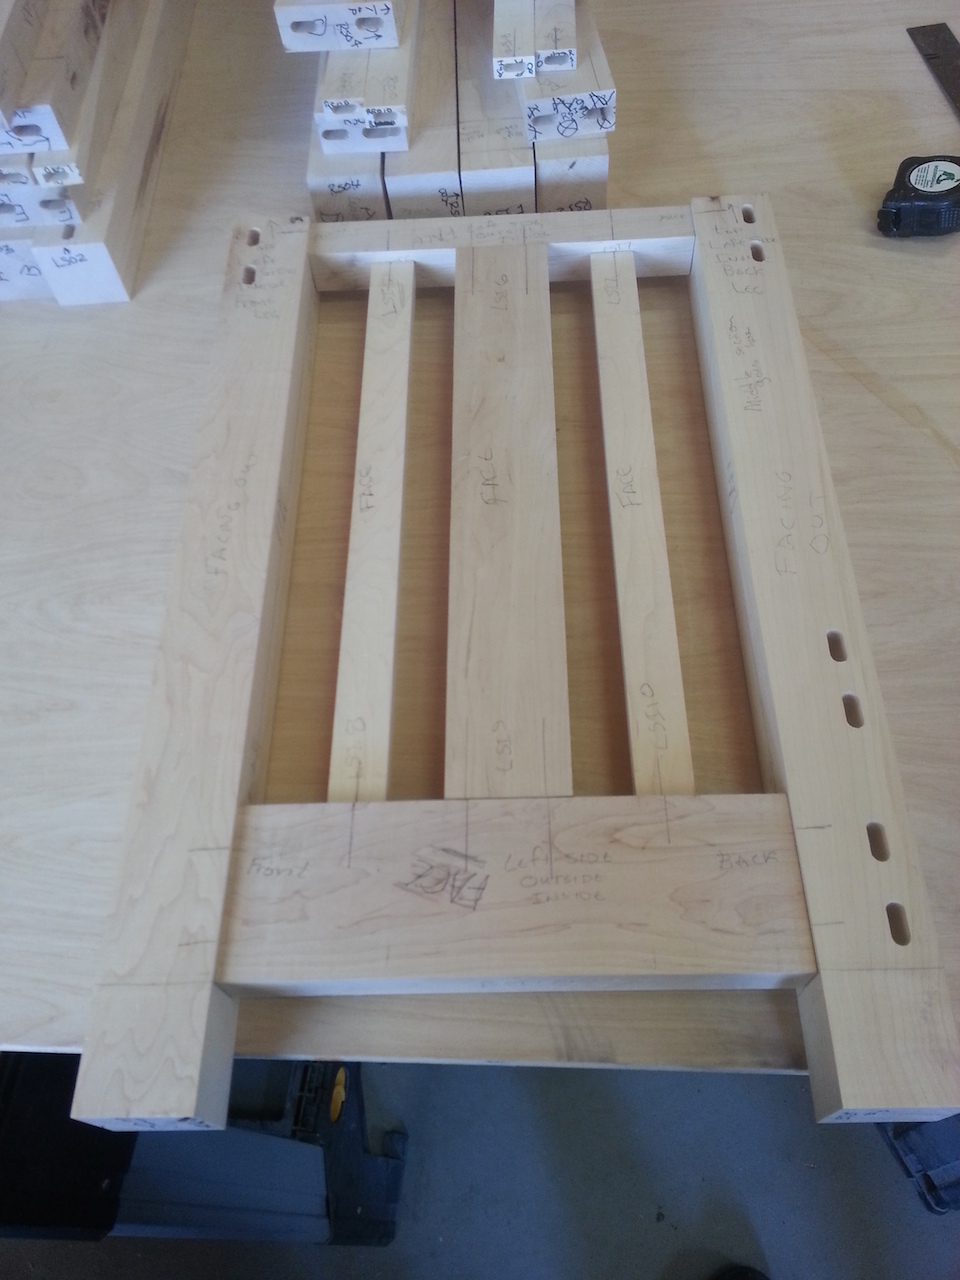
In the picture of the dry fit-up of one of the cabinets, you will notice that I write on the wood a lot so that I don’t put a piece in the wrong place. I speak from the dregs of bitter, bitter experience of earlier projects. Writing on the wood and labeling is the way I have learned to avoid costly and time consuming mistakes.
Another picture shows the glue-up jig I had to build in order to glue the two cabinets together. I work in my shop alone which requires me to do some rather creative things when I have to do something that would be easy with two people. This jig worked remarkably well, but I did have to carefully plan how to build it and then remove it. Marc has me thinking and planning ahead much better!
I used dominoes throughout the project and some pocket screws when securing the cabinets together. They are hidden but provide the strength I wanted for the tops and bottoms of the cabinets.
I finished the sewing table using “super blond” shellac and Arm-R-Seal. I was tempted to spray the poly but chickened out at the last minute. Vertical spraying has always challenged me and then reading about spraying oil-based poly was not too encouraging either. I will just have to take some time and experiment with the oil-based poly and doing vertical surfaces at a later time.
Now I have got to figure out how to get this thing up to Eugene, Oregon!
Advertisers


