Tom’s Bath Vanity
Viewer Project
-
By Tom from CA
Added on May 23, 2008
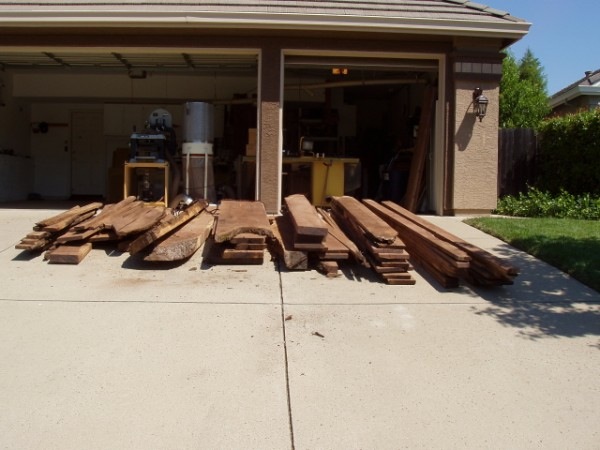
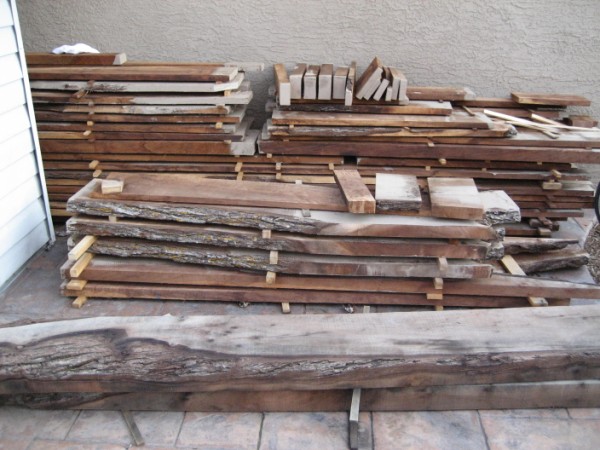
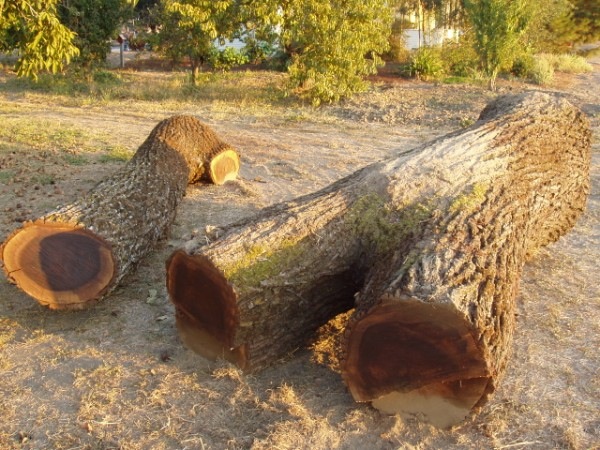
The fun began when a friend of mine had to cut down several black walnut trees in his backyard. These trees were planted by his wife’s great grandfather! In exchange for building them a 76×38 kitchen table, he gave me several large logs. I had him buck the logs to put crotches in the middle of the logs. Then I took the logs to a friend who has a small sawmill. The boards have been drying for the last 30 months now. You just cannot find more beautifully grained wood than California-grown black walnut that has been air dried and not steamed and put in a kiln.
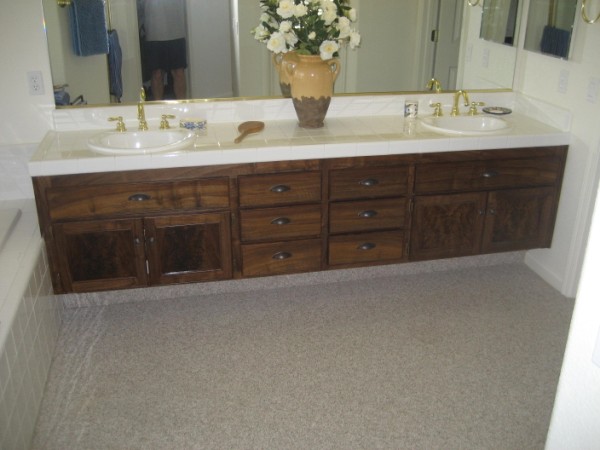
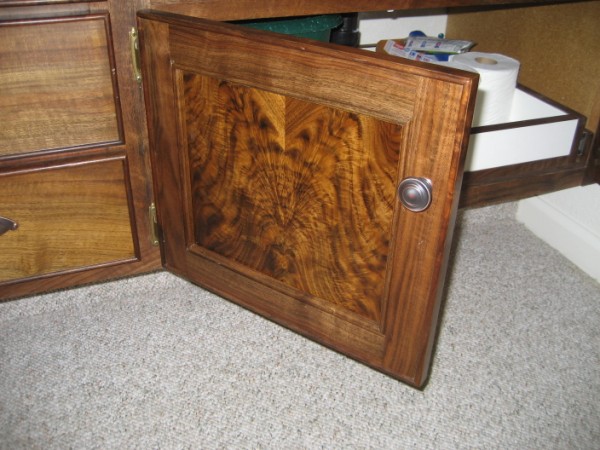
Construction: All the drawer fronts and doors were completely replaced. The outside edge of each door and drawer front has a bead detail of moulding applied proud of the surfaces. The inside edges of the rails and stiles (closest to the panel) have a routed bead detail. Stiles and rails are jack mitered together with loose mortise and tenons. The door panels are floating. Each panel has 1/16″ book matched crotch grain (front and back) veneered to 1/8″ baltic birch plywood resulting in 1/4″ thick panel. The pull out drawers behind the doors are melamine with custom walnut edges with full extension slides.
Finish: The “new” face frames, drawer fronts, door rails/stiles received 5 coats of Waterlox satin applied with a rag and wet sanded flat before the last coat. The door panels received 5 coats of Waterlox gloss applied with a rag and wet sanded before the final coat.
Lesson #1: I made a rookie mistake when planing down the drawer fronts. If you look at the before pics, drawers 5, 6, 7, & 8 show a perfectly book matched grain pattern before planing. I didn’t plane each bookmatch equally, resulting in a less than desirable book match. Not a big deal, but I am my harshest critic!
Lesson #2: Next time I will just remove the face frames and build new ones. This process was very labor intensive. I milled 3/16″ veneer strips, removed the varnish on the existing face frames with a card scraper, block plane and sandpaper, and glued and clamped each piece separately. The gluing and clamping took forever.
Advertisers


