Download the Plans: SketchUp File | PDF
The Rabbet
Before cutting the rabbet for the mirror and back panel, you’ll want to have all materials on-hand. Glass cutters will generally hit your dimensions +/- 1/8″ so it’s good to know the exact measurements before you make your cuts, just in case you need to make some modifications. The thickness of the material is important too since 1/4″ plywood is always less than 1/4″.
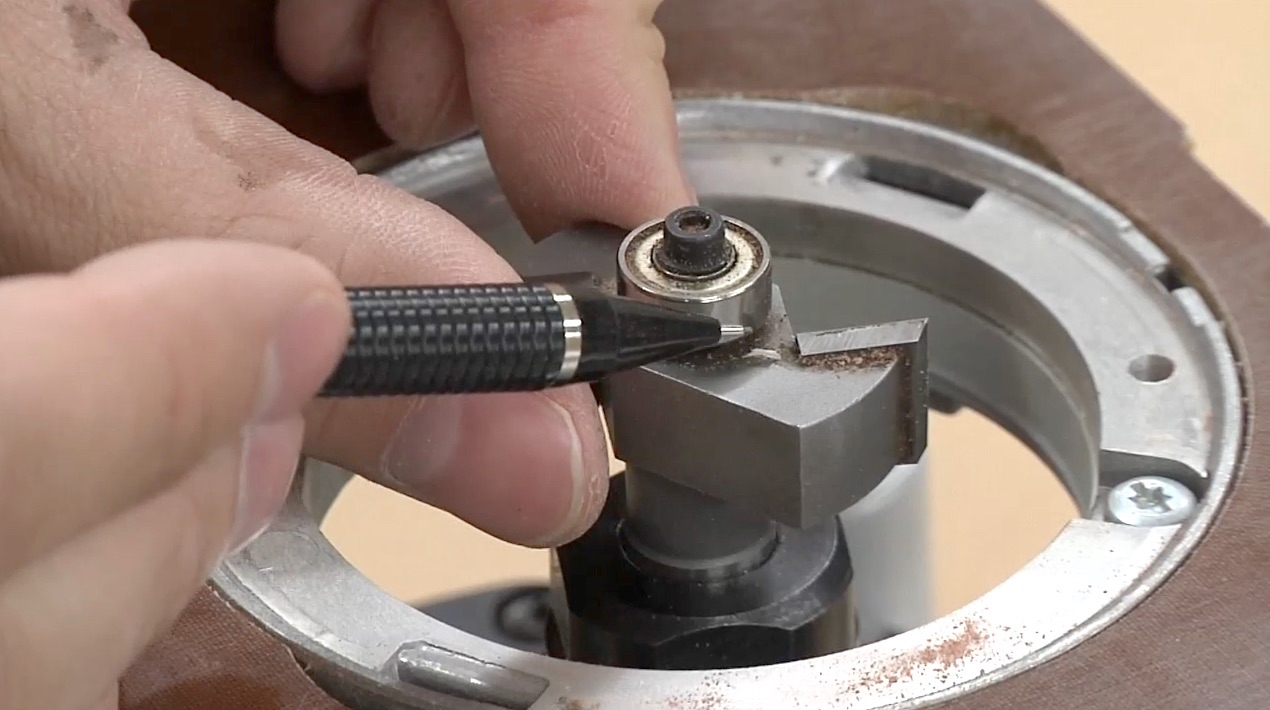 To cut the rabbet I use a typical bearing-guided rabbeting bit. The bit produces a 1/2″ wide rabbet and the depth is controlled by the depth setting of the router itself. When cutting the rabbet, you might have to hang the frame over the edge of your workbench if the router bit is making contact with your bench surface.
Shop-Made Clips
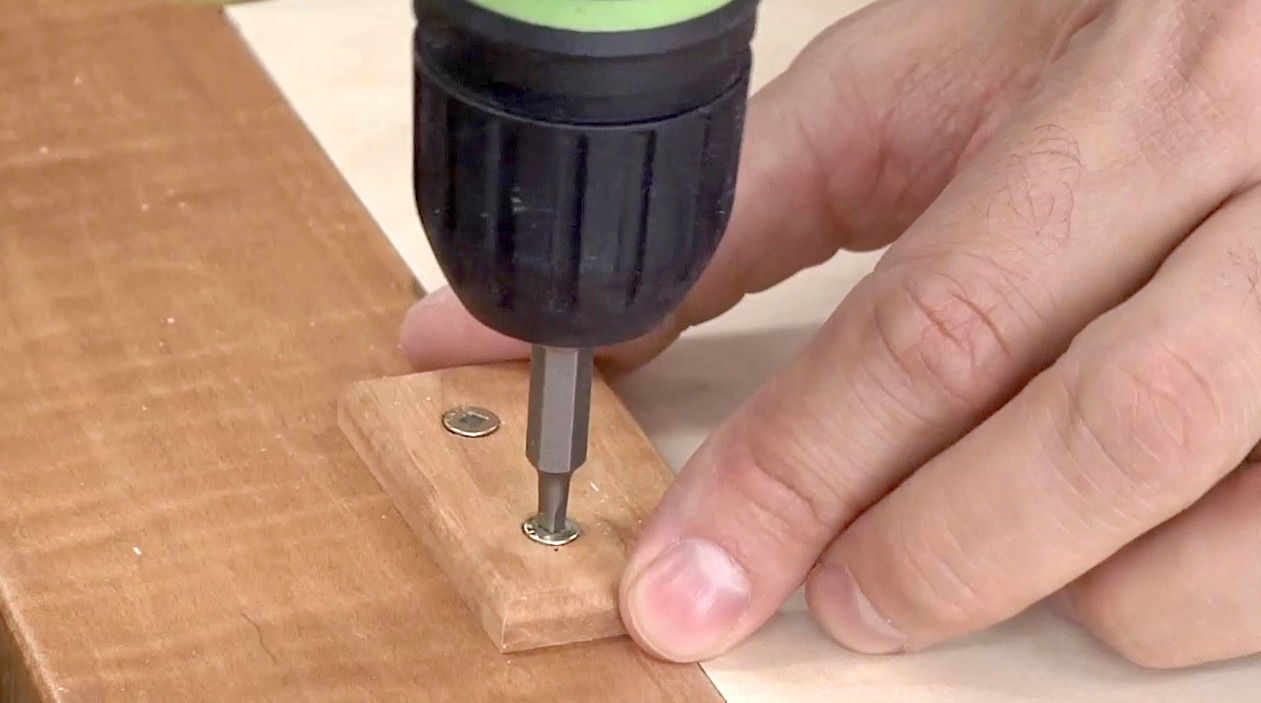 To hold the mirror and back panel in place, we’ll need some low-profile clips. These can be made with wood and the idea is that they screw into the frame while over-hanging the mirror area. Two per side should do it. While I used scrap from this project, you can use any wood you like as this will never be seen. For the sake of continuity, I like to use the same species as the rest of the frame. Some day, someone will pull that frame off the wall and marvel at my willingness to waste high quality wood on something so trivial. And my mission in life will be complete! The clips won’t actually be attached until after the finishing process but it’s nice to have them made ahead of time.
Matching a Finish
I’m not a huge fan of staining. It’s messy and sometimes unpredictable and I prefer to let the wood do what it does naturally. But there are lots of times when a stain is necessary, like when you need to match existing cabinetry. Fortunately, the mirror doesn’t have to match the cabinets exactly and I feel comfortable taking a slightly “lazier” approach. I’m just going to use off the shelf stain to get as close as I can, and count on the dim lighting and physical separation from the cabinets to disguise the differences.
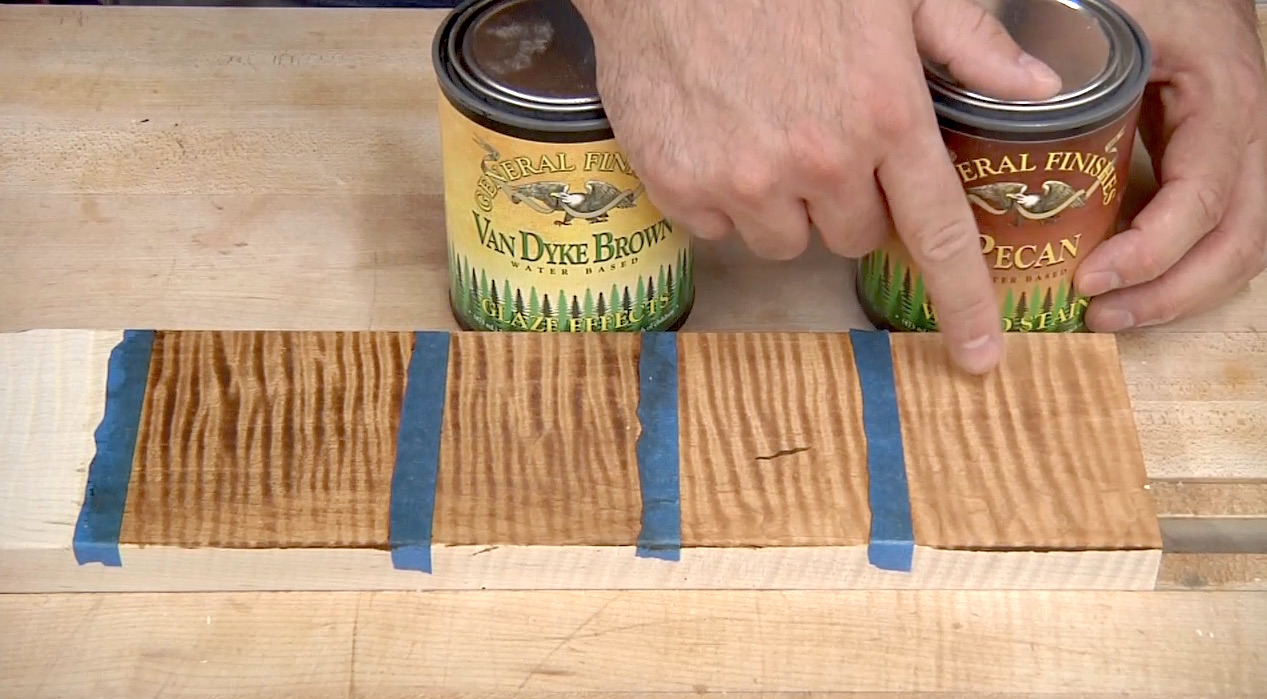 The finish schedule I use looks like this: Stain, Finish, Glaze, Finish. The stain is General Finishes Water-Based Stain (Pecan). The finish is Sherwin Williams CAB Acrylic Lacquer (Medium Rubbed Effect). The glaze is General Finishes Glaze Effects (Van Dyke Brown). In short, the process involves first raising the grain. This is something you should do any time you’re using water-based products. I then apply the stain, followed by two coats of the lacquer finish. The surface is then sanded very lightly with 320 grit paper and the glaze is applied. The glaze isn’t meant to absorb into the wood like a stain. Instead, it finds all of the nooks and crannies and pore pockets and deposits color for a more aged appearance. From there I apply several more coats of lacquer until I’m happy with the finish. Oh and don’t forget what I refer to in the video as my “secret sauce.” Prior to the final coat, I wet-sand the surface to level the finish. I then apply a very dilute coat of lacquer (80% lacquer thinner/20% lacquer) to the surface. The result should be an acceptable finish right off the gun. If you want to do some more post-processing on the finish, check out out this video on Rubbing out a Finish.
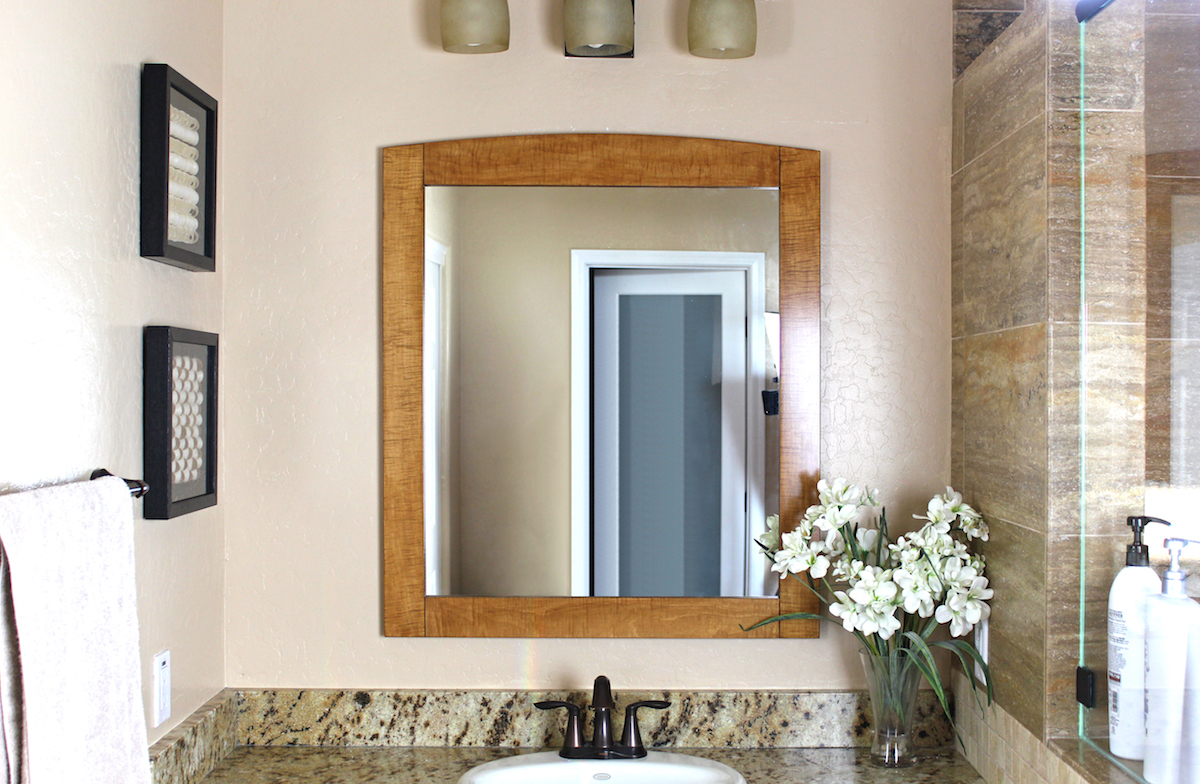
Hanging
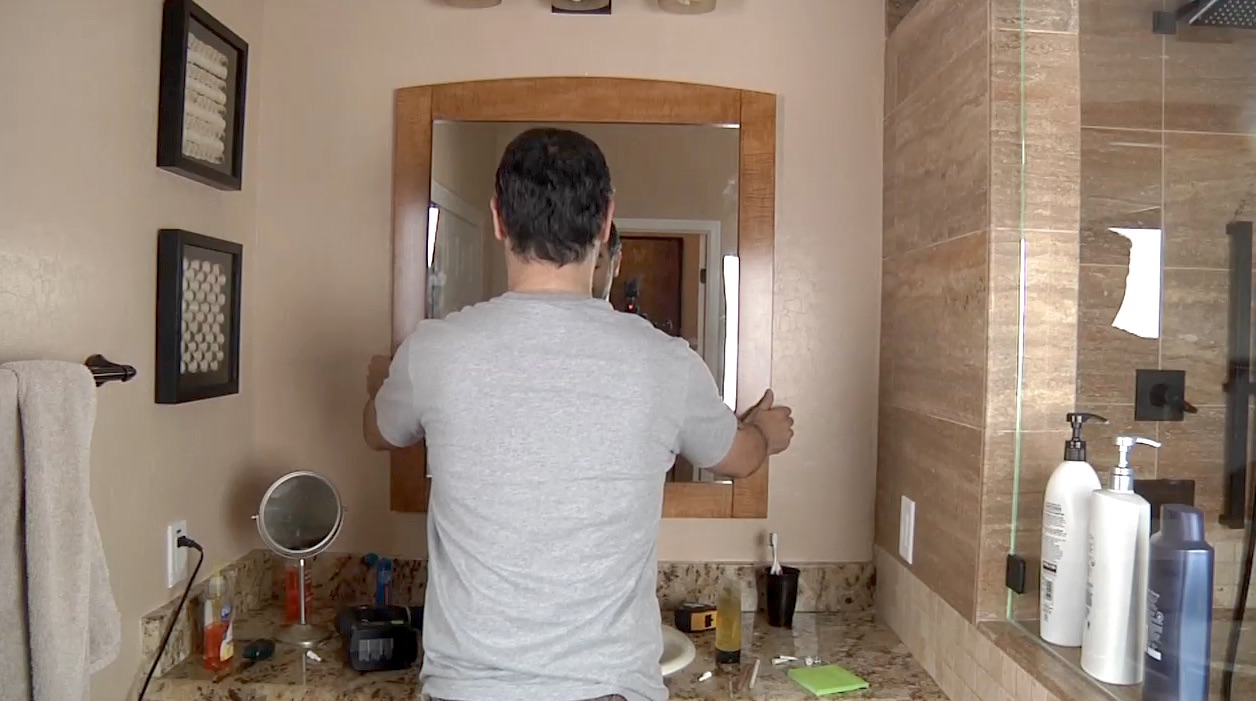 There are a lot of different ways to hang things on a wall. I’m particularly fond of the strength and flexibility of a French Cleat system so I thought it would be cool to use one for this frame. But instead of shop-made cleats, I’m using aluminum Eagle Clips (Z-Clips). These clips are strong and super low-profile and I think they’re perfect for hanging a heavy mirror such as this. And keep in mind that the mirror is only half of the hanging arrangement. The other half happens on the wall. So if you don’t happen to have studs in the right locations, you’ll want to use the appropriate drywall anchors capable of supporting the weight of the frame.
Thanks for watching and I hope you make yourself one or two of these mirrors. The best projects are the ones you use every day!
Helpful Links
General Finishes Water-Based Stain (Pecan)


