Download the Plans: SketchUp File | PDF
We recently had a little work done in our bathroom and in the process we removed the large wall-spanning mirrors. Being the superhero husband I am I immediately promised Nicole that I would replace them with a couple of nice framed mirrors. A record-setting six months later (which is at least a year ahead of schedule by my clock), here we are building the frames.
This project is fairly simple but even simple projects can feature fine details. This video will show you everything you need to know in order to build one for yourself. I recently promised that I would be returning to my roots of detailed videos on the free site and this project is an example of me making good on that promise. This video is pretty much filmed in the same style our Guild videos are filmed.
Designing in a Space
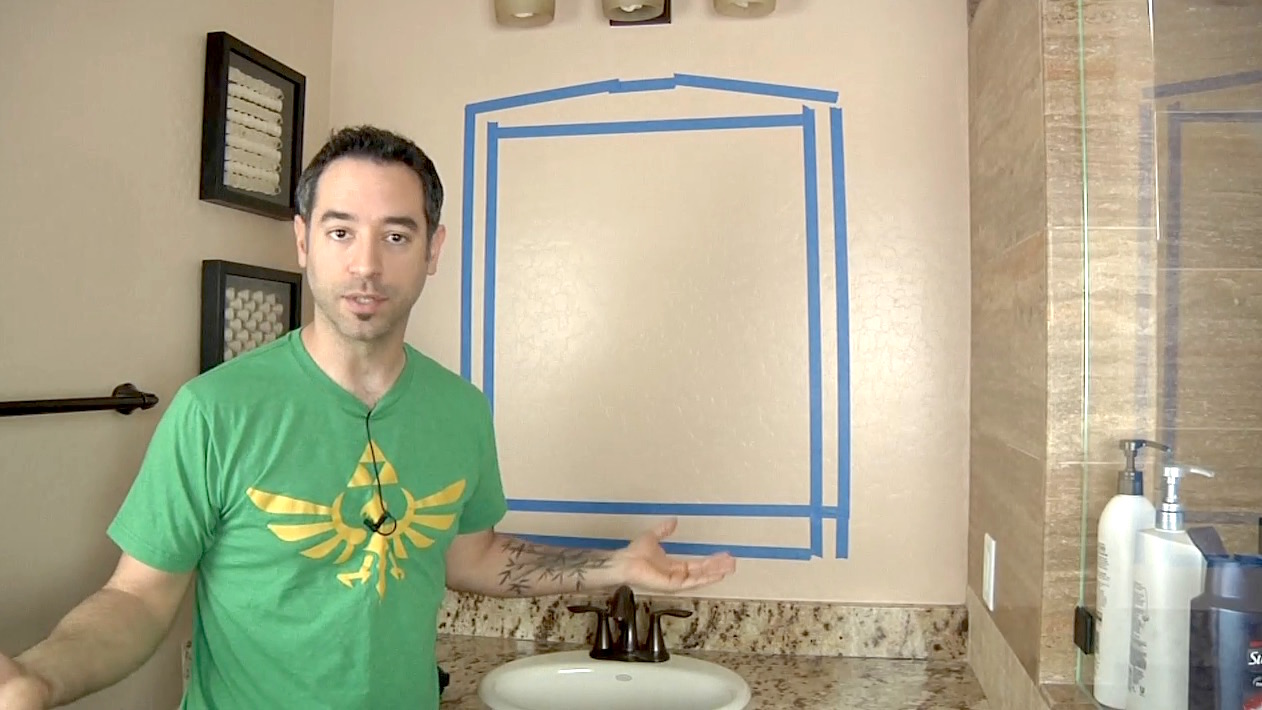 Using blue tape, I like to experiment with different designs on the actual wall where the mirror will live. There’s really no better way to determine the appropriate size and shape of the mirror. If something doesn’t look right, simply adjust the position of the tape and try again. Once the overall dimensions are determined, we can easily round up or down to whole numbers making our life a bit easier in the shop. A design like this does have some room to play with the numbers.
Ditching Design Rules
While design rules certainly have their place and we should all pay attention to them, there are just some cases where those rules don’t much matter. This is one of those times. I want this mirror to fill out a particular space and the dimensions of that space are set in stone. So I’ll simply make my frame look as good as it can within that space primarily going by eye, as opposed to looking toward a theoretical “best” measurement.
Half-Lap Joinery
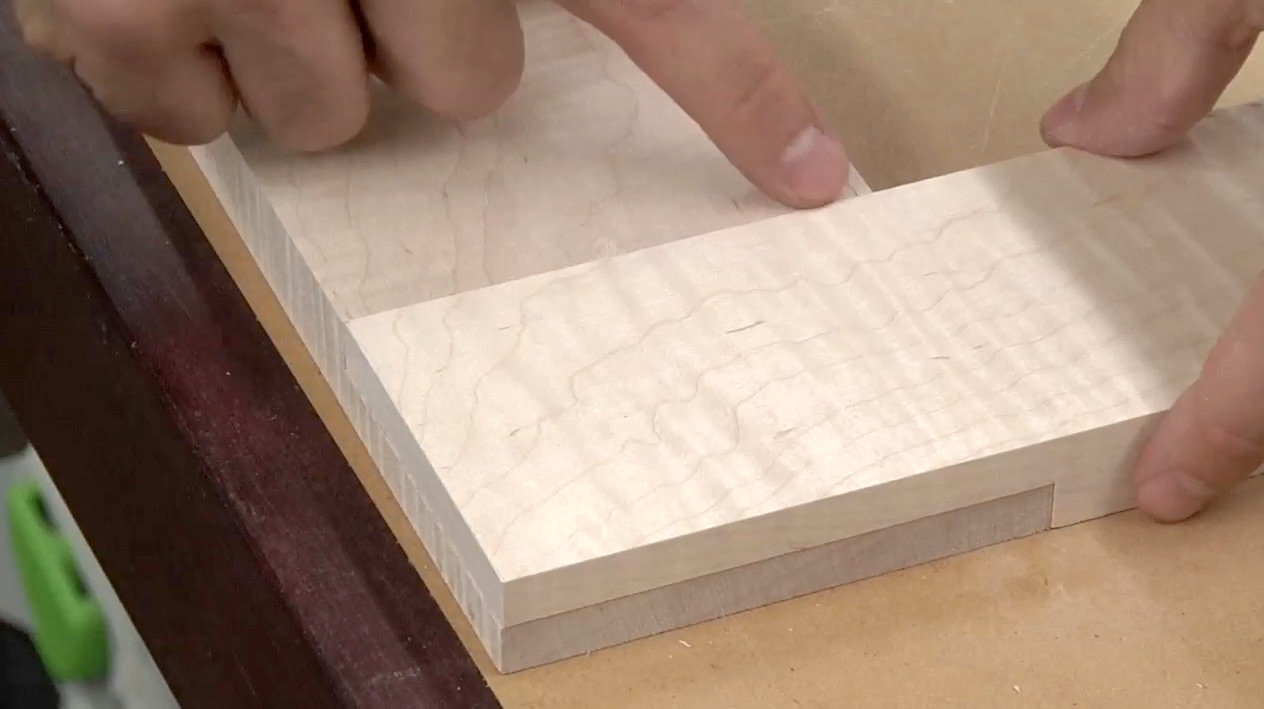 Never underestimate the half-lap! When most people think of basic frames, they immediately go to miters. But without reinforcement, miter joints are quite weak and unless the design would really benefit from the visual effect of a miter, I’d much rather use a half-lap joint. Half-laps provide us with a ton of long grain glue surface and require no reinforcement to achieve their strength. Furthermore, this particular design lends itself very well to half-lap joinery. The joints are cut at the tablesaw with a dado stack and finessed at the workbench.
Optional Design Details
 When joining boards, I’ve seen some designs where the joint is actually accentuated with a roundover or groove. This certainly won’t appeal to everyone but I think the effect is cool. It makes each piece of the frame pop and gives it much more visual interest. Although my joints are tight, I suppose one might be able to use this technique to hide some less than perfect joinery too. But I’ll deny it if you ever tell someone I told you that!
Creating a Curved Template
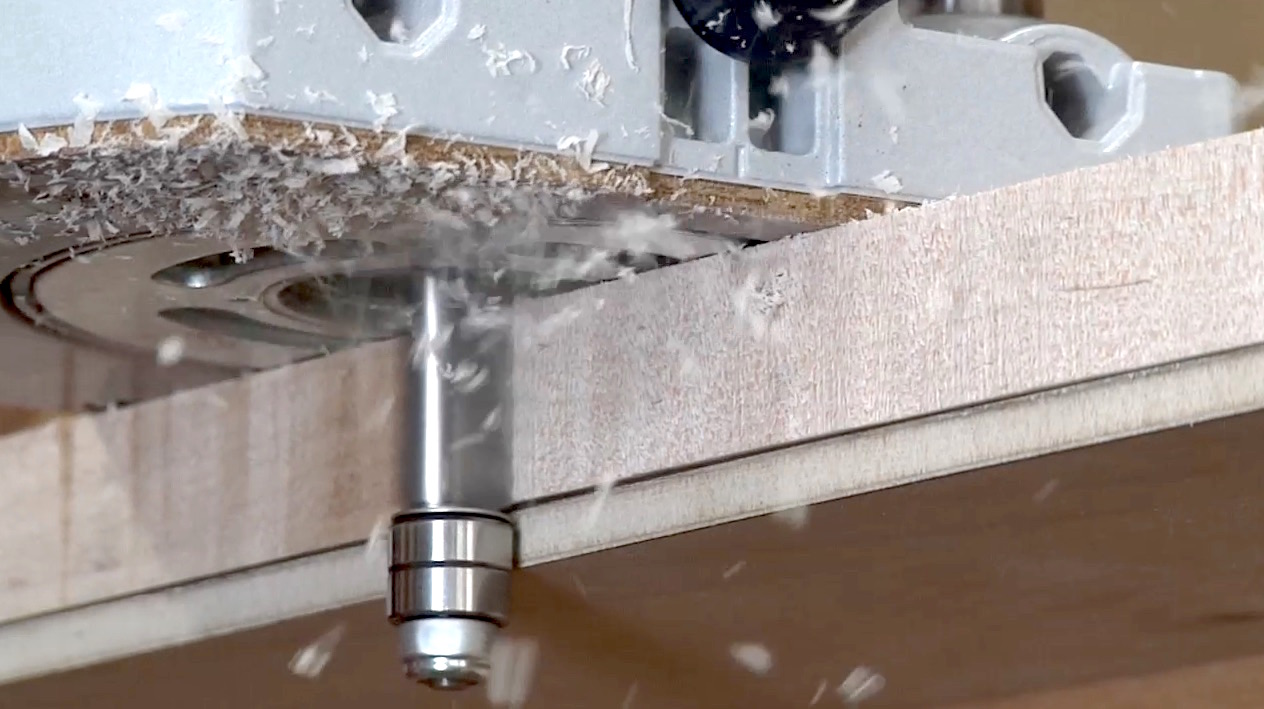 The full-size drawing can actually be used to create a template for the curve on the top rail. If you only have one frame to build, you can certainly skip this step and instead simply draw the curve on the frame itself. Since I have to build two of these frames, I’m creating a template first and then using that template to flush trim my frames to final shape.
Planing Edges Flush
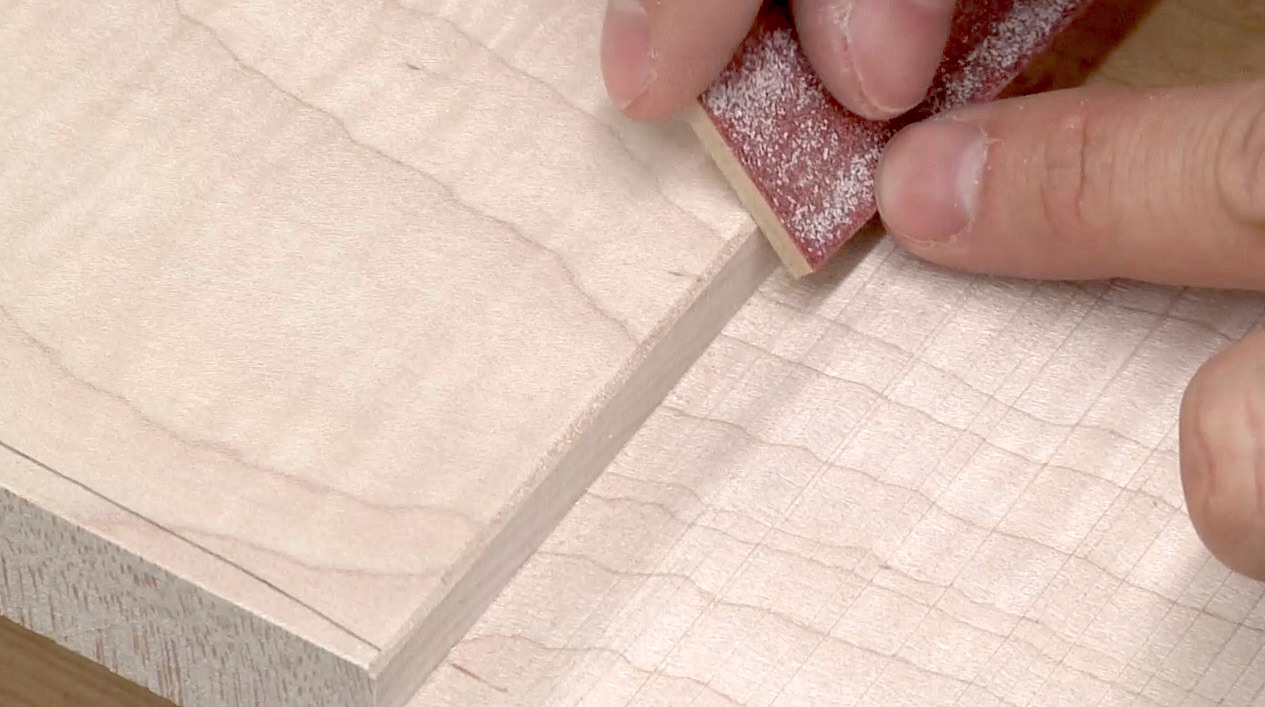
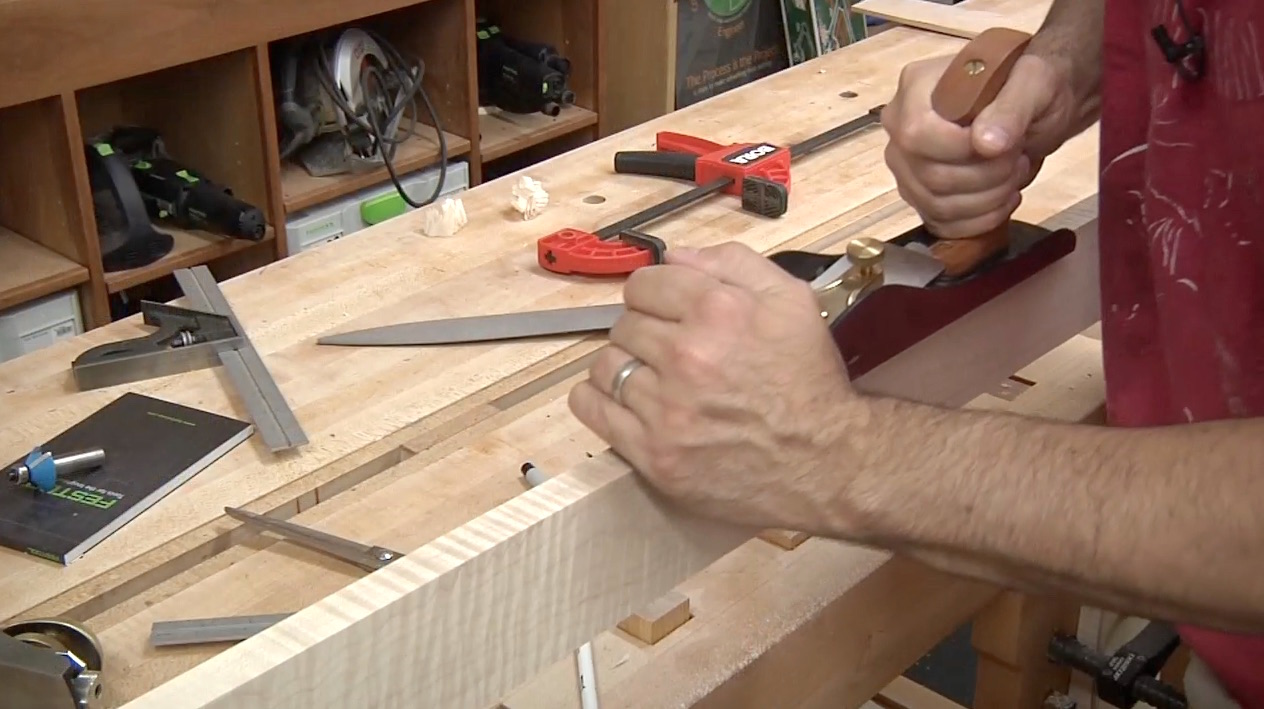 To aid in clamping and assembly, all of our parts were cut 1/16″ oversized in width. Now it’s time to remove that extra material for a nice flush appearance on all edges. The easiest way I find to do this is to use a hand plane. Since the wood is heavily figured, I use my bevel up jack plane with a 50 degree blade to plow through the tough figured grain with zero tearout.
Helpful Links


