One of the most exciting things about moving to Denver is that I now have access to more live edge slab material. We needed a new coffee table and I also wanted to build something that would showcase the new Wood Whisperer Thread Taps, so a simple Live Edge Slab Coffee Table with metal legs fit the bill nicely.
Shop Local
 The one place Denver locals kept recommending I check out what Collector’s Specialty Woods (CS Woods). After looking at their website, I hopped in the truck and decided to see what they had to offer. To say my mind was blown is a bit of an understatement. This place has more slabs than I’ve ever seen in one location including numerous species and sizes ranging from small to simply ludicrous. I selected a nice little slab of Claro Walnut that I thought would fit my space nicely and while I was checking out, I noticed a cool set of metal legs sitting over to the side. As it turns out, the legs were made by a local fabricator and they were also for sale. SOLD! I lovingly placed my new slab in the cab of my truck (it was just too beautiful to put in the bed) and headed by to my shop to get to know my new friend a little better.
Fix It Up
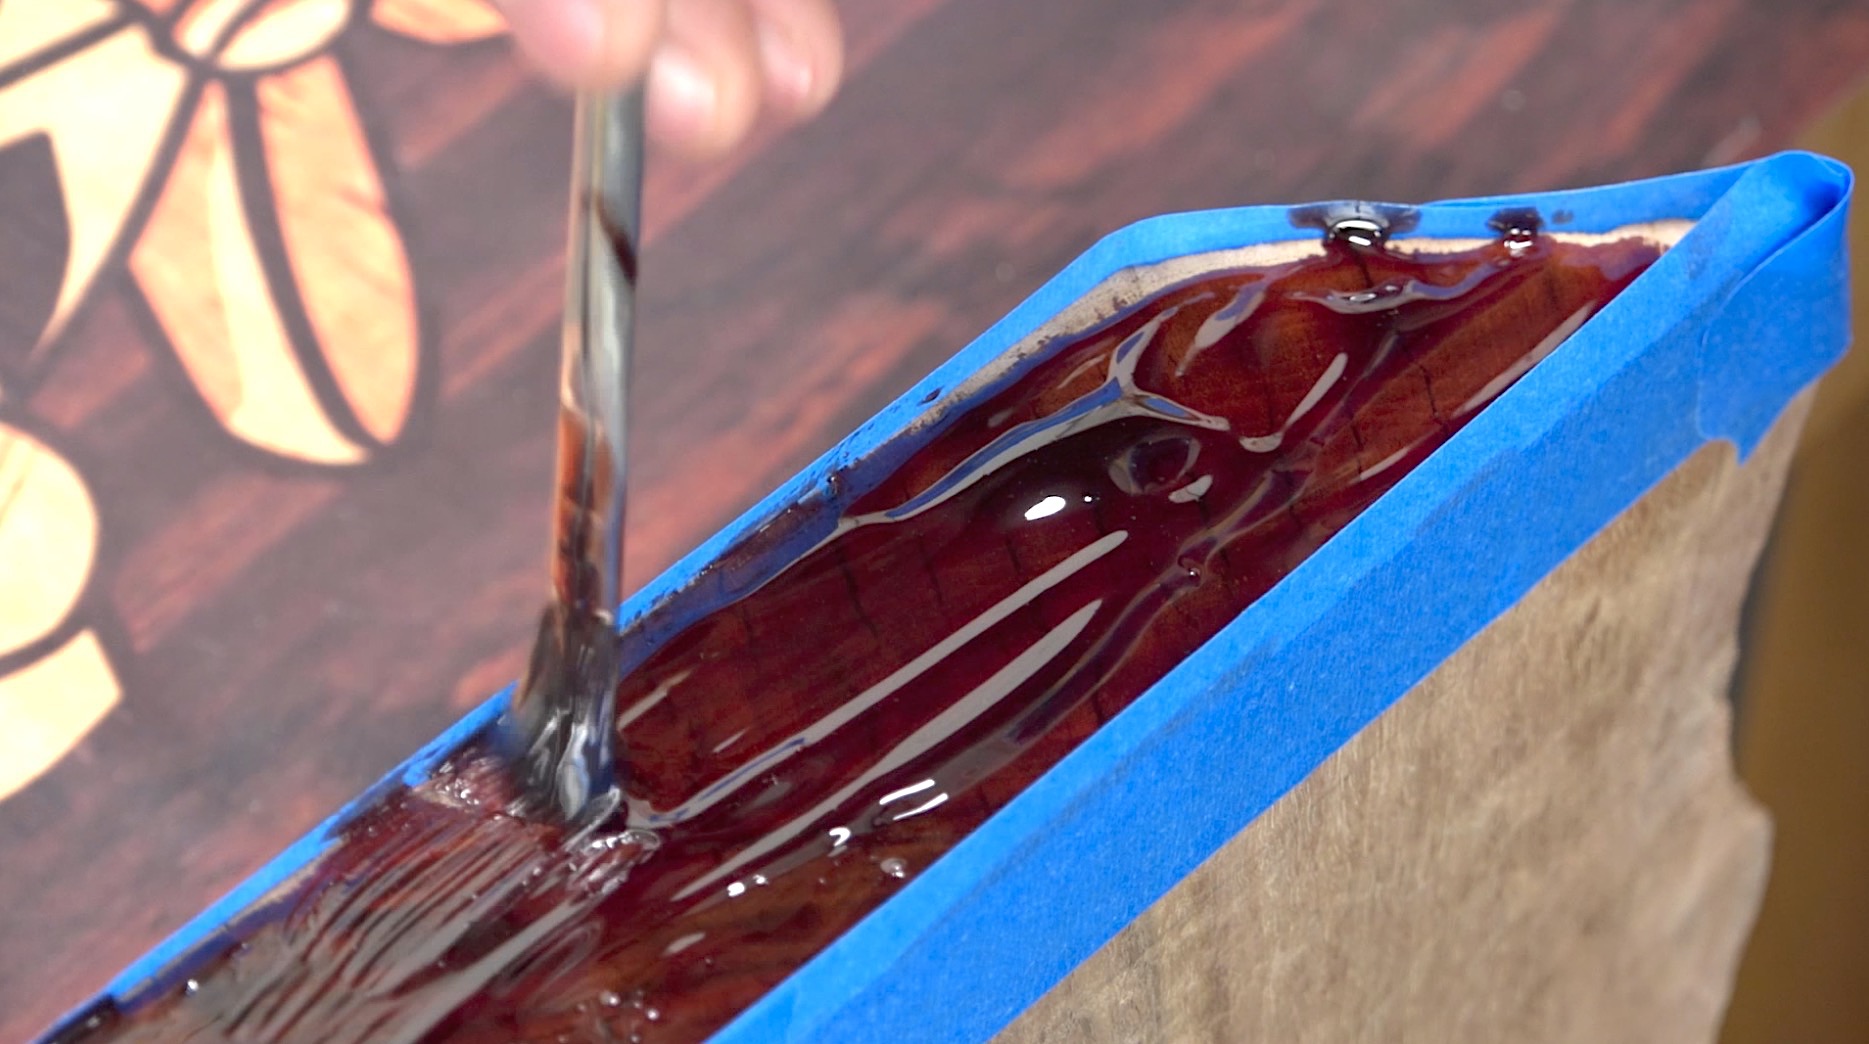 In many ways, a slab project seems like woodworking on easy mode. And believe me, this was easy! But don’t underestimate the time and attention to detail it takes to prepare a slab properly. My slab was in incredibly good shape yet I still spent several hours over the course of a few days filling knots, bug holes and checks. I like to use West System Epoxy for filling: 105 Resin, 205 Hardener, and Pump Set as well as CA Glue with Activator.
I Had a Blast
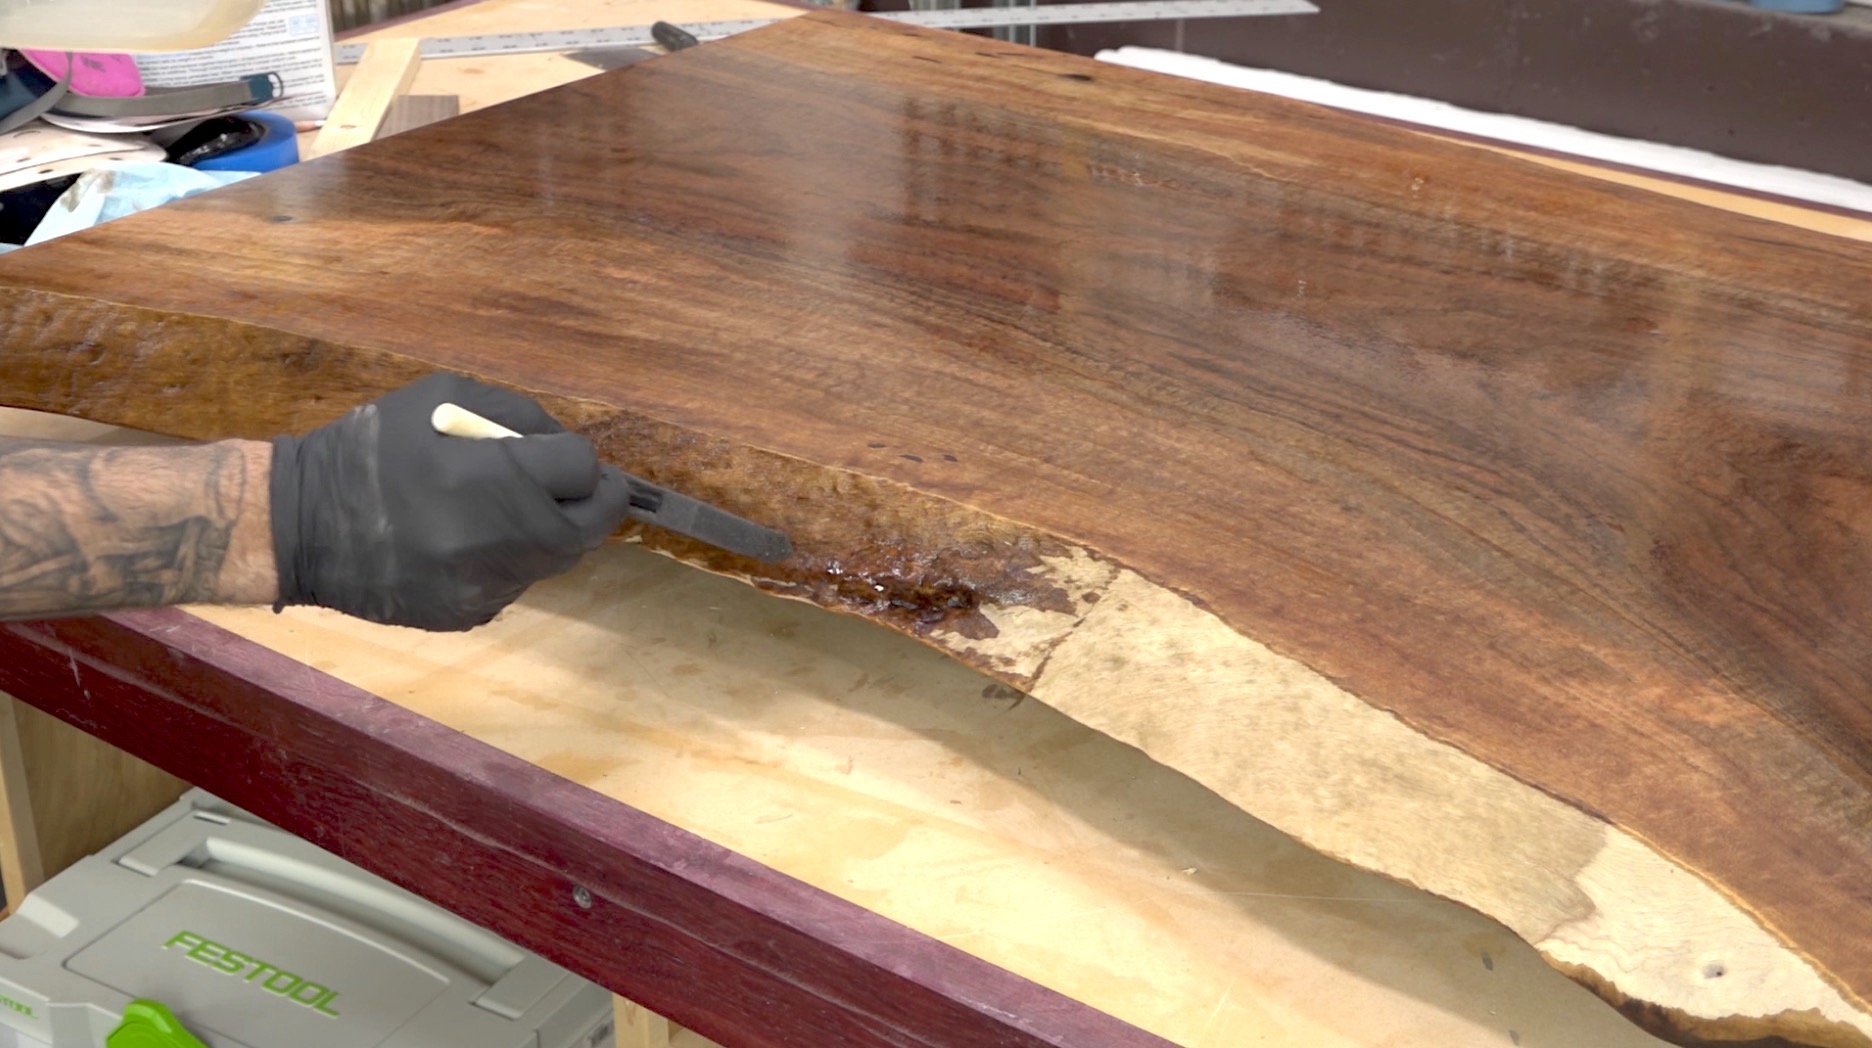
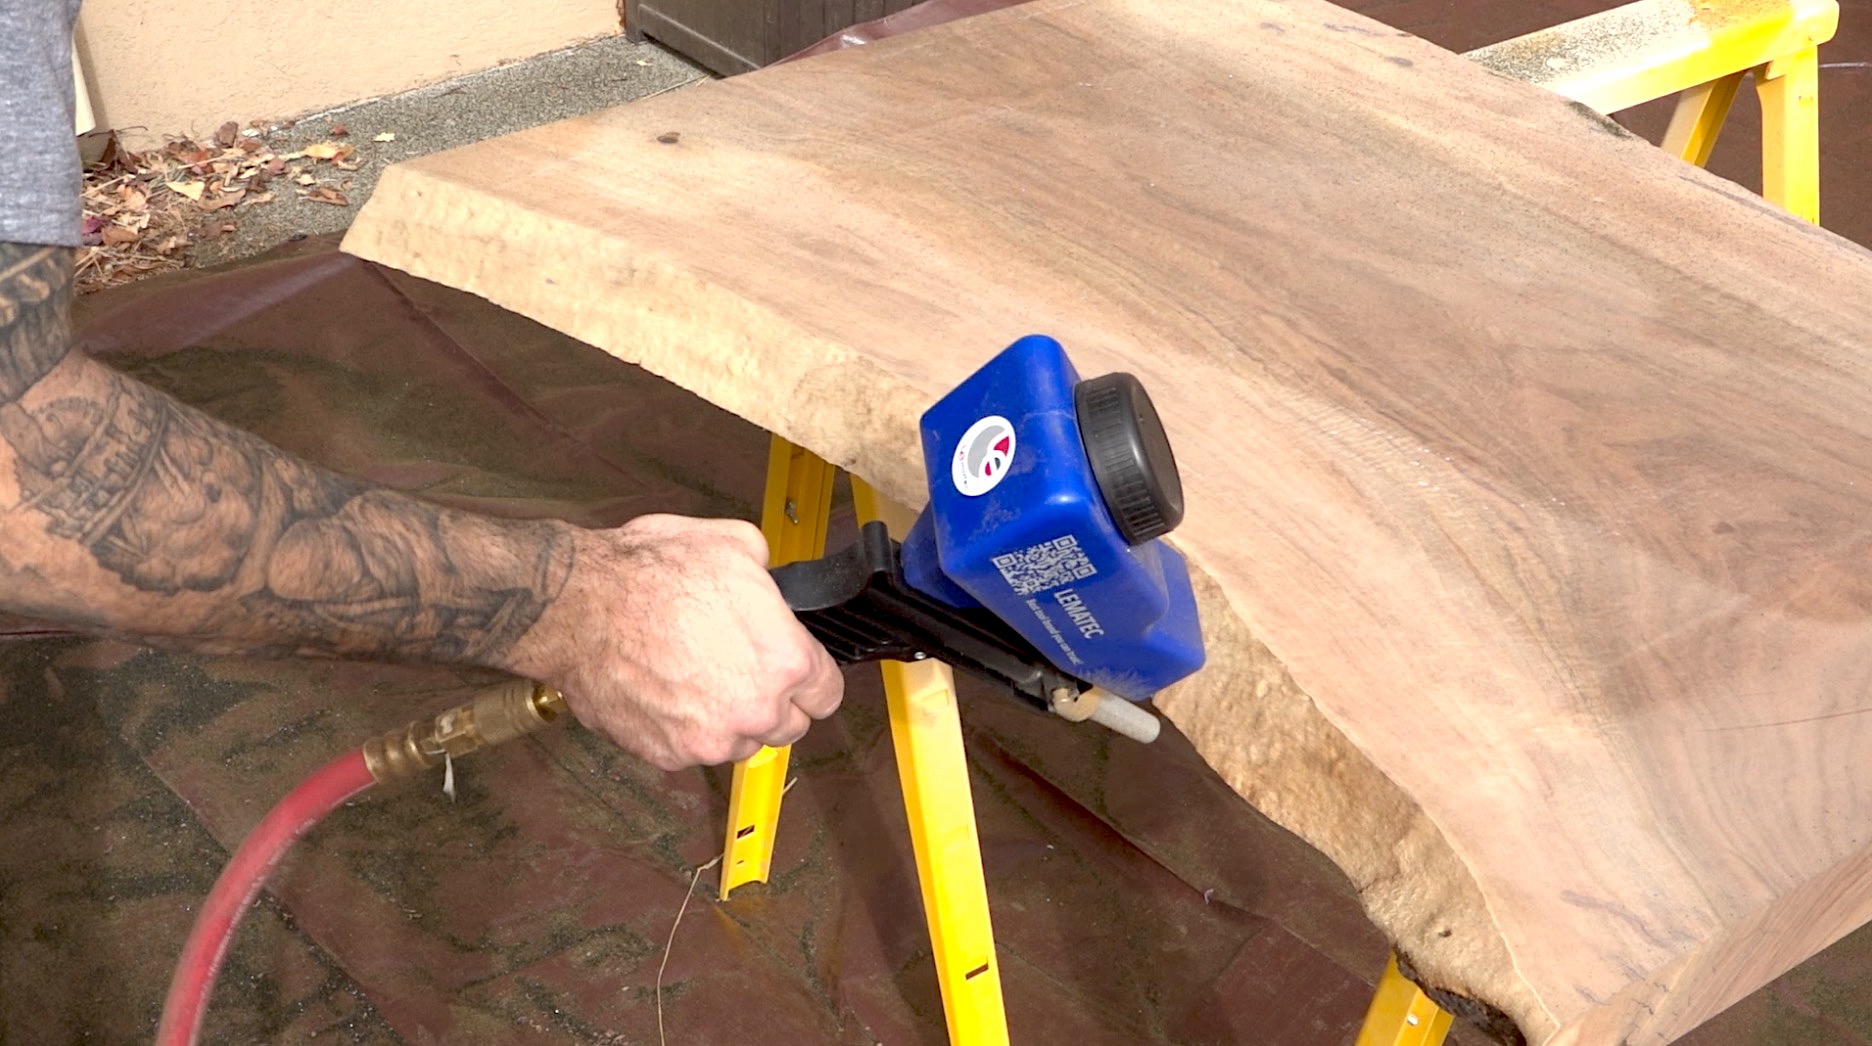 To clean up the live edges, I used a combination of carving gouges and sandblasting. I don’t have a serious sandblasting setup so I decided to dip my toes in by purchasing a fairly simple sandblasting gun. I loaded it with Black Beauty Abrasive Media, connected the compressed air, and I was off to the races. Given the cost of this setup, I was really pleased with the results as it had no trouble cleaning up and smoothing the irregular surface of the live edge.
The Finish
 Since this coffee table needs to withstand hurricane Ava and tropical storm Mateo, I decided to go with a polyurethane finish. Poly finishes generally have a bad reputation as they tend to make the wood look like plastic if applied too thick. But if you use a wiping poly (which is pre-diluted for you) and you apply it with care, you can end up with a show-stopping finish that looks natural and provides a good deal of protection. The video shows the details but here’s the quick recap.
- Step 1 – Sand thoroughly to 220 grit and vacuum the dust.
- Step 2 – Apply Coat 1 of wiping poly with sponge brush.
- Step 3 – Once dry, sand surface with 500 grit wet/dry paper and vacuum the dust.
- Step 4 – Apply Coat 2 by repeating steps 2 & 3.
- Step 5 – Apply Coat 3 by repeating steps 2 & 3.
- Step 6 – Thin the Wiping Poly even further with some mineral spirits. Coat the surface and wet sand using an abrasive 2000 grit pad. Wipe off excess (leave very little on the surface) and let dry overnight.
Attaching the Legs
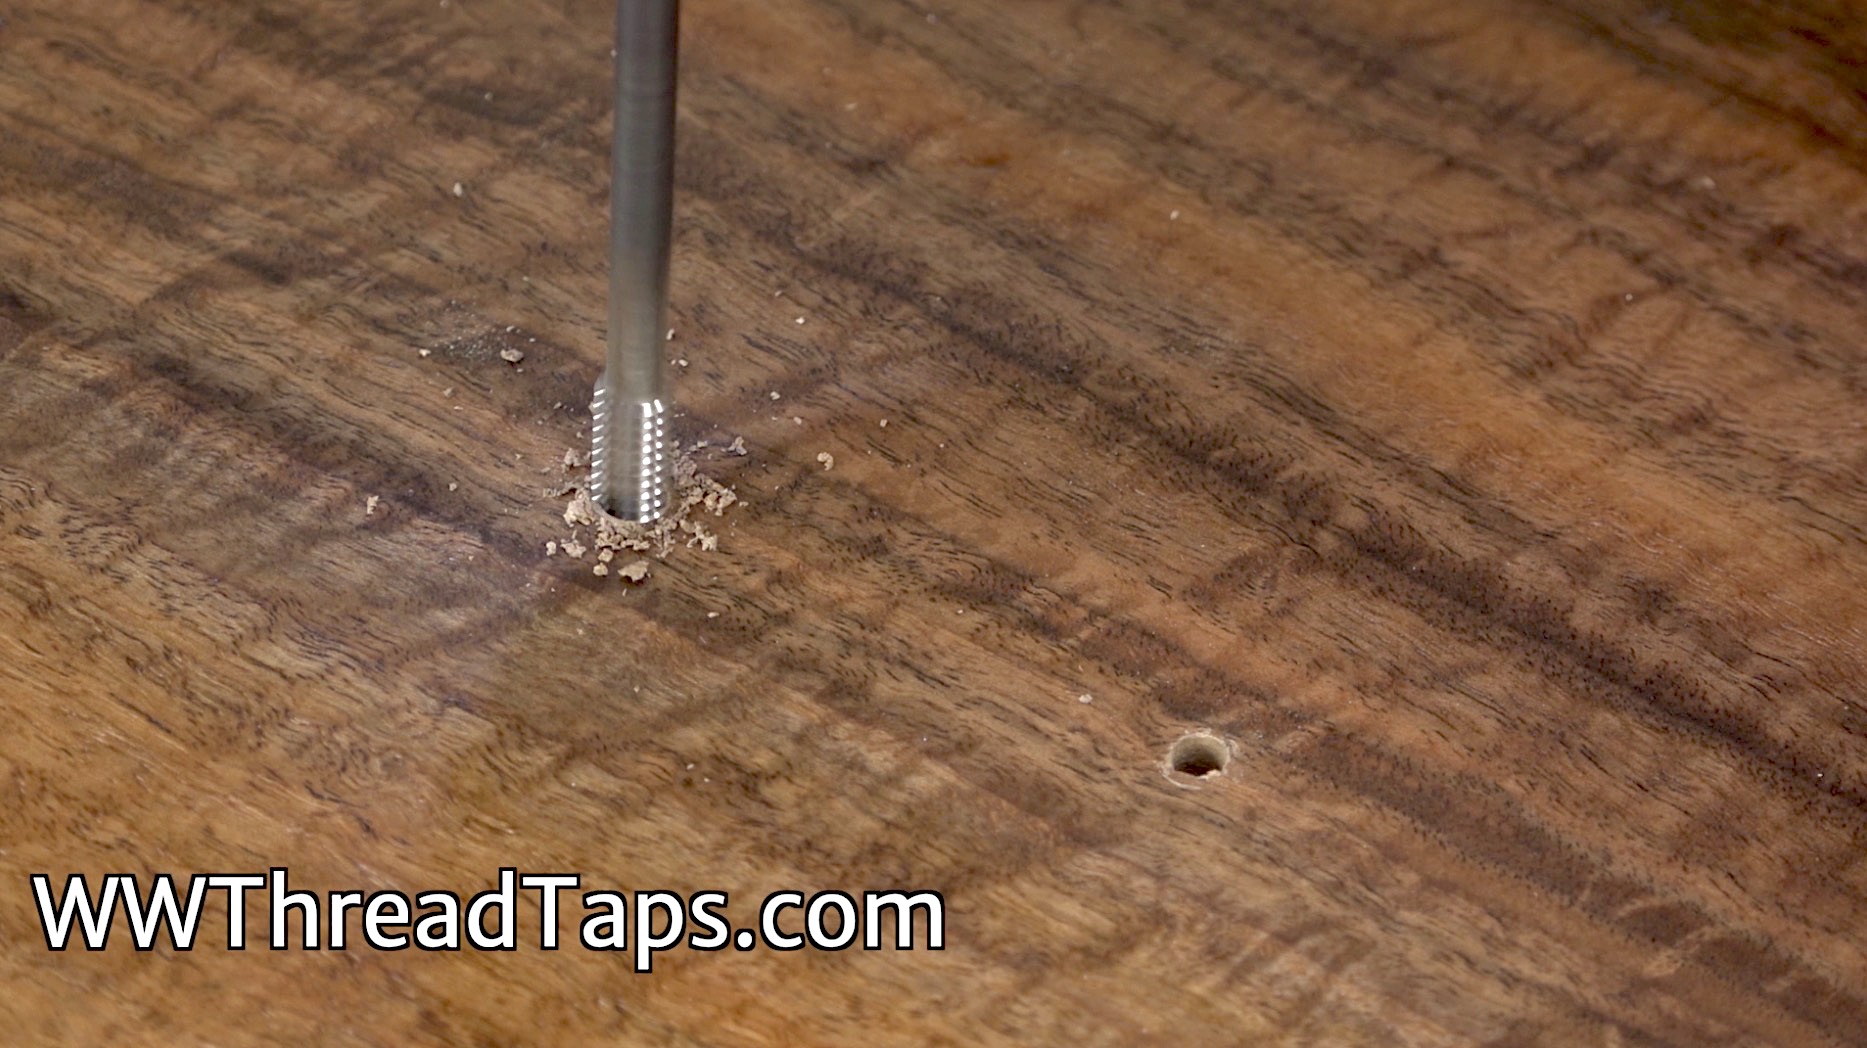 The legs are attached to the table using 1/4″-20 x 1″ L bolts. Instead of using threaded inserts, I’m using Wood Whisperer Thread Taps to get the job done. The taps are super easy to use. Just drill the appropriate sized hole to the depth you want it, and use the tape to cut the threads. The bolts can then be driven home. For more information about these taps, check out WWThreadTaps.com.
The Moral
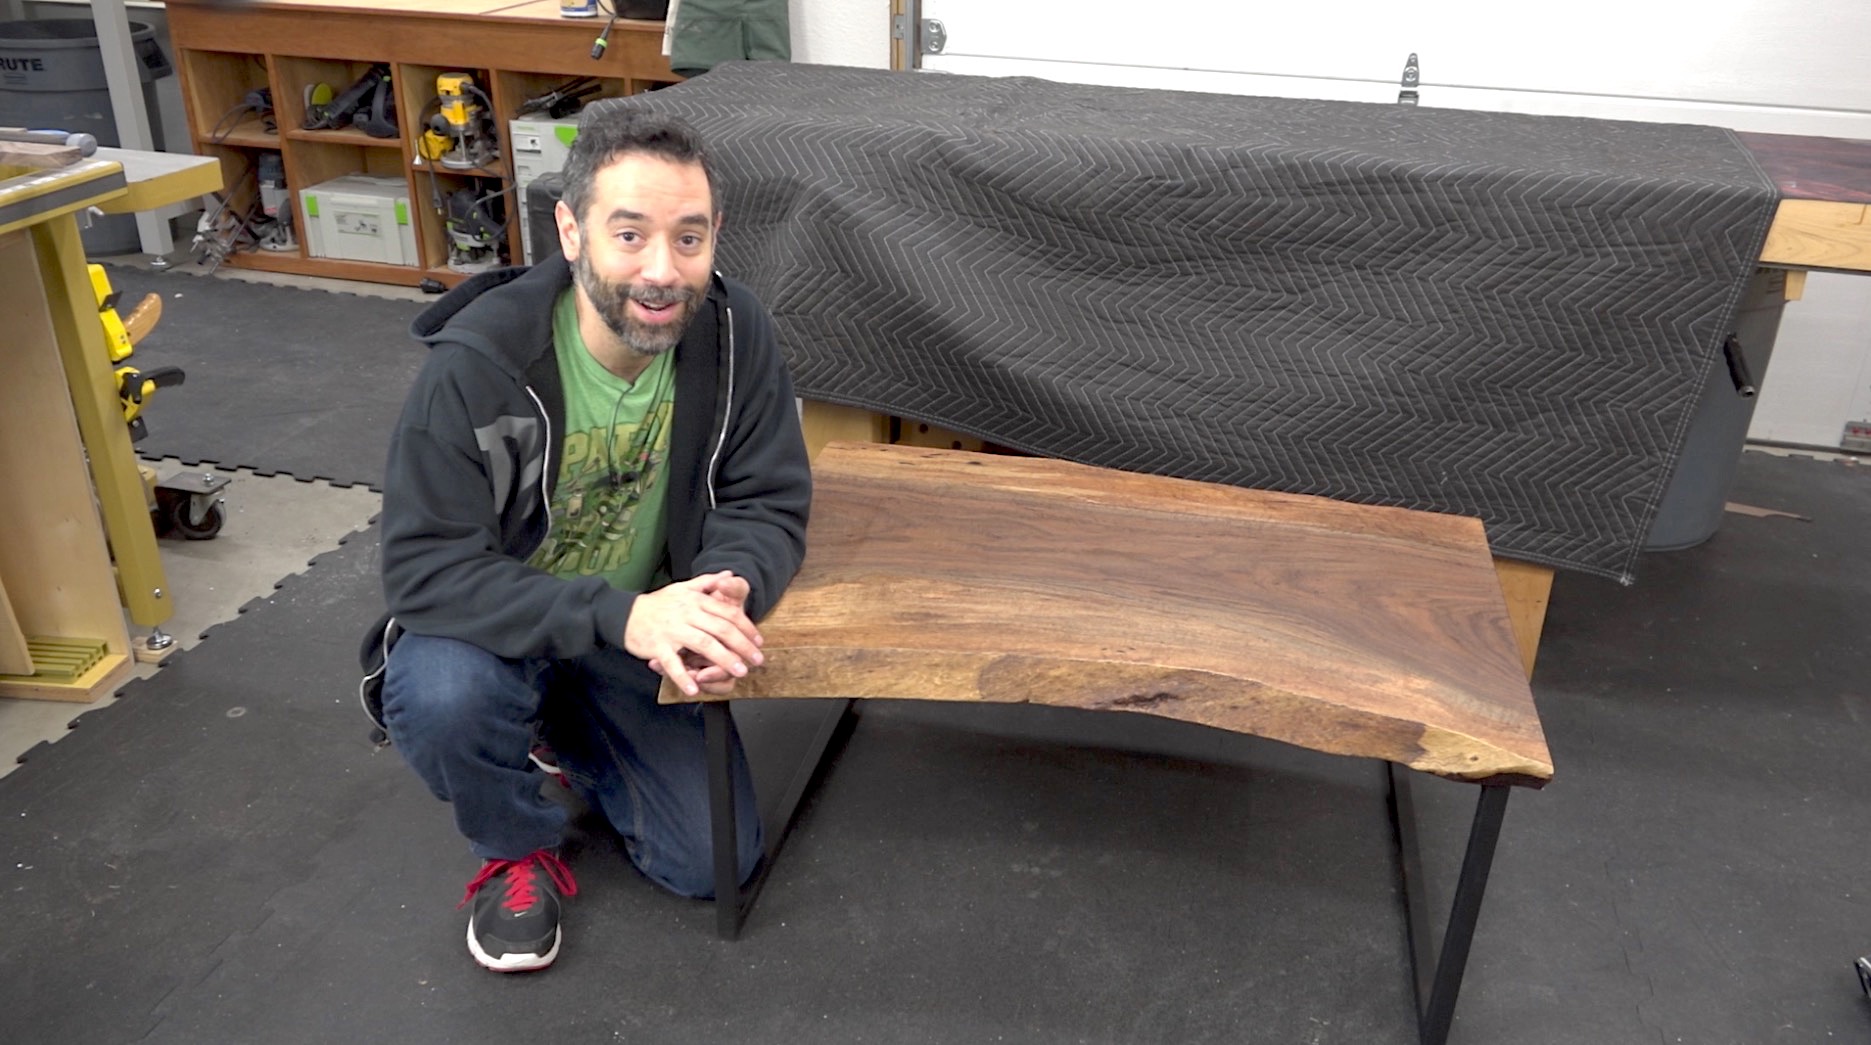 When it comes to live edge slabs, less is more. The slab itself is the true showpiece and Mother Nature did nearly all of the work for us. Our job as woodworks is to include a base that both compliments the slab and stays out of its way, visually speaking. Too many times I see an over-designed base that competes with the top. Don’t do that. Let the top be the hero and design a base that supports it in the simplest and most complimentary way. Or you can get around the design challenge by simply using a visually “light” metal base or legs. Normally, I would have made the base from wood but as I said initially, I wanted to show the Wood Whisperer Thread Taps in action and this seemed a cool way to do it. All in all, I’m very happy with the results.


