**2019 Update**
Unfortunately, this attempt at a “bulletproof” finish didn’t hold up. After two years, the finish is cracking and peeling. While it might be tempting to put 100% of the blame on the finish itself, there were other factors at play here. First, this table received full sun exposure in Denver. At our high elevation, the UV rays are particularly potent and there aren’t many film finishes that can survive that kind of torture. Second, the wood itself is incredibly soft. That means the table dented and scratched easily. Wherever a scratch occurred, there was a point of infiltration for the elements and the finish simply lifted from there. And third, the breadboard end design is problematic for a film finish. As the table expands and contracts, the finish will split and create another point of infiltration.
As a point of reference, I have this same finish on two Adirondack Chairs (mahogany) and a garden gate (white oak), all of which are mostly shaded during the day but still exposed to weather, and those are holding up great. To see for yourself how this table finish held up and what I ultimately did about it, check out this video.
Looking for a durable outdoor finish? You’ve come to the right place! Looking for an inexpensive solution that will never require any maintenance? This is not the finish for you. Good quality marine finishes are not cheap. In fact, I am pretty sure the finishing materials cost as much as the wood! And while they can produce one of the most durable and long-lasting finishes available to woodworkers, they will eventually require maintenance thanks to the unrelenting power of Mother Nature. My goal is to put off that maintenance for as long as possible. By the way, looking for a quick review of common outdoor finish types? Check this out!
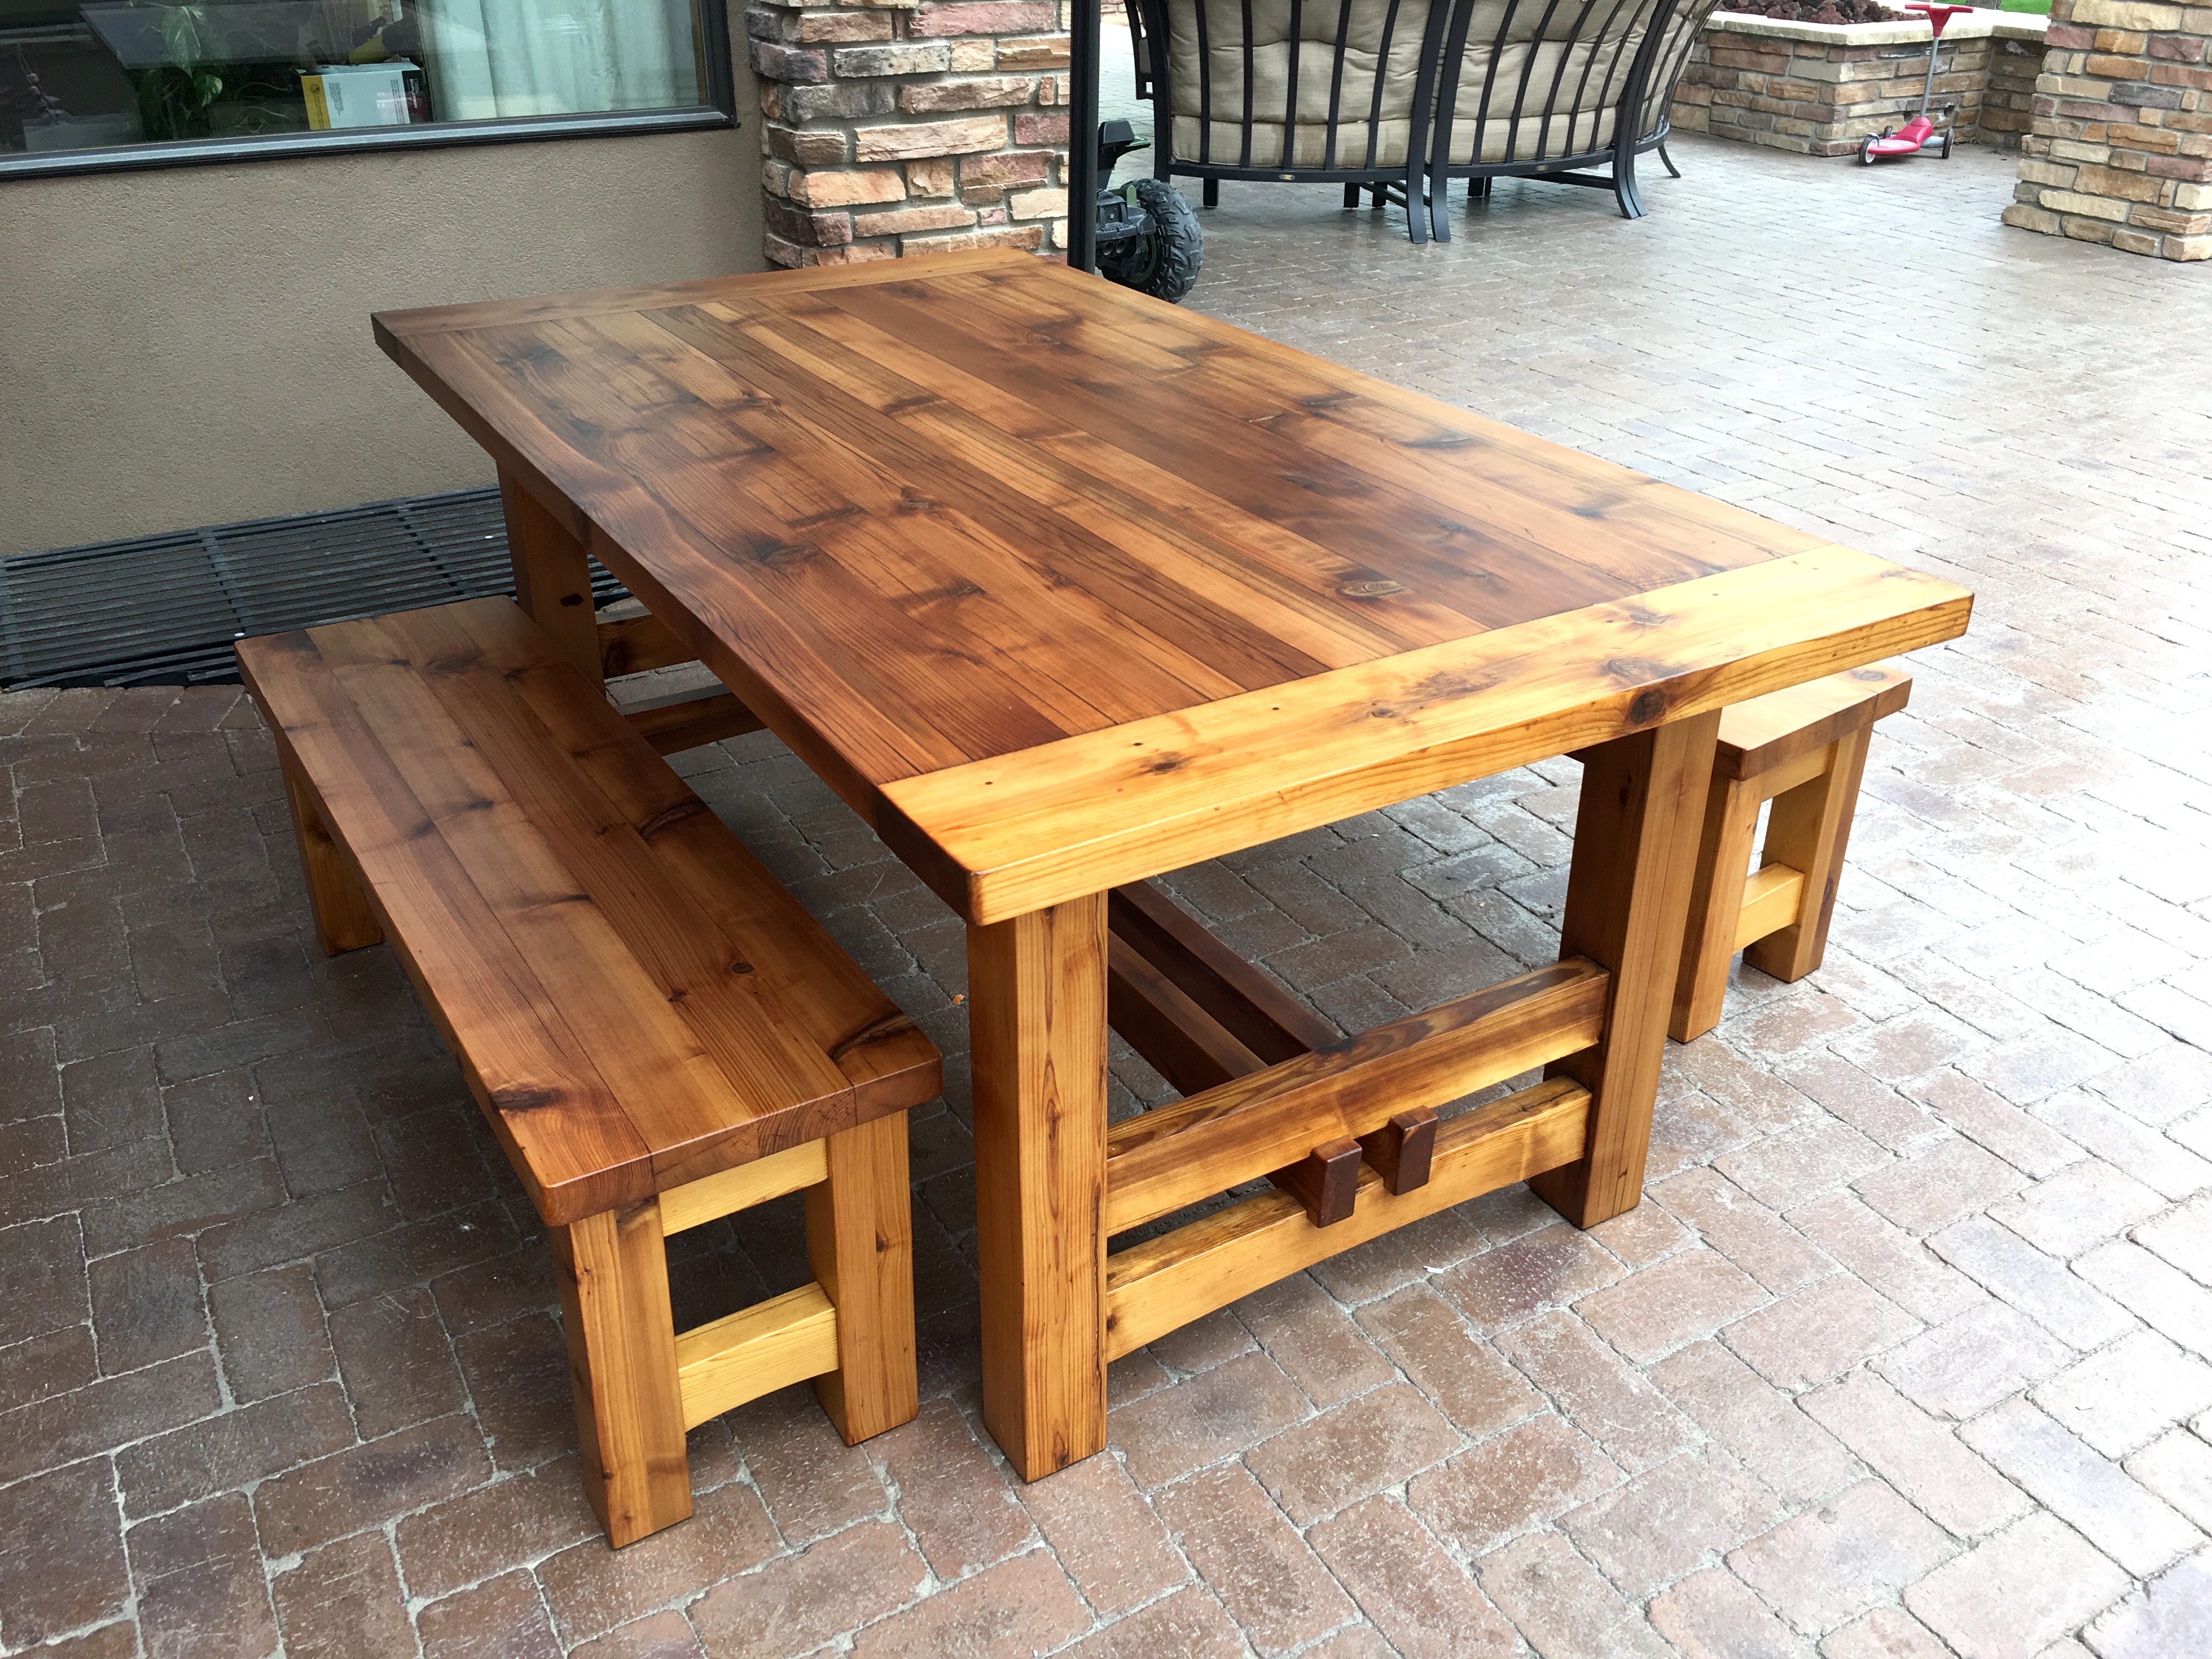
A few years ago I built the Rustic Outdoor Table (download free plans here) and only gave it a coat or two of Watco Teak Oil. I then proceeded to let the table sit in the blazing Arizona sun, a veritable torture test for any wood or finish. The end result? A table and benches that were weathered beyond their years and were riddled with checks and cracks. Somewhere along the line I actually did refinish the benches, but it was a rushed job and I didn’t apply enough coats of varnish. However, the benches were in much better shape than the table by the time I decided to do a full-scale refinish here in Colorado.
The Finish
The finish is a 1-2 punch consisting of an epoxy sealer and a marine varnish. Because the wood was in such bad shape and I didn’t want a high gloss finish, two additional products were added to the lineup. In short, the goal is to use epoxy to seal the wood fibers and essentially make them impervious to liquids. This provides an excellent base on which to build numerous coats of varnish. The varnish has a lot of solids and is made with very flexible resins that should have no trouble stretching when the wood expands and contracts. The varnish also contains UV inhibitors which will slow down the breakdown of the finish itself while also protecting the underlying wood fibers.
Step 1 – Epoxy Fill
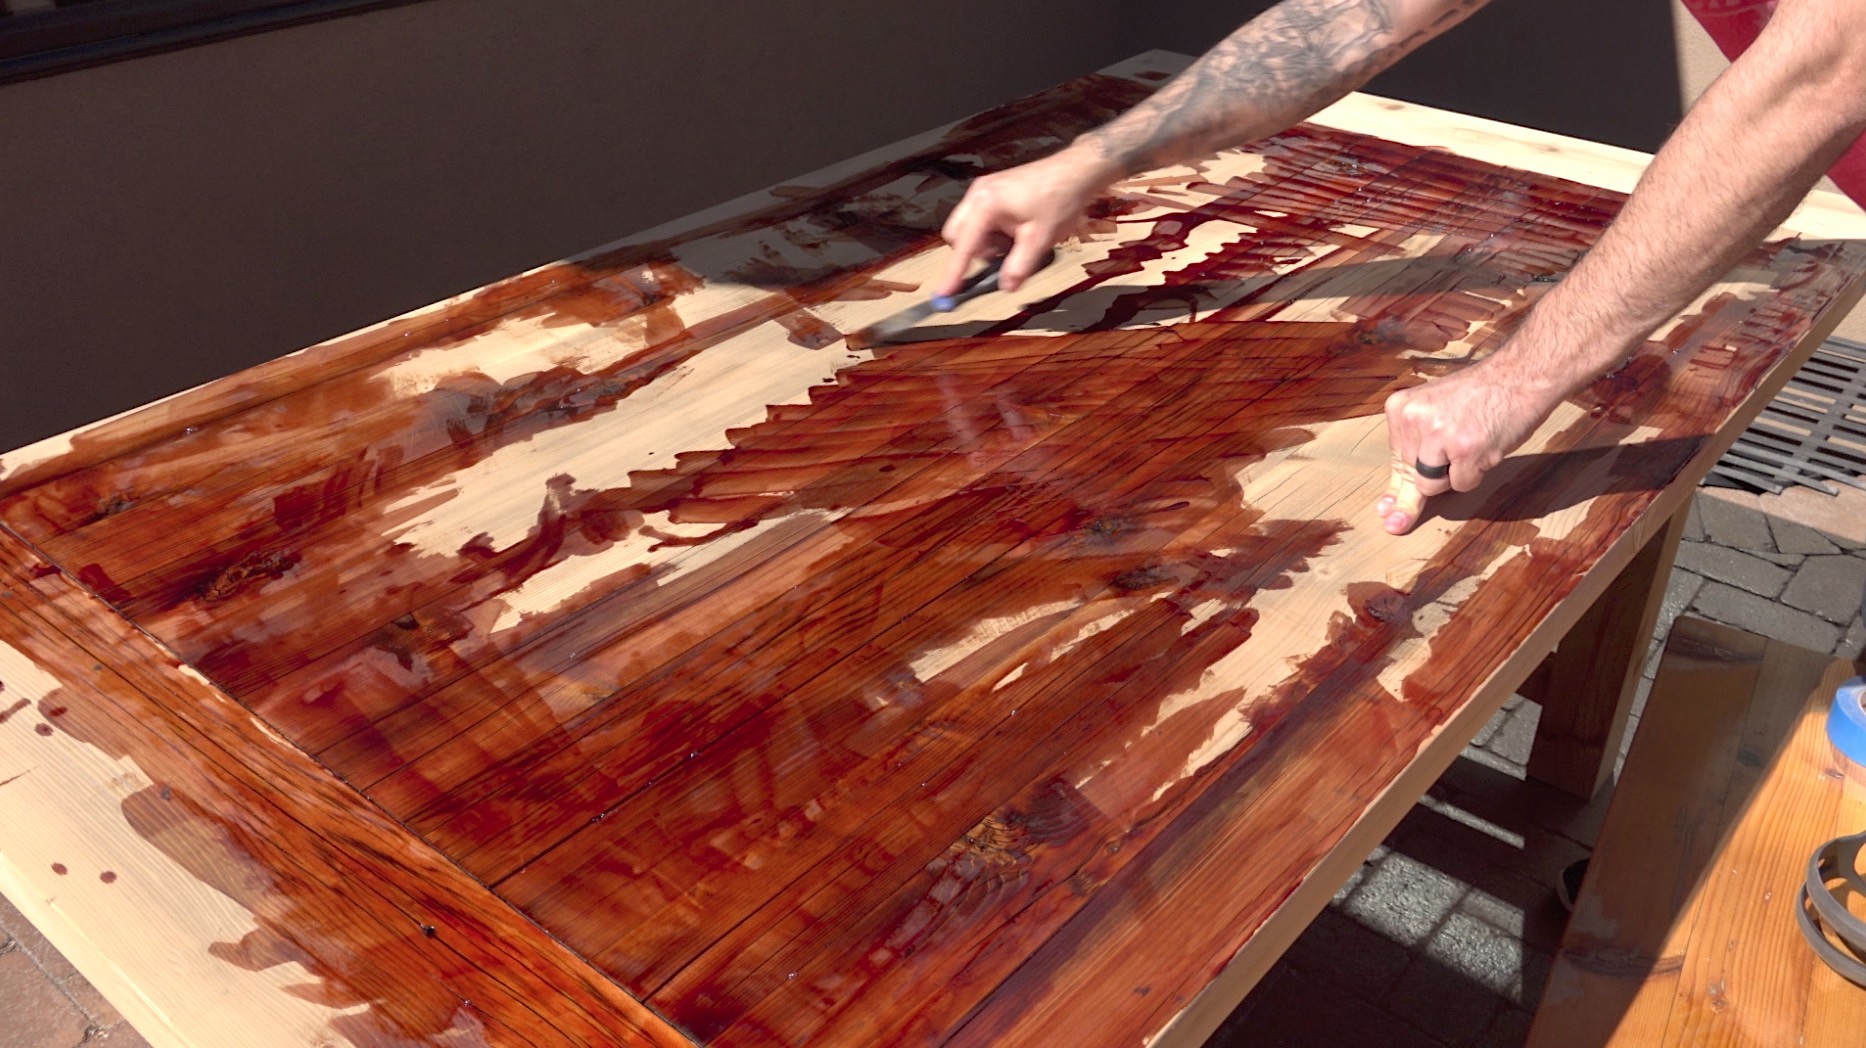 My product of choice for this step is West System Epoxy. I usually buy the gallon size Resin, the 205 Fast Hardener, and the pump set for convenient mixing. The epoxy is spread along the surface and driven into the cracks with a putty knife. You can then use something like an irrigation syringe to push more epoxy into the deepest holes. Quick tip: use masking tape on the underside if the cracks go all the way through. This will prevent the epoxy from simply pouring out onto the ground.
Step 2 – Epoxy Sealer
 In the past, I used a product called Clear Penetrating Epoxy Sealer (CPES). It worked incredibly well, seeping deep into the wood fibers and sealing them completely and providing a nice base for the varnish. But the stuff does have an incredibly noxious odor. For this project I did a little more research and came across a zero VOC product called Total Boat Penetrating Epoxy. It mixed and applied easy enough and the smell was not unpleasant at all. But I found that it didn’t seem to absorb as deeply as CPES though I might have gotten better absorption with further acetone dilution. The product also took 5-6 days to cure. But once cured, the surface can be sanded smooth in preparation for the varnish.
Step 3 – Marine Varnish
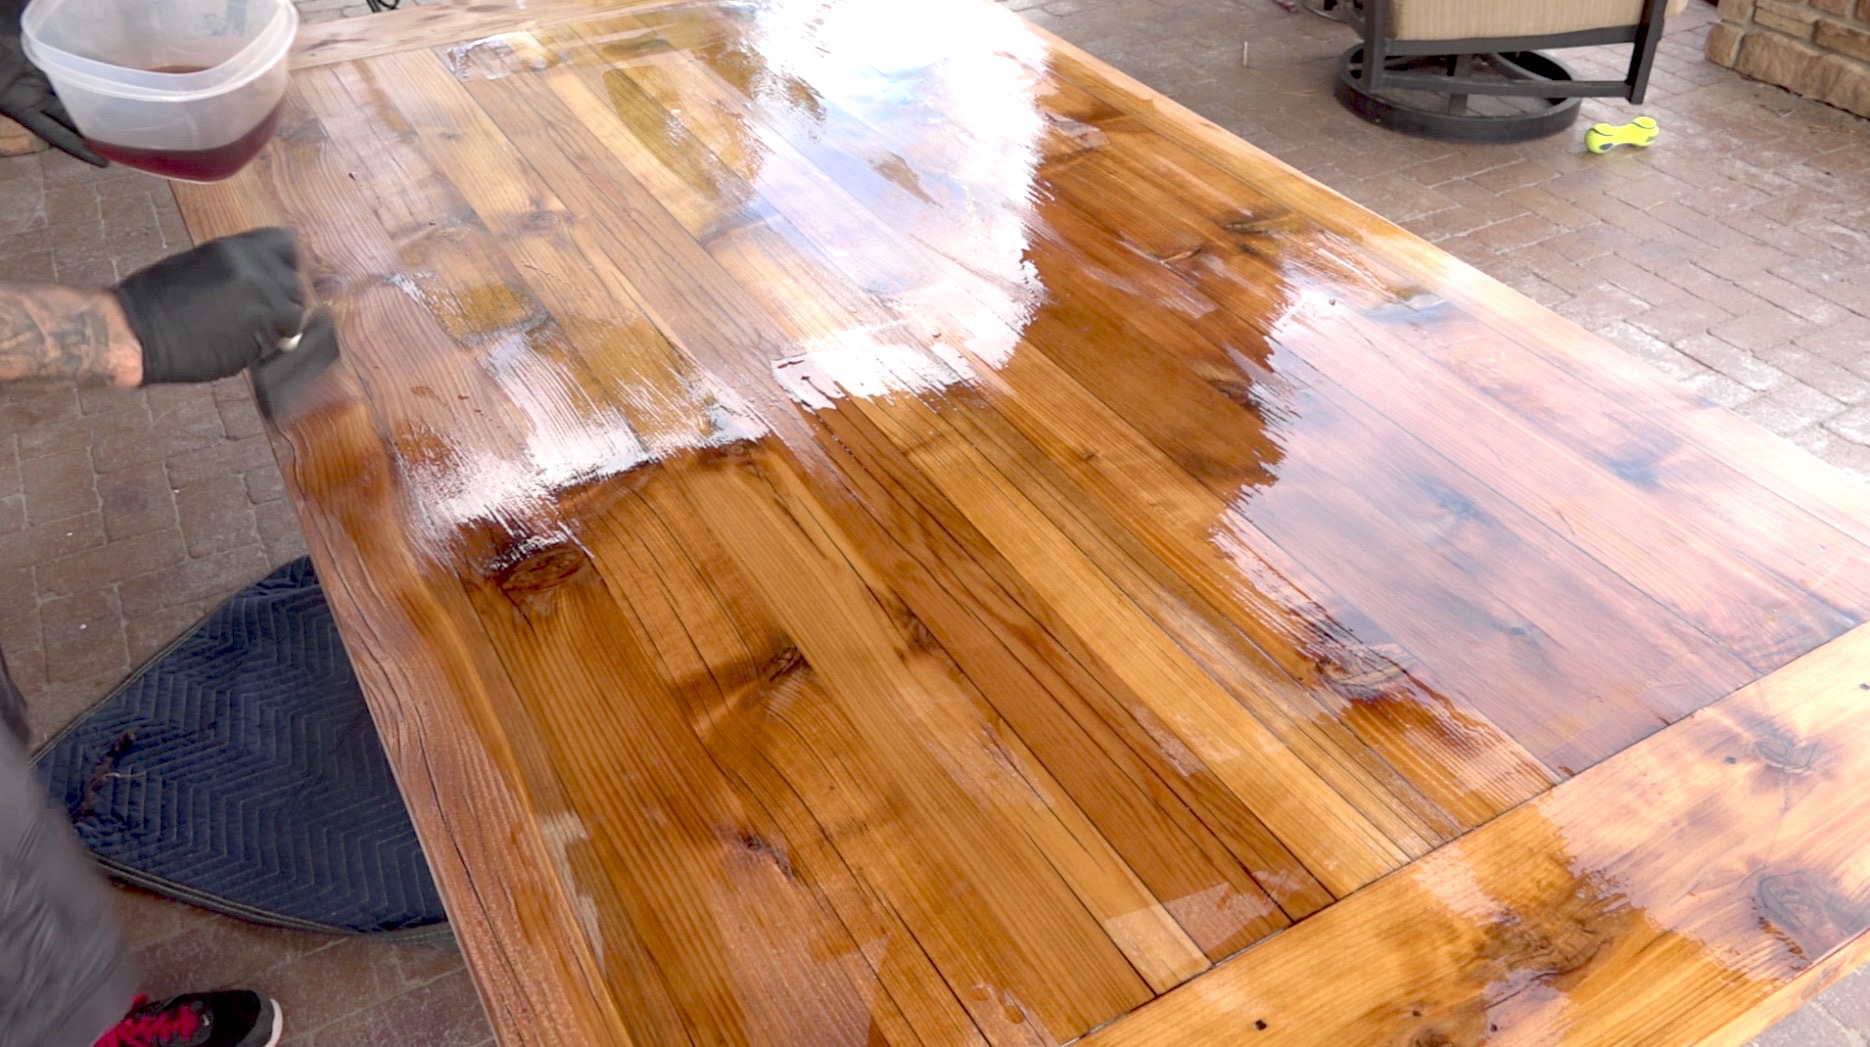 I’ve been using Epifanes Marine Varnish for years on my outdoor projects. I even experimented with mixing it with oil for an easily renewable desert-friendly outdoor finish. I used it again along with CPES on the Outdoor Sitting Bench. The stuff isn’t cheap, but you’ll be hard-pressed to find a varnish better-suited for outdoor life. I apply a total of 4-5 coats, the first few diluted by 50% with mineral spirits. The last coat or two get diluted a little less at 25%. Application is done with either a foam brush or a good quality natural bristle brush.
Step 4 – Matte Varnish

The regular Epifanes product is high gloss. And after 4-5 coats we’re talking a seriously substantial film! To give the piece a little more of a “relaxed” look, I like to apply two additional coats of Epifanes Wood Finish Matte. This stuff is flat as flat can be and I love the appearance. I suppose if you want a little more gloss, you could always mix this stuff with the high gloss product to achieve some sort of happy medium. I only have to dilute it by about 10% to get the flow just right.
Maintenance
I’ll keep you posted on this. I now live in a very different climate with the full range of four seasons. I have the table sitting under an umbrella which should help minimize exposure but it won’t completely stop it. My goal and hope is that I won’t have to tend to this table more than every other year. But I’ll monitor the finish periodically and keep you posted on its condition. But for now, I have an easy to clean table and bench set that we don’t mind eating on. And with Spring in full force, that’s a very good thing!