Alder Gaming Console – Viewer Project

Let’s check out this gaming console submitted by Zach.

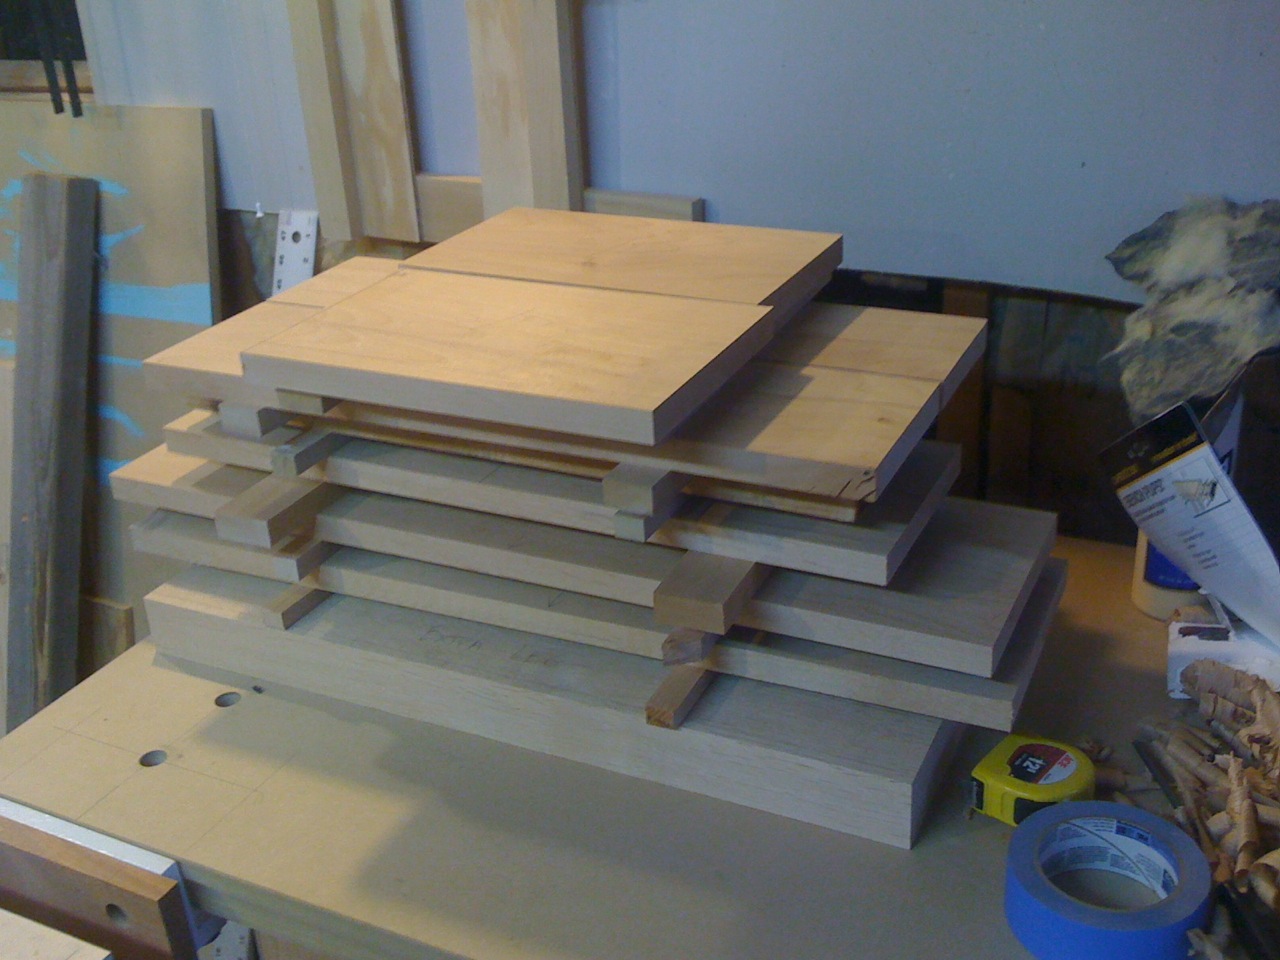
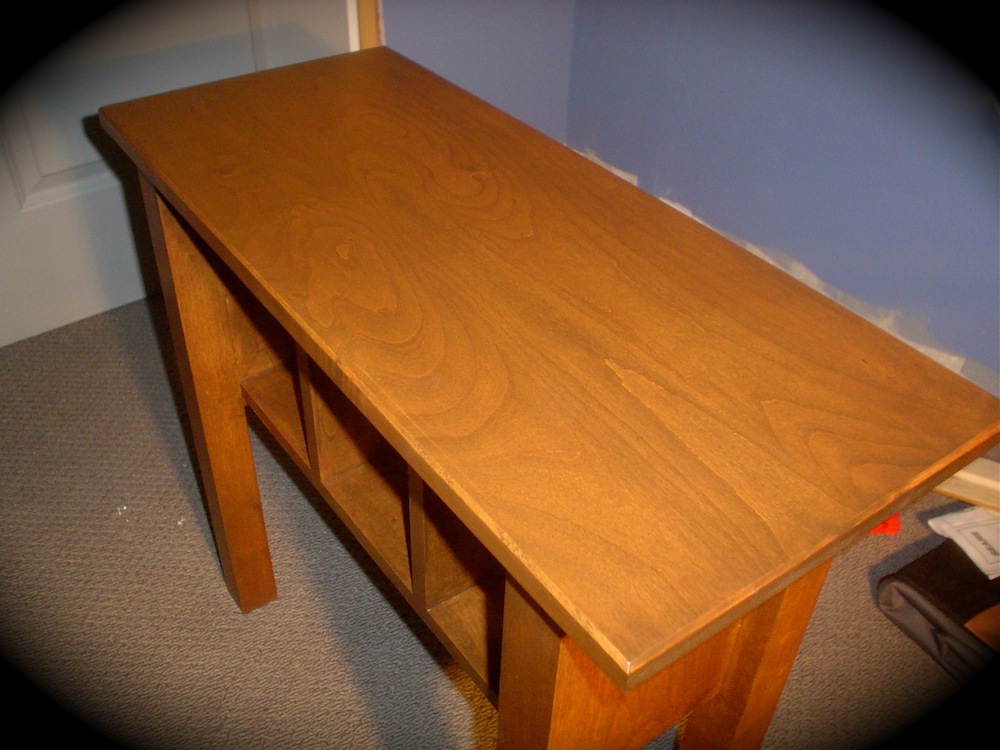
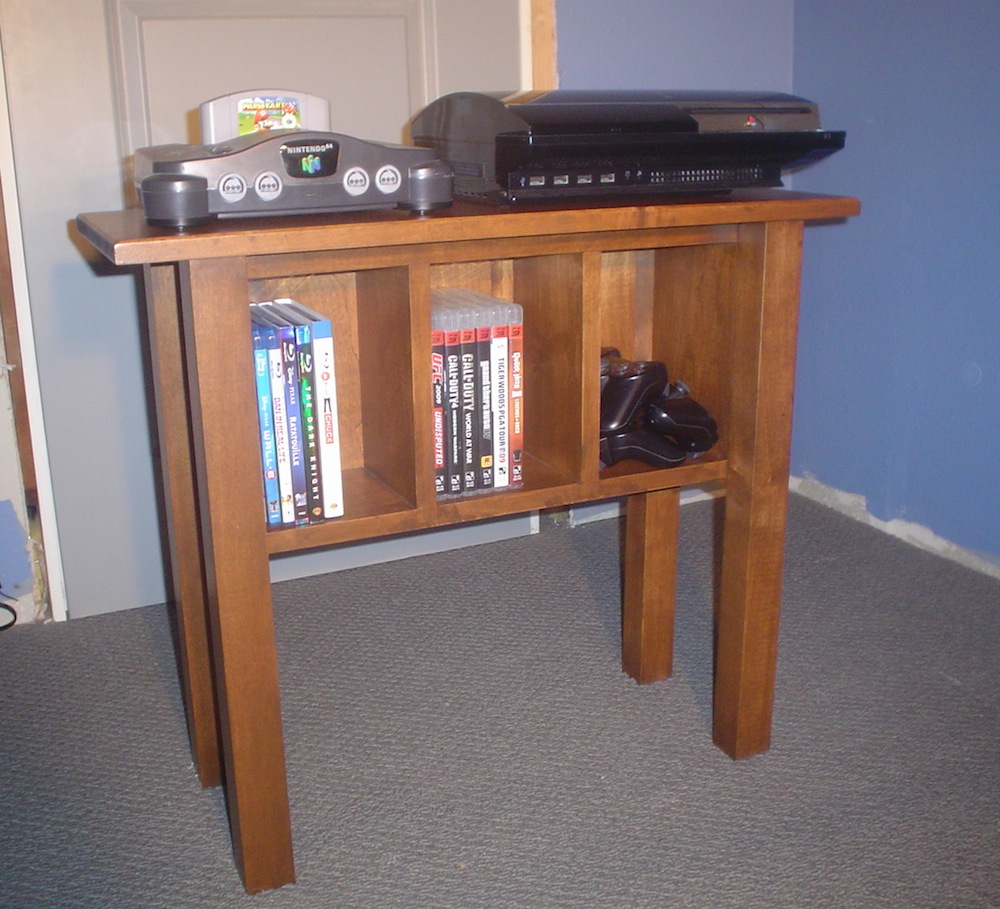
I’m happy to say that I have just finished the first project that I am truly proud of. I built it to hold my video games and Blu-Ray movies and my PS3 will sit on top.

IMG_0552My wood of choice was alder. It was a new wood for me and the price was good. Everything was made from 4/4 stock aside from the legs which are from 8/4 material. I didn’t want to mess around with laminating boards together to get the thickness I wanted.

IMG_0554 
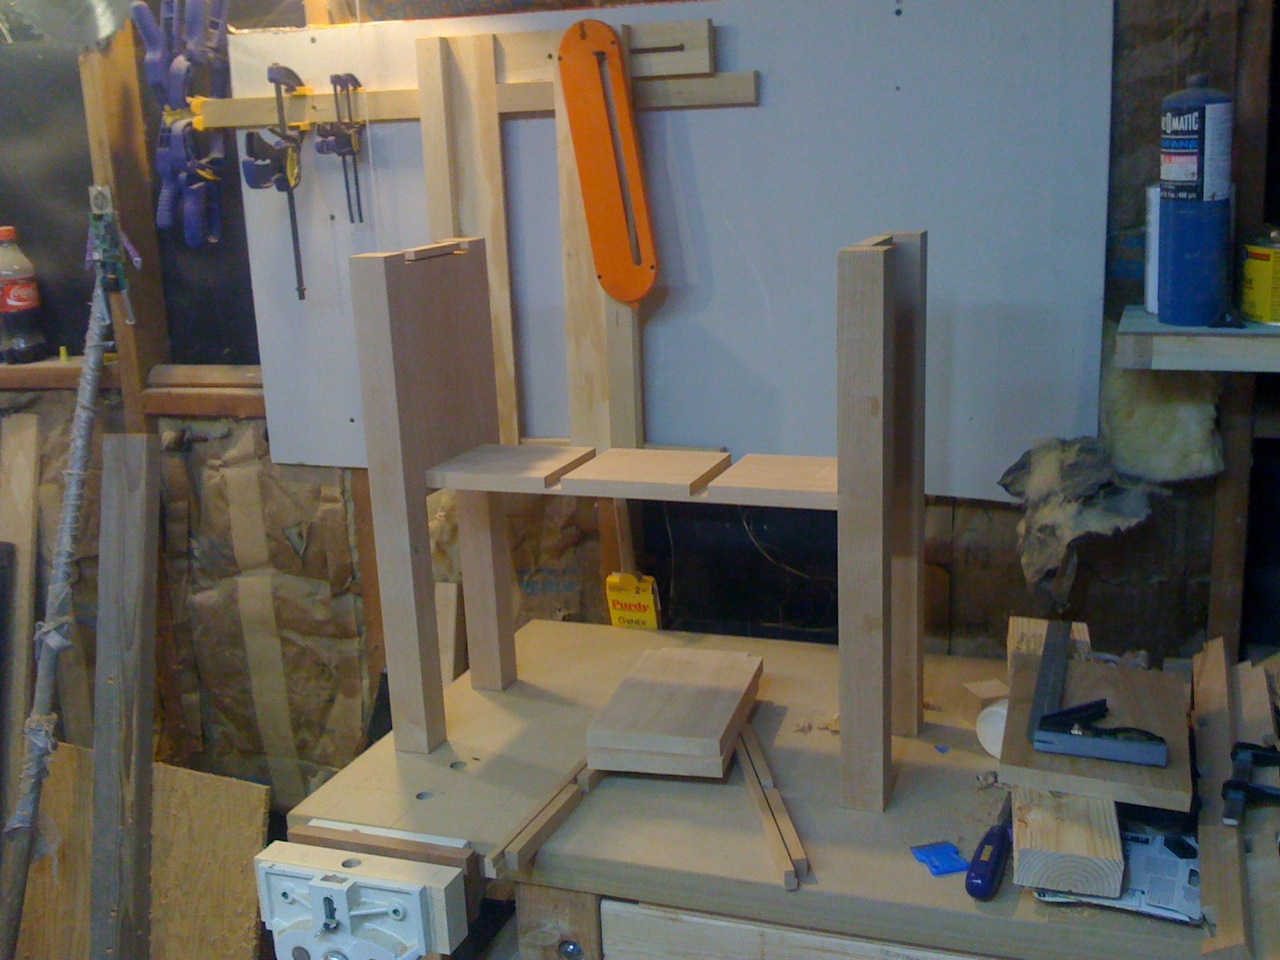
After everything was all milled up and cut to size, I constructed two identical side pieces made up of two legs and what is essentially a case side. Those were both joined together with glue and some dowels to help with alignment. The case sides have a dado routed about a half an inch up from the bottom where the shelf fits into to join the two sides together. The shelf piece has two dadoes for the divider pieces to fit into and those were glued in next. I milled up some pieces that were about 1″ x 3/4″ and were as long as the case is wide and set those into notches that were cut out in the upper corners of the side and divider pieces. IMG_0555I felt this would give the case more rigidity and it would also allow me to use some table top fasteners for the top. The back is made of solid wood. I resawed some alder on my tablesaw so it was just over a 1/4″ thick then used my thickness planer to bring it to exactly a 1/4″. Then at the router table, I routed some rabbets on opposite sides of the pieces which created a sort of lap joint. The pieces were attached with only two brads, one on top and one on the bottom, both located in the center. Finally the top, was attached with table top fasteners. The top was made up of two boards and I used a router to put a chamfered edge all the way around.

IMG_0562
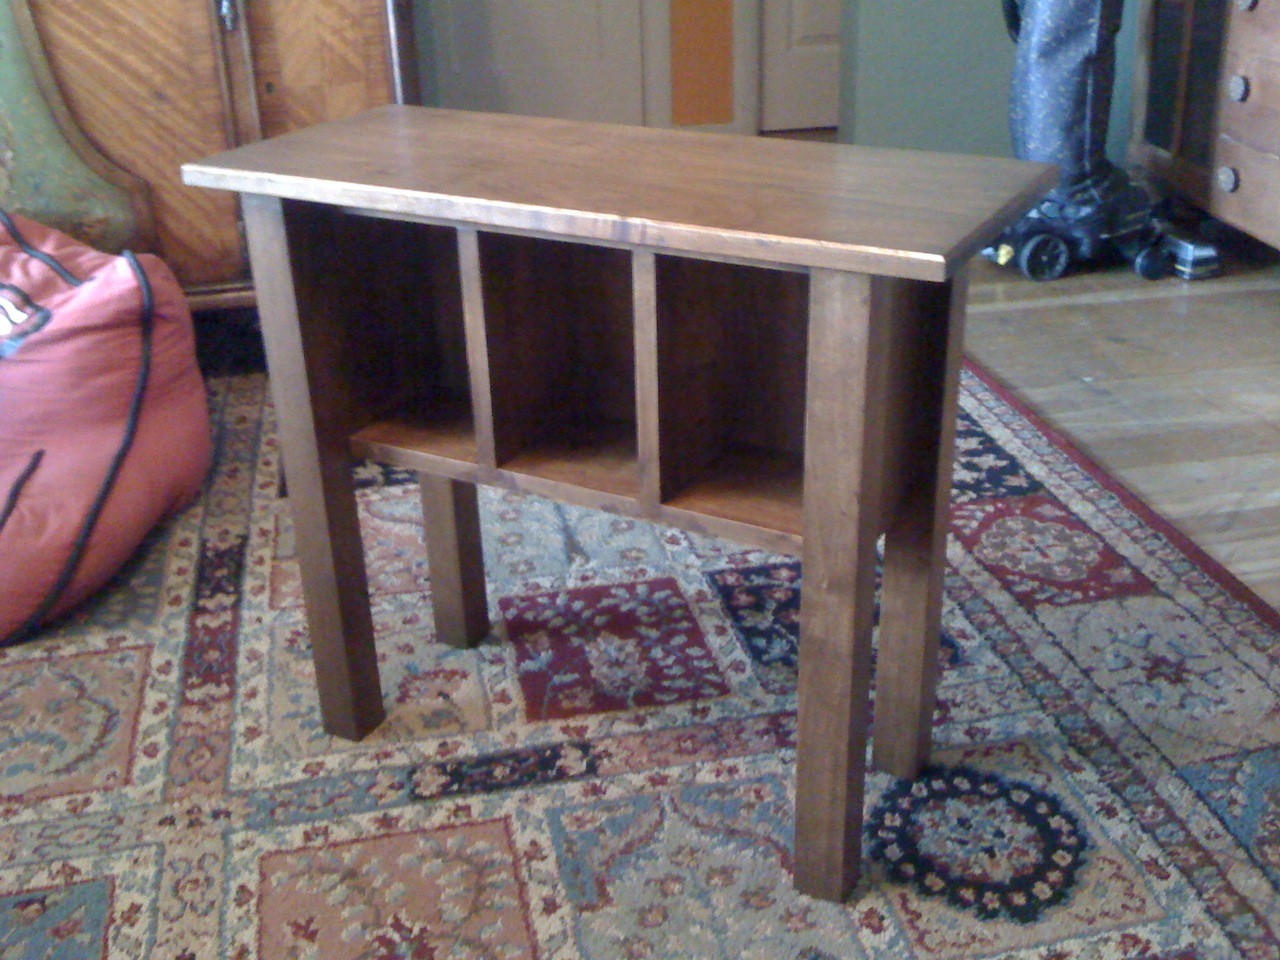
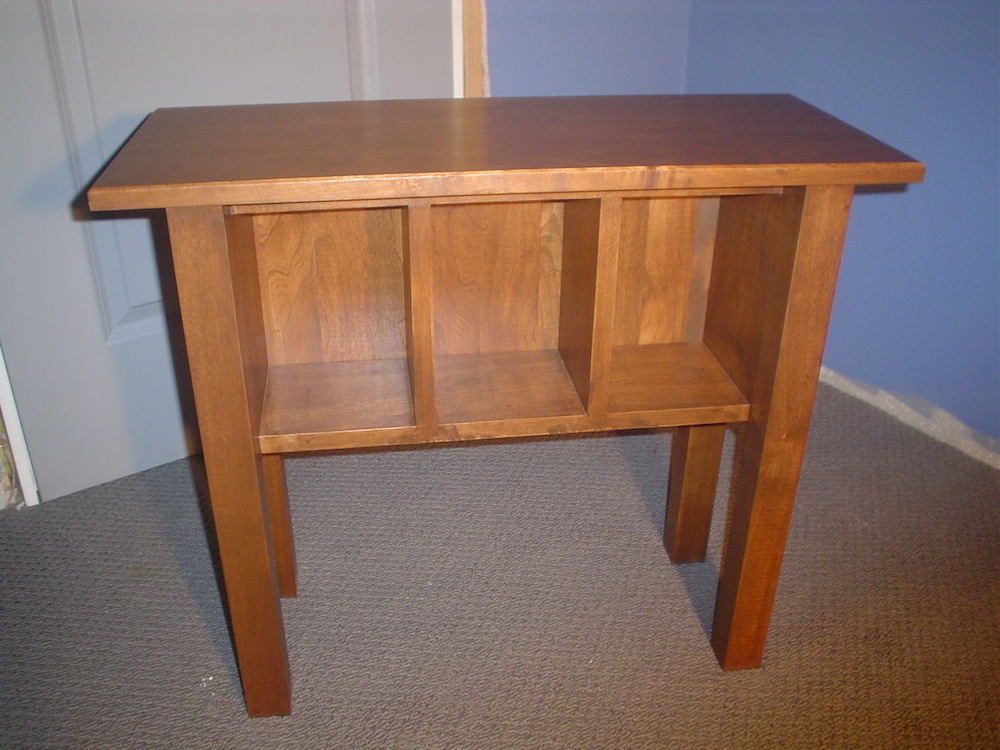
Obviously, I spent some time doing some finishing work on this piece. I have to thank you for how well the finish came out. Prior to finishing, I reviewed both your Simple Varnish Finish DVD and your podcast about coloring blotchy woods to make sure I wouldn’t mess anything up. The first step was to sand everything up to 150 grit, which works for me. I then proceeded to apply a coat of shellac that was diluted with equal parts of denatured alcohol. Next was the stain. I used General Finishes Gel Stain in the Antique Walnut color. It was applied with a foam brush and one coat was all I needed to get the color I wanted. Finally, I applied the top coat. I decided to try out some Arm-R-Seal for the first time and ended up choosing the satin sheen. I wiped on three coats and I love the way it came out. This is the first piece I’ve completed that I can’t keep my hands off of because it feels so smooth.

Well, that’s it. It’s nothing fancy, but it was a big project for me and I’m actually pleased with the final product. I couldn’t have done it without all your awesome videos. Thanks for all you do!

gaming_console1 gaming_console2 gaming_console3

Comments

  1. Joe Corda December 8, 2009

    Zach
    Nice Design.. very functional … I’m might borrow your layout to build a similar console for my son. He’s big into gaming but could use a bit of “order” to his current game system setup. This console would do just that!

    Happy Holidays!
    Joe

    • Frank December 9, 2009

      Very nice piece! I too have had issues with finishing over the years and I’m always learning. Thanks to Mark and his finishing DVD I picked up some more tips.

      How did you attach the top? I saw some slots on the back rail, I guess you used some sort of a clip?

      Thanks,
      Frank

  2. Hugheser December 8, 2009

    Nice job. I’ve been putting off building something to hold my gaming consoles for several years now. Building it is a goal for next year. The reason it is so difficult is because I collect gaming consoles. I need to hold about 20 separate consoles as well all their accessories. Yes I admit I have a problem. :)
    Currently I have them inefficiently stored in an entertainment center and book case. The games are in multiple DVD cabinets. It is very ugly but at least I can easily go from XBox 360 to Atari 2600 without a major hassle. :)

  3. Paul December 8, 2009

    Nice job!!! Did you notice anything different about working with Alder than other woods you’ve used (i.e. difficulty planing, difficulty staining, too much movement, etc.)

    I wanna work with some Alder, and I’m just curious what I’m up against before I spend the cash.

    =paul

    •  
      thewoodwhisperer December 8, 2009

      Hey Paul. I have worked with alder more than I care to admit. It is a very light wood and its relatively soft. Mills like a dream though. But if you go to use chisels on it, the soft fibers have a tendency to crush even under the pressure of a very sharp blade. But the wood can be easily disguised to look like cherry, stained maple, and sometimes walnut. Given the price, its no wonder its a very popular choice here in AZ. And when you buy it, you’ll typically have the choice between clear alder and knotty alder. And knotty alder is just like it sounds. Reminds me of a more pleasant looking knotty pine.

  4. Nice job Zach,
    I really like that you didn’t put doors or drawers into this design. I mostly design without them because I have some type of compulsion to open them constantly to see what is inside even though I know the contents. :)

    Hurray for functional over fanciful!!

  5. Nice, I have been thinking of doing a very similar thing for our lap tops that always clutter up the living room. This is a great design.

  6. Tomfoolery December 8, 2009

    It is great to hear about a project with a purpose and passion! Well done!

  7. Michael Morton December 8, 2009

    Great looking piece Zach! Well done – especially all the care taken in milling the pieces and the finish work. I know the feeling of “having to touch” as I got that on my dining room table a few years ago – it’s a great feeling! Love the shelf and dividers, very nice. Next time/project, I’d consider tapering the legs in some dimension to add a bit of depth.

  8. Thanks everyone for the kind words. I almost forgot I submitted this for a viewer project.

    Hey Paul, comparing alder to the few other woods I’ve worked with so far, I’d say it’s pretty good. The price is definitely good, and with a nice finish it is a nice looking wood.

    I didn’t have any problems with excessive movement, but I will say I let the wood sit in my shop for a little while before I started working with it. Working with it was easy. The finishing took a bit of extra care, but the extra effort is well worth it. My only complaint about it is the fact that it’s a little bit soft. But with a good coating of polyurethane, that shouldn’t be an issue.

  9. Beechwood Chip December 8, 2009

    Great job! I love the design, and the finish really makes that alder look like million bucks.

    Could you say more about resawing on your table saw? How think were the pieces that you were resawing? Did you use any special jigs or fences?

  10. Dean December 8, 2009

    I do like the tone the Antique Walnut color gave to the Alder. Nice construction and final looks. I think the satin sheen for the top coat was a good choice also. Some of the higher gloss finishes I’ve seen look like the furniture is shrink wrapped in plastic.

  11. mark williams December 8, 2009

    Hey Paul,

    Awesome project. I like the diesgn. I have never worked with Alder but while in College I used to sell furniture and there was this one company that made a ton of really nice solid wood furniture from alder. It was popular and we had very little trouble with it.

  12. Hey Beechwood,

    I usually don’t use anything special when I resaw with my tablesaw. Just a push block in my right hand to feed the piece through and a block of wood in my left hand that pretty much acts as a featherboard to maintain pressure against the fence. I’ve never had a need for any kind of special fence because the pieces I usually resaw aren’t that wide. For this project the pieces were about 4″ wide and I just split a 4/4 board roughly down the middle then planed the to pieces the final thickness I wanted. I’ve found that it’s a good idea to leave a generous amount of extra thickness when resawing because the wood can do funny things afterwards.

  13. Nice piece. Very functional and the finish looks like it came out pretty well. That’s always my fear is that I’ll make something good and then mess up the finish. Good job though!

  14. demowen December 10, 2009

    Ah, I was glad to see that I wasn’t the only one who still treasures the N64. It is my personal belief the Golden eye- James Bond- is the best game in existence. Great job with the console!

  15. Alex G December 10, 2009

    Zach,

    Next time you work with alder, get 1# garnet shellac, and flood (saturate) the surface with it, continuing application as it’s absorbed, not letting it to dry. Wipe any standing solution with a cloth or paper towel; there should be no residual film. Let dry; may want to repeat another time. Then scuff sand and coat with varnish or poly. You’ll like it; won’t look as muddy as stain.

  16. nateswoodworks December 16, 2009

    Looks like you had some fun with this project. What was the most rewarding part for you from this and did you push your limits in any way? That is the most interesting part to me is seeing what the builder got out of it.
    Nate

Leave a reply

XHTML: You can use these tags: <a href="" title=""> <abbr title=""> <acronym title=""> <b> <blockquote cite=""> <cite> <code> <del datetime=""> <em> <i> <q cite=""> <strike> <strong>

Coming Up


  • There are no upcoming events

  • Video: Flattening a Benchtop With a Router

    May 23, 2012
  • Adirondack Chair Class (William Ng School)

    June 4, 2012
  • Video: Turning a Tool Handle

    June 6, 2012
  • Woodworking in America (Pasadena)

    October 12, 2012

Live Shop Cams


Enter the live room →

Pressure Treated Wood Utility Poles for building structures, distribution or transmission.

Cliq Studios sell quality Kitchen Cabinets in a range of woods including cherry, oak and maple.


what wa