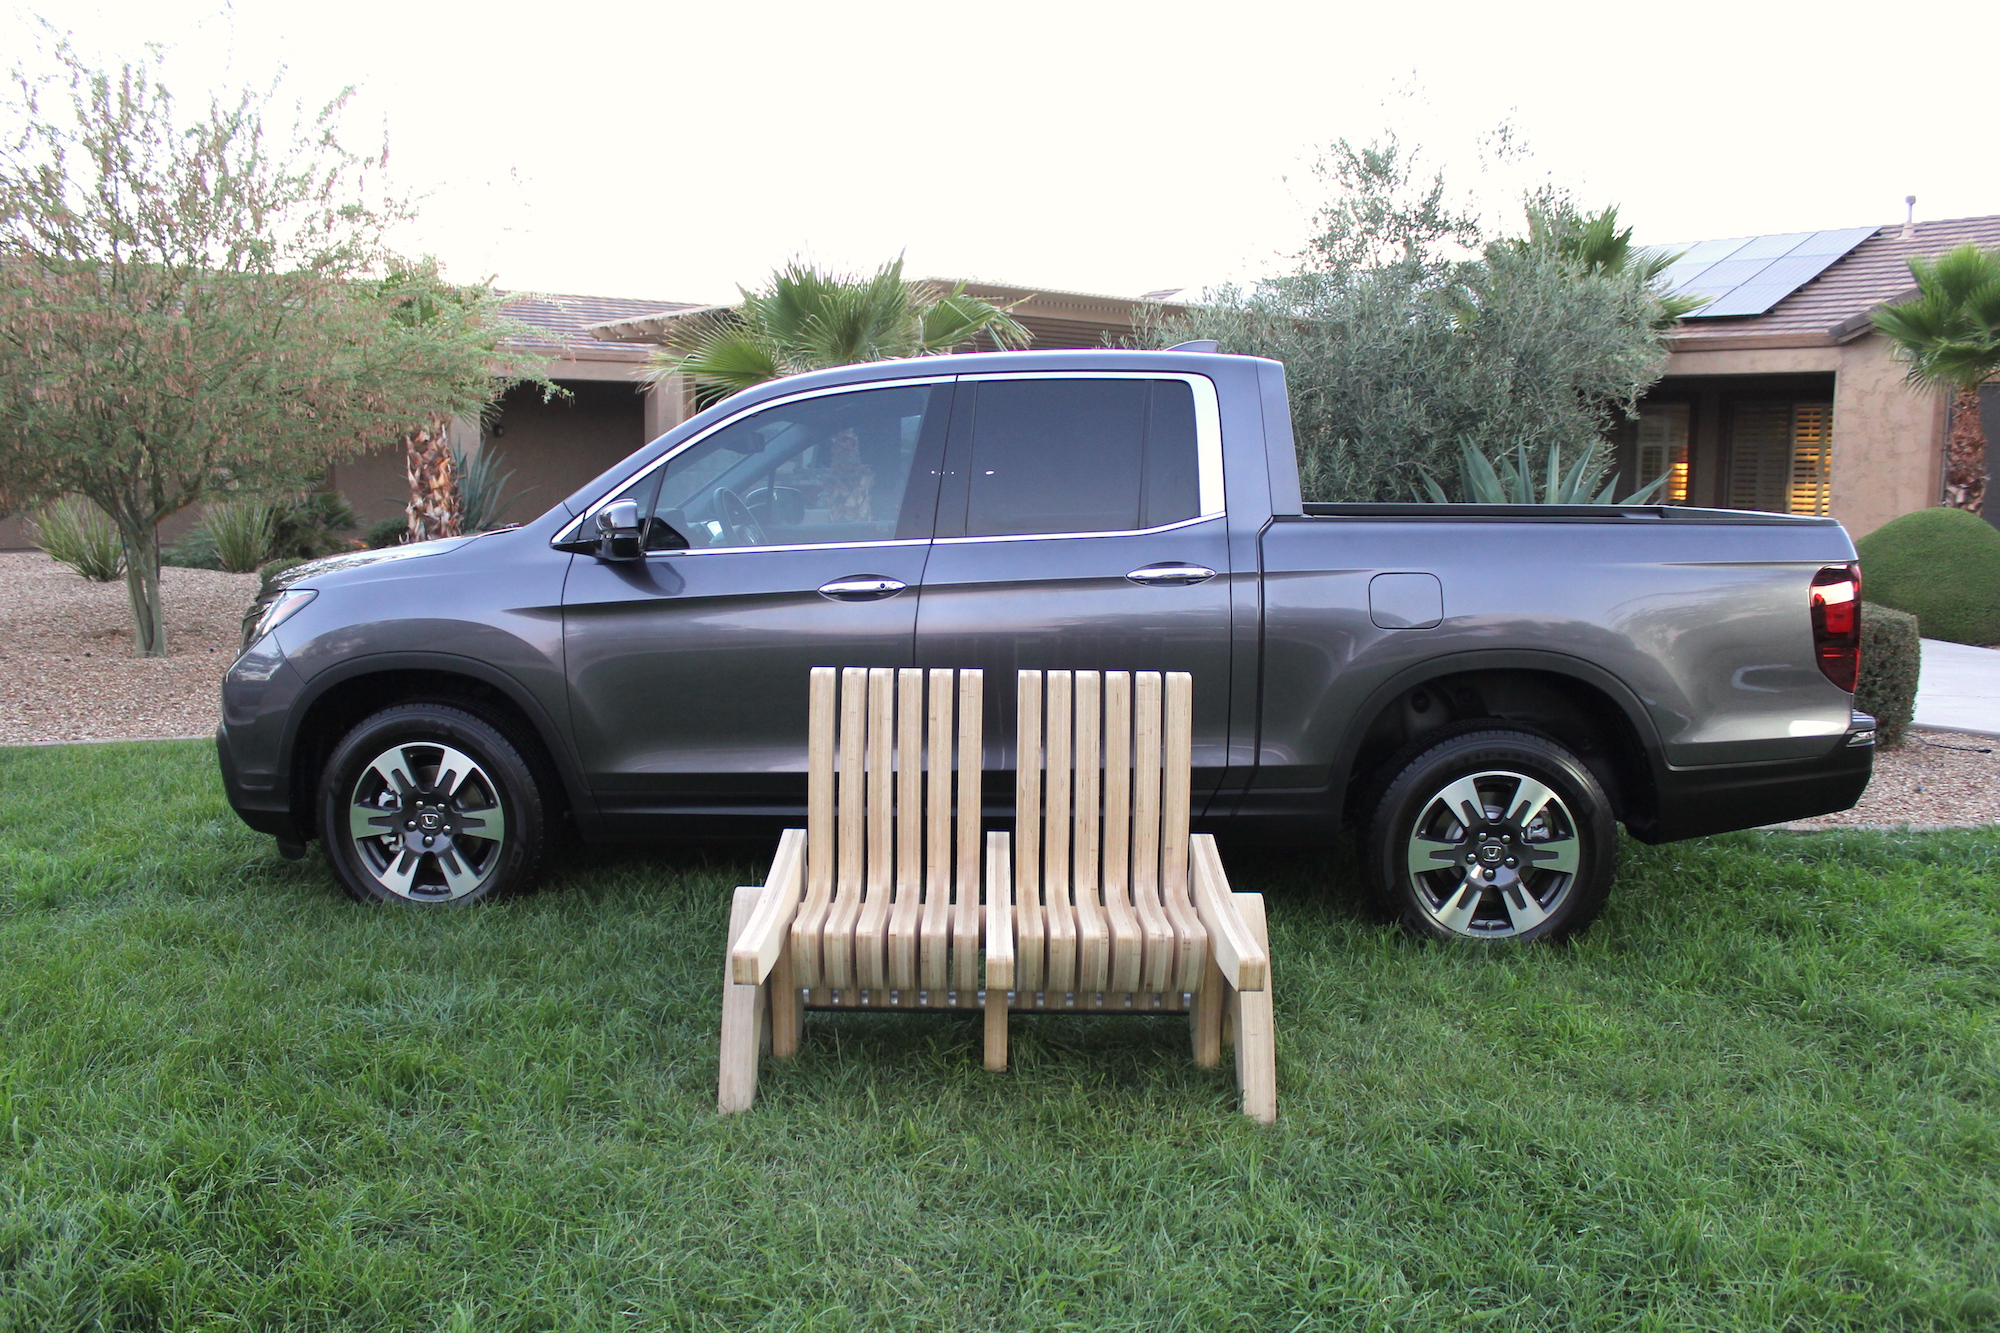
Welcome to the Honda Ridgeline Saturday Project series produced in partnership with Honda. Each project is designed to be approachable using basic tools and materials. And to show you how versatile the all-new 2017 Honda Ridgeline can be, we’ll build each project right in the bed of the truck!
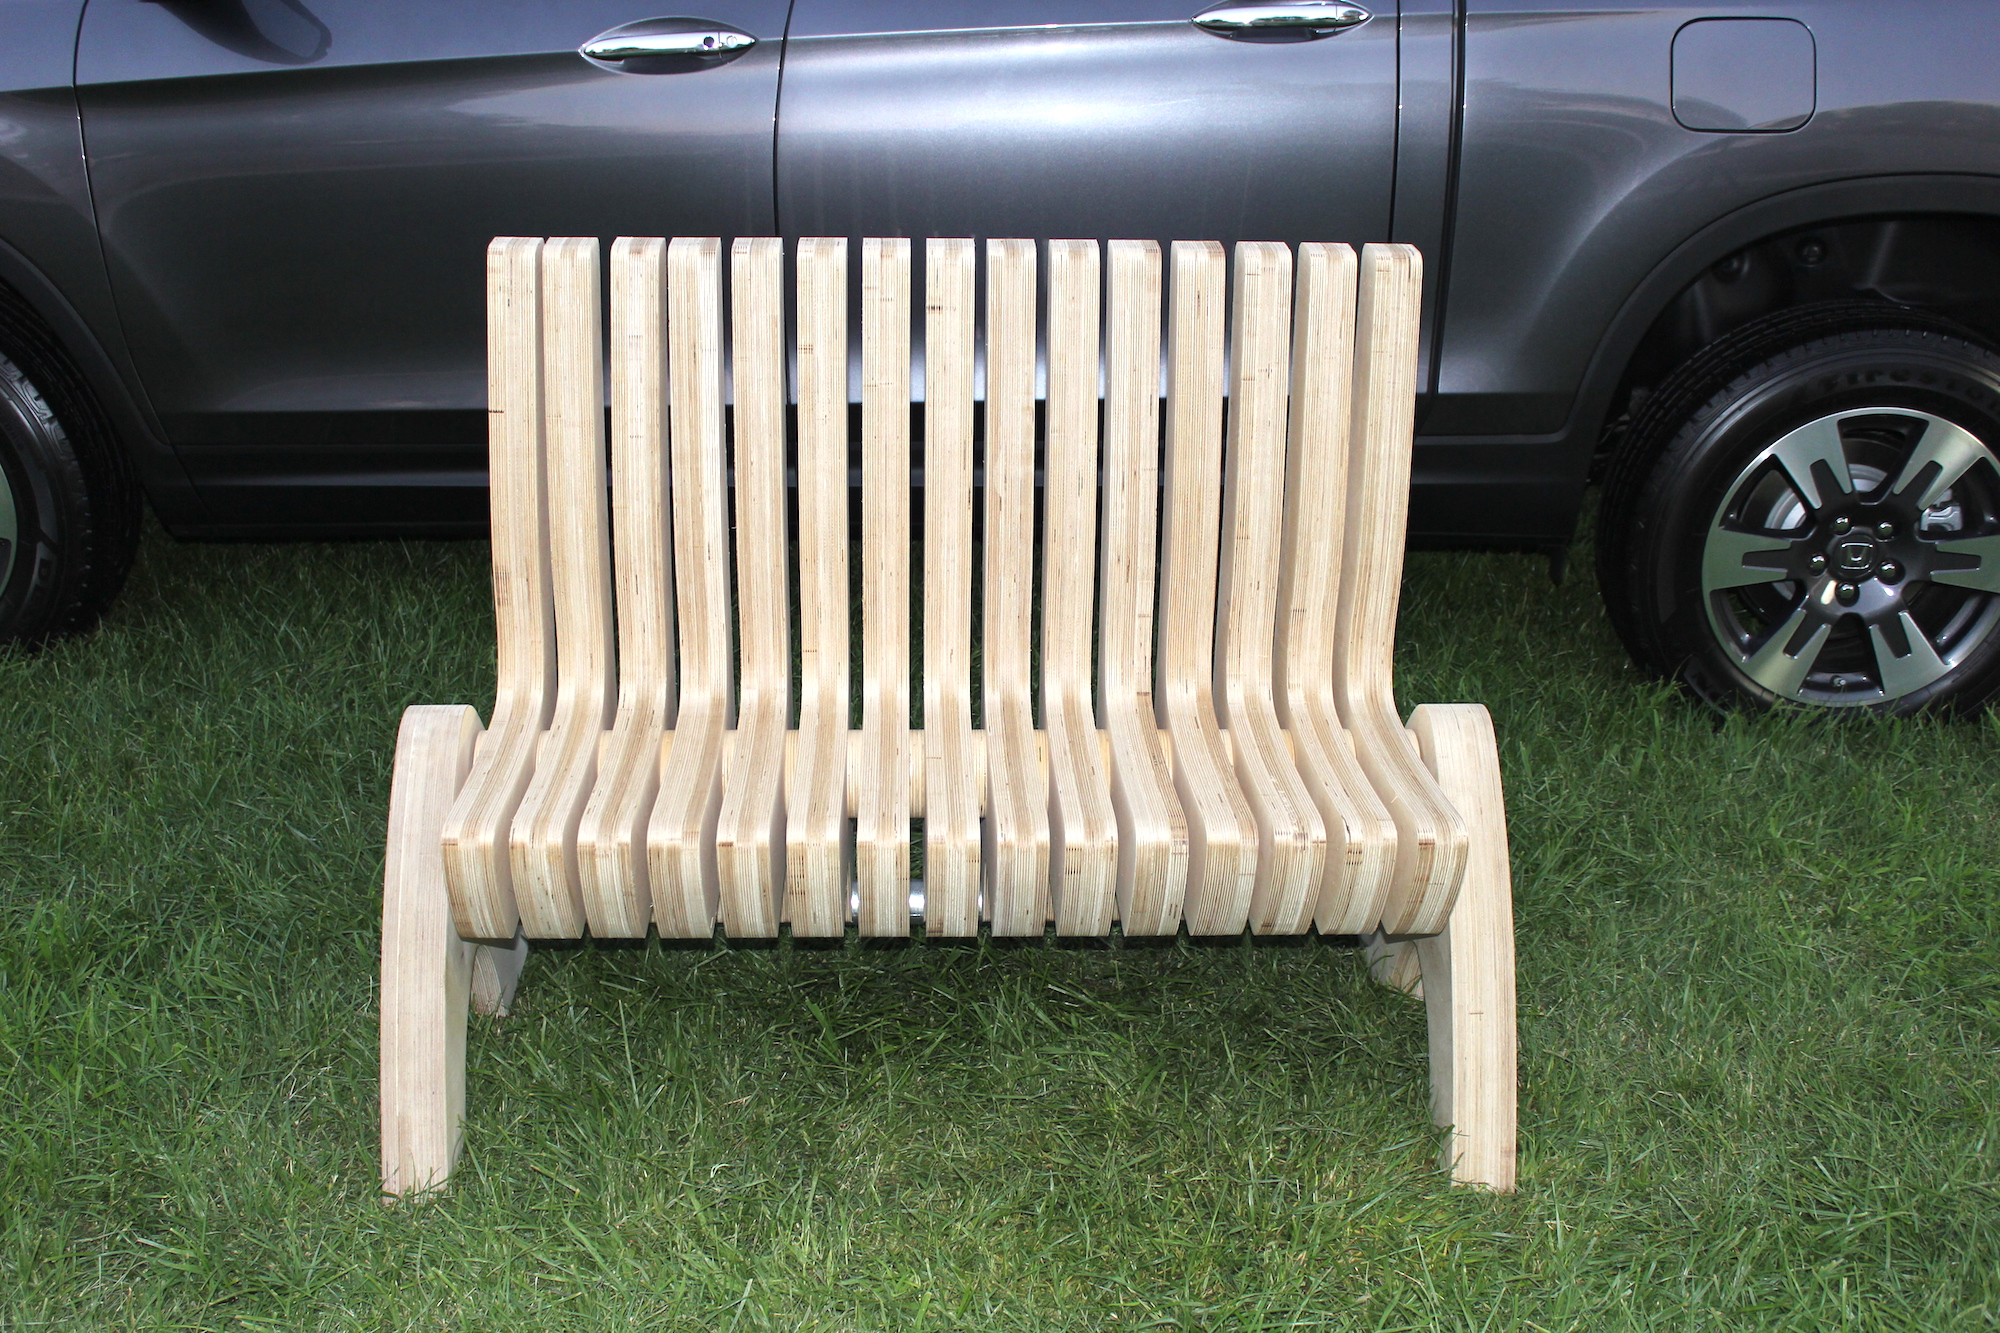
This Convertible Bench is designed for versatility and style. Each section has two positions allowing for numerous configurations. It’s a bench, a 2-seat bench, a table, a love seat, and even a chair with an end table, all in one piece of furniture! I can’t claim credit for this idea as it was inspired by some European designs I’ve seen online. This is just my interpretation. Search for “coffee bench” if you want to see where I got the idea from, though I have no way of knowing if that’s the true original design. Doing more research I came across a Better Homes & Gardens plan that was basically a small shop interpretation of the coffee bench and I used that as the starting point for my version. After all, there are only so many ways to build something like this if you don’t have access to CNC and you can’t make the entire frame out of metal. So if you know who the true original maker of the “coffee bench” is, please let me know so I can give proper credit.
Download the Plans
Materials
- 5 – 4’x8’ sheets of 3/4″ plywood
- 2 – Metal EMT Conduit 2 1/4“ OD by 5 feet long
1. Make Your Templates
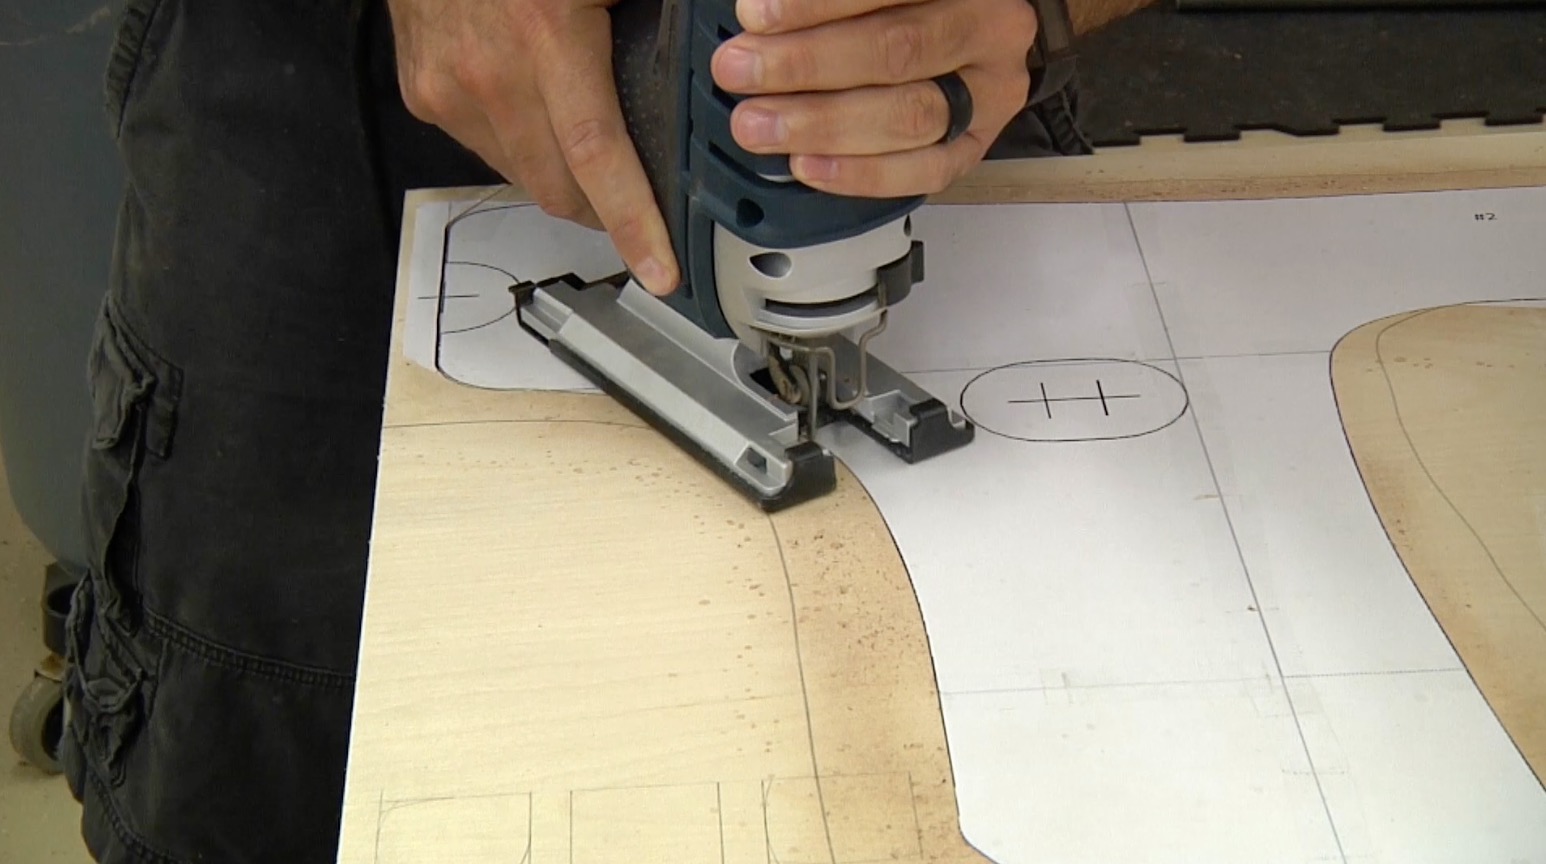
Print out both the seat and the side support templates and print them out scaling turned off (or 100%). Cut along the dotted lines and tape the various pieces together to create the full-size image. Cut the shapes out and use spray adhesive to attach the paper to the template stock (I like 1/4″ plywood or MDF). Now use a jigsaw to cut the template stock to shape. Use rasps or sandpaper to finesse the shape to perfection.
2. Cut Out the Parts
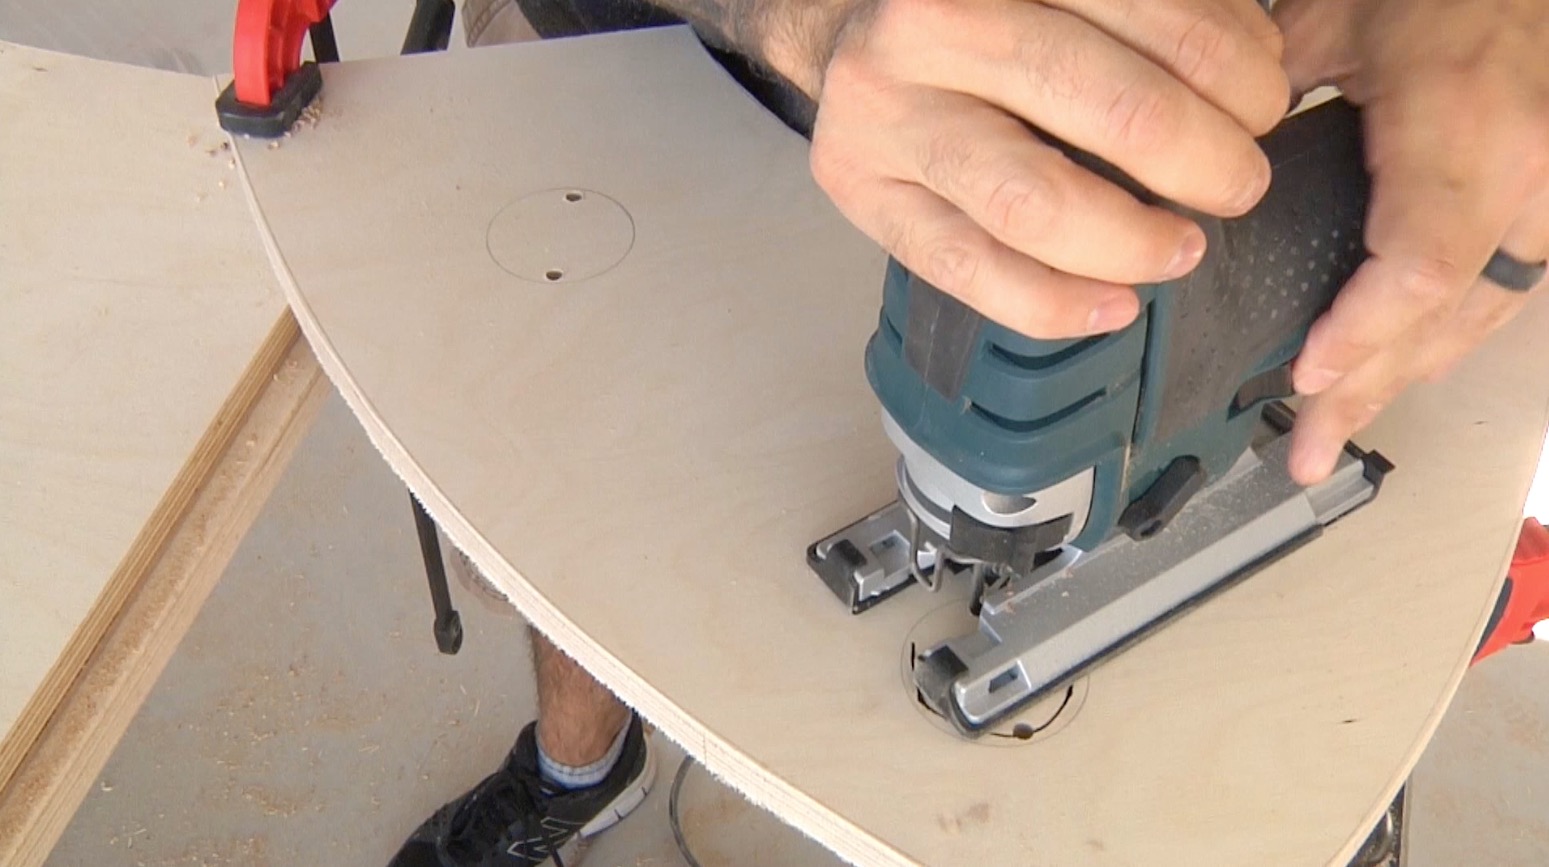
Trace the template shapes onto the plywood using the arrangement in the PDF Cut List. Cut out each shape using the jigsaw staying about 1/16″ away from your lines. You’ll need 45 center seat pieces and 8 side support pieces.
3. Makin’ Copies!
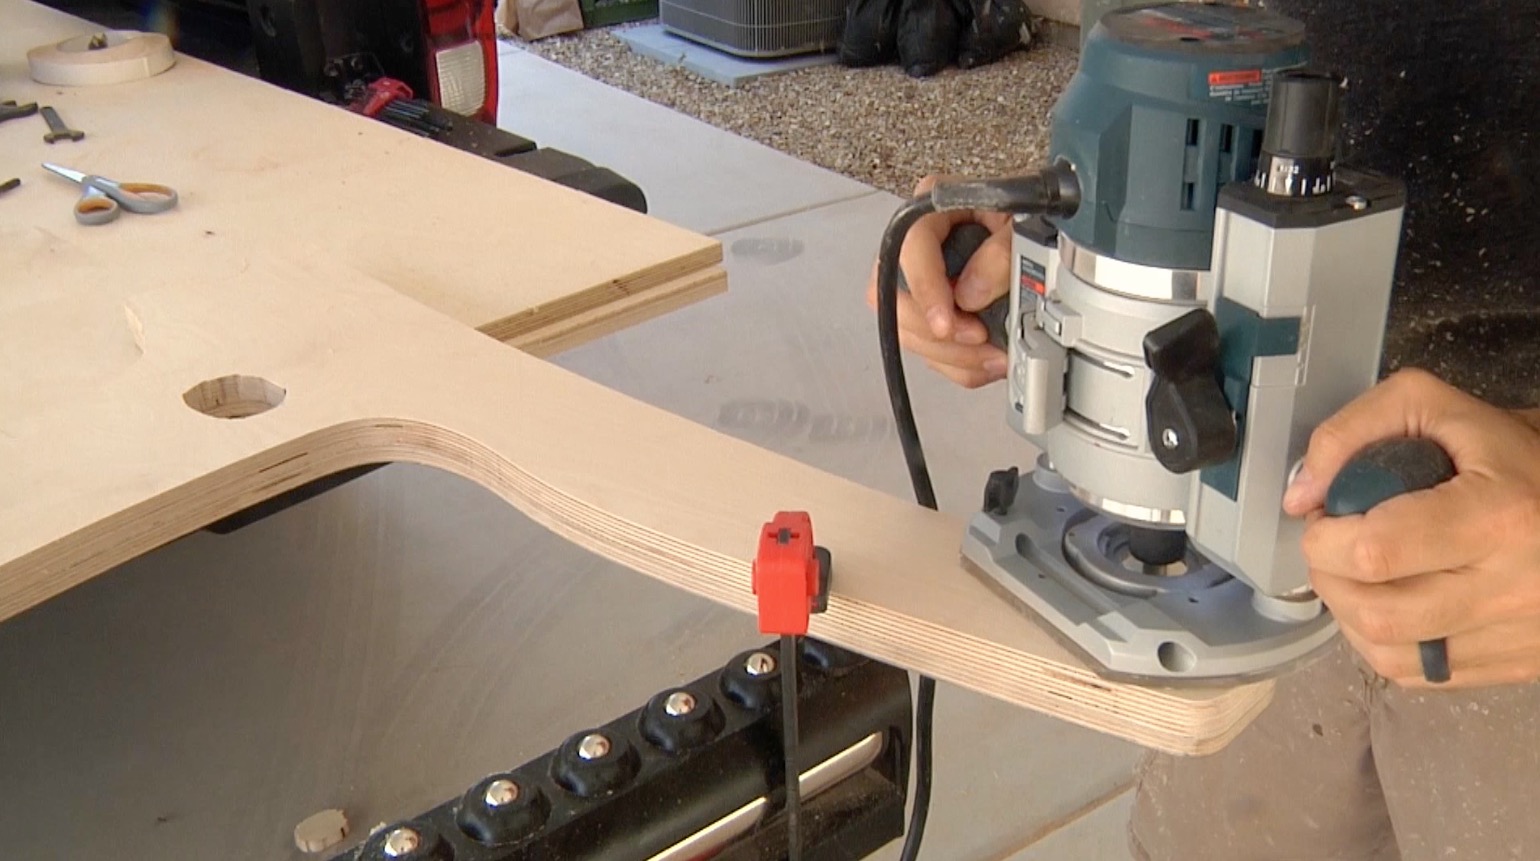
The templates are used in conjunction with a router and a flush trim bit to make each 3/4″ project part conform to the perfect shape. There are probably several ways you could approach this but I recommend building up your stacks and shaping as you go. Start by flush-trimming your first piece using the template. Once shaped, the 3/4″ piece can now serve as the template as you begin building the stack with glue and screws. Watch the video closely for the details. Each seat section is comprised of three 3/4″ thick seat pieces and each side support is comprised of four 3/4″ thick side support pieces.
4. Cut the Rings
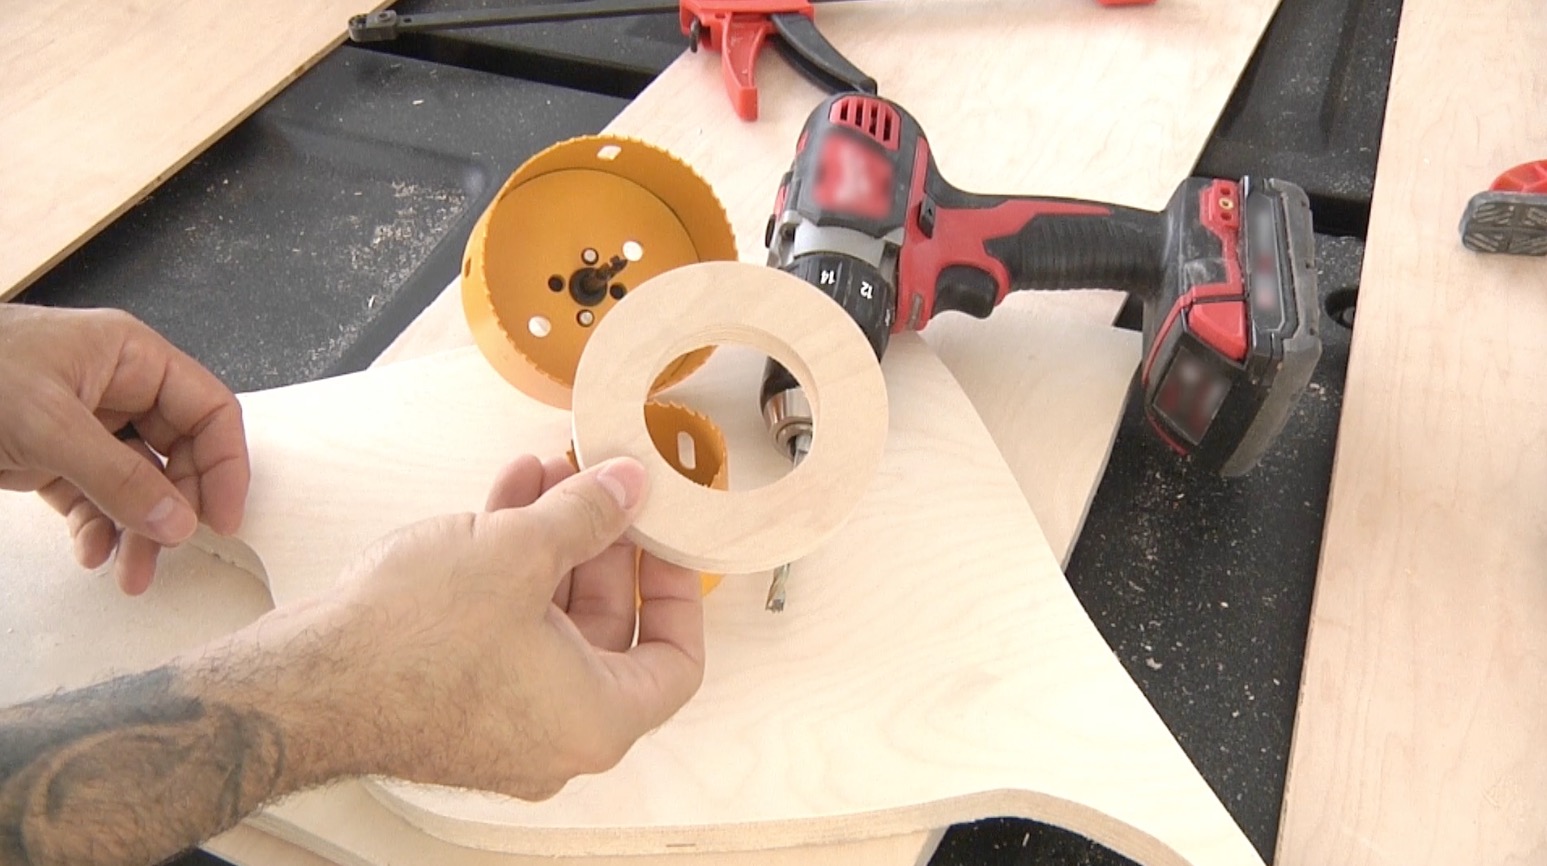
The spacer rings can be cut from the project scrap. You’ll need two hole saws (2 1/4″ and 4″) to get the job done. Start by drilling a 1/4″ starter hole. Next, use the 4″ hole saw to cut out a 4″ circle. With the circle in a vise, use the 2 1/4″ hole saw to cut out the center creating the spacer ring. You’ll need 16 spacers in total.
5. Finish & Assemble
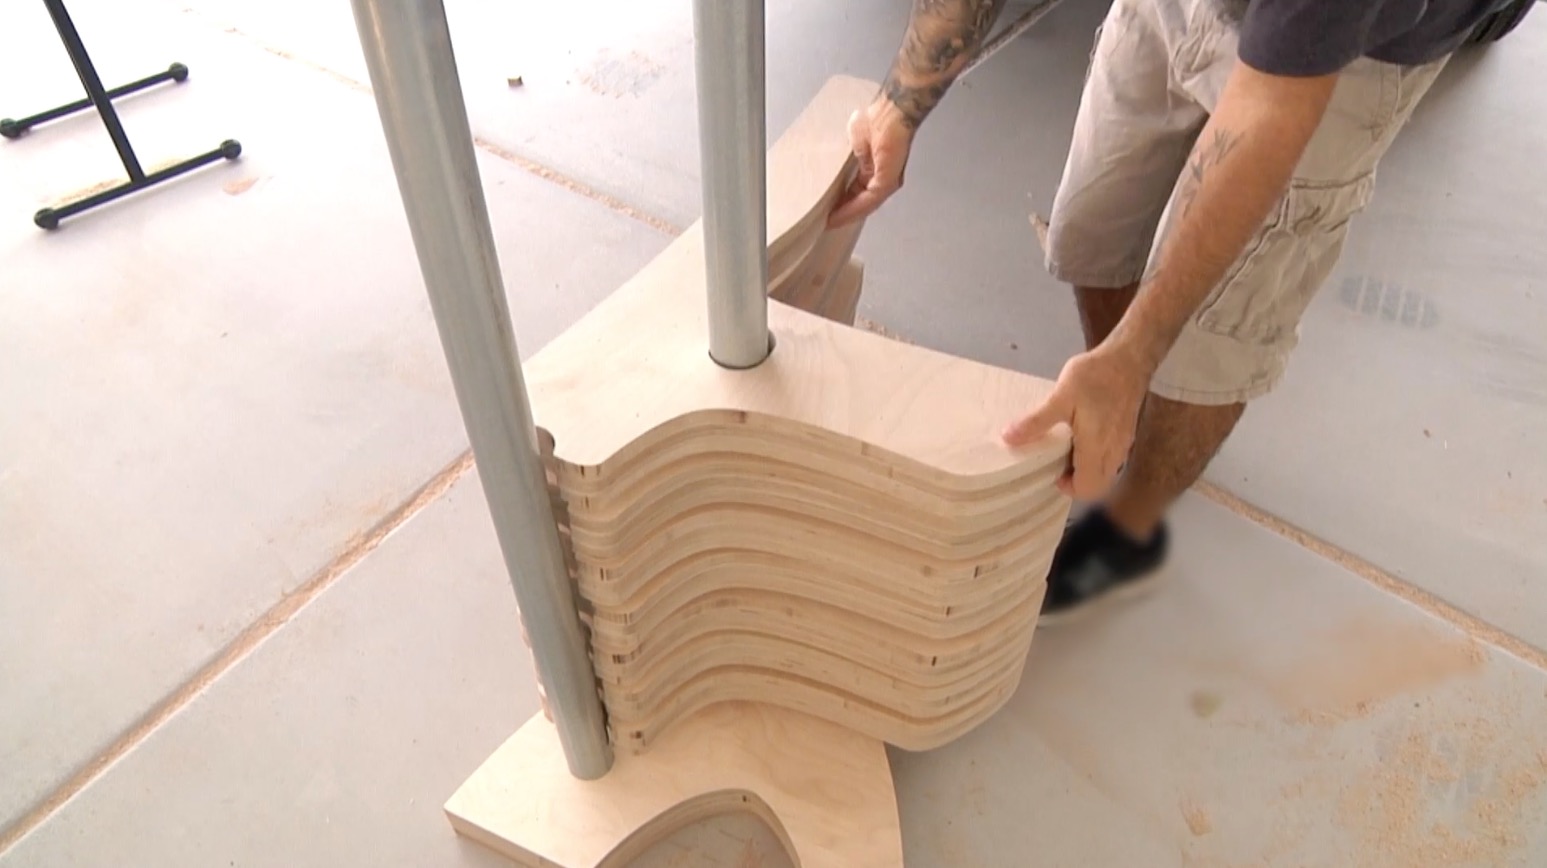 If you plan to finish or paint your Convertible Bench, now’s the time to do it. While I didn’t show finishing in the video, I highly recommend you at least apply a clear protective finish to the project. After the finish dries, do a quick dry assembly to determine the exact length of the pipe. Cut the pipe as needed and then proceed to the final assembly. Feel free to use epoxy in the pipe holes for a more permanent connection.
This was a fun project to build and while this series was intended to showcase projects that could be completed in a day, I have to admit this one will likely take longer. Between cutting out the individual parts and all of the flush-trimming, this project can eat up quite a bit of time. It’s not difficult, just time-consuming. So I recommend inviting a few friends over to help speed things up.
Gallery