![]()
 From: Tim Grimwood
Website: Youtube.com/user/tlgrimmy
Location: Calimesa, CA
Amateur or Pro: Amateur
Finish Used: Multiple layers of Tru Oil gun stock finish, sanding with high grit sand paper in between coats (4-5 very thin coats). I took down the sheen after the final coat with #0000 steel wool to give it more of a satin finish.
Wood Species: Walnut
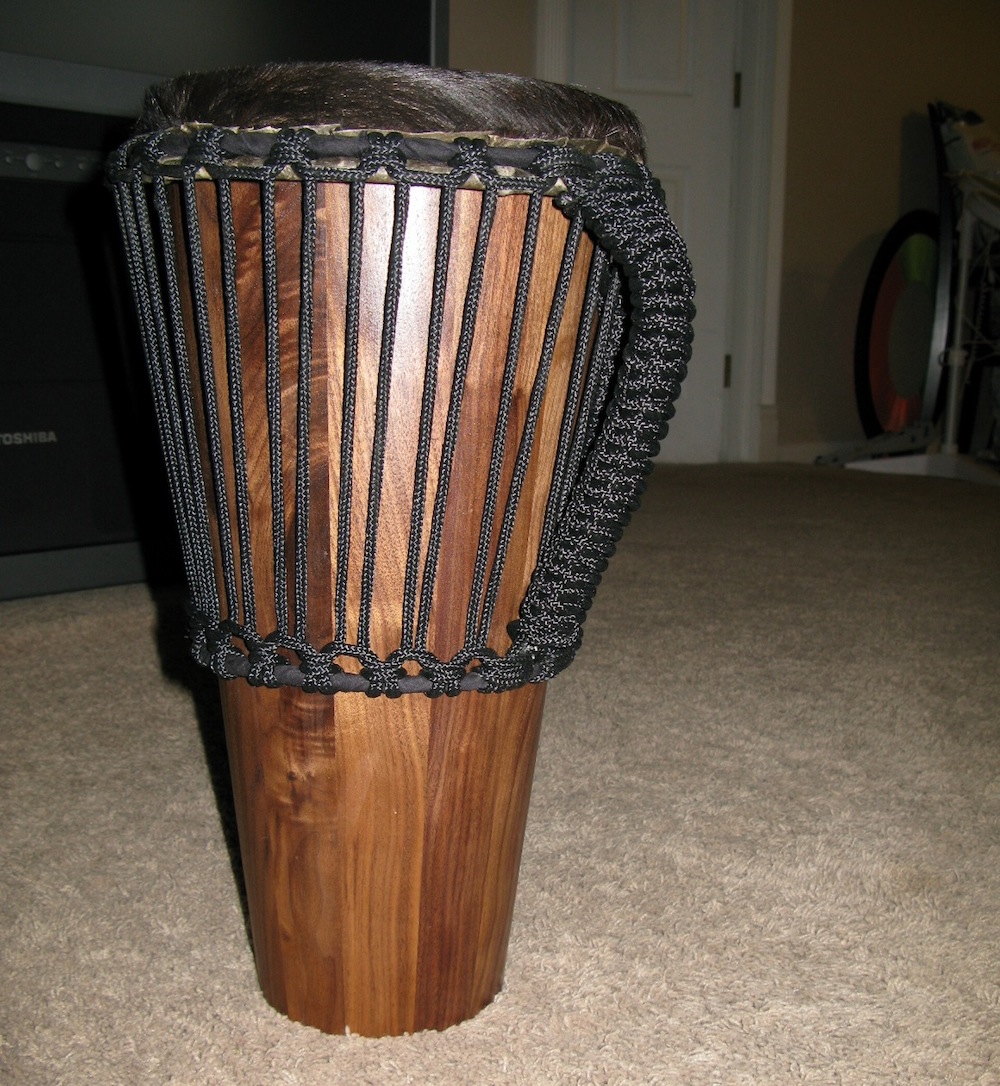
Project Description:
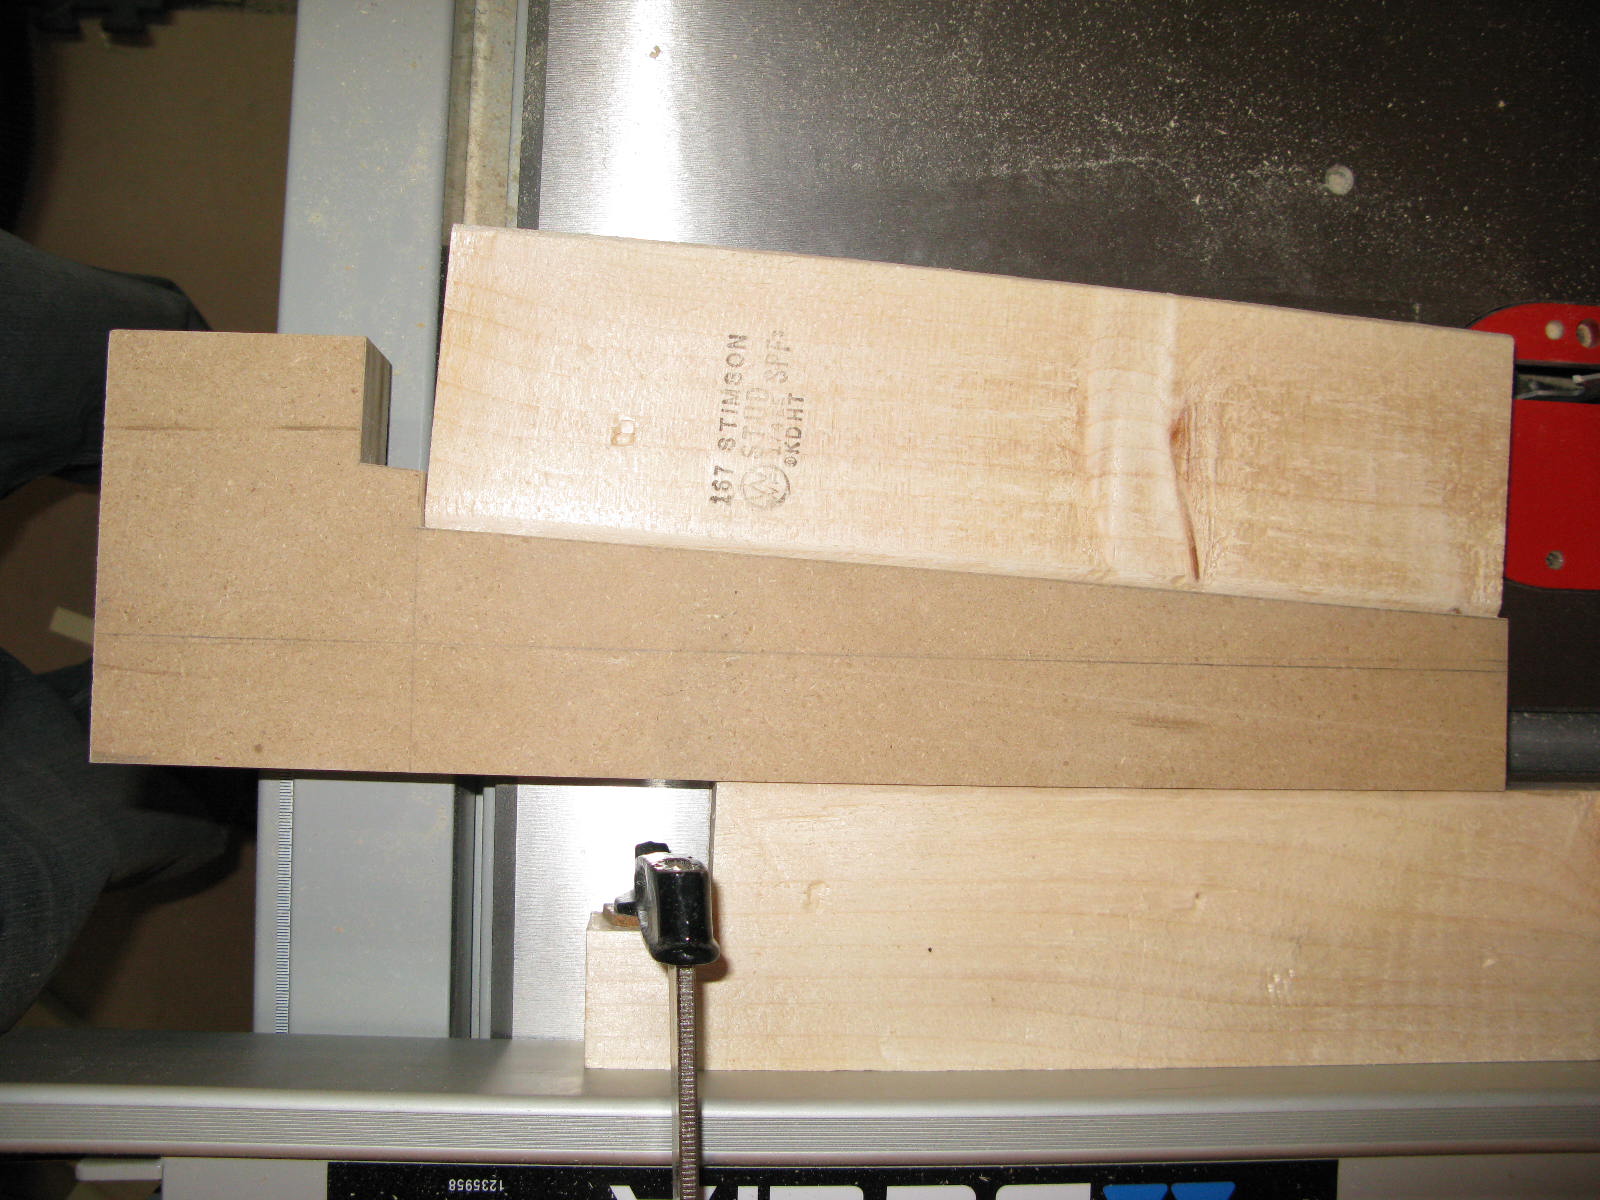
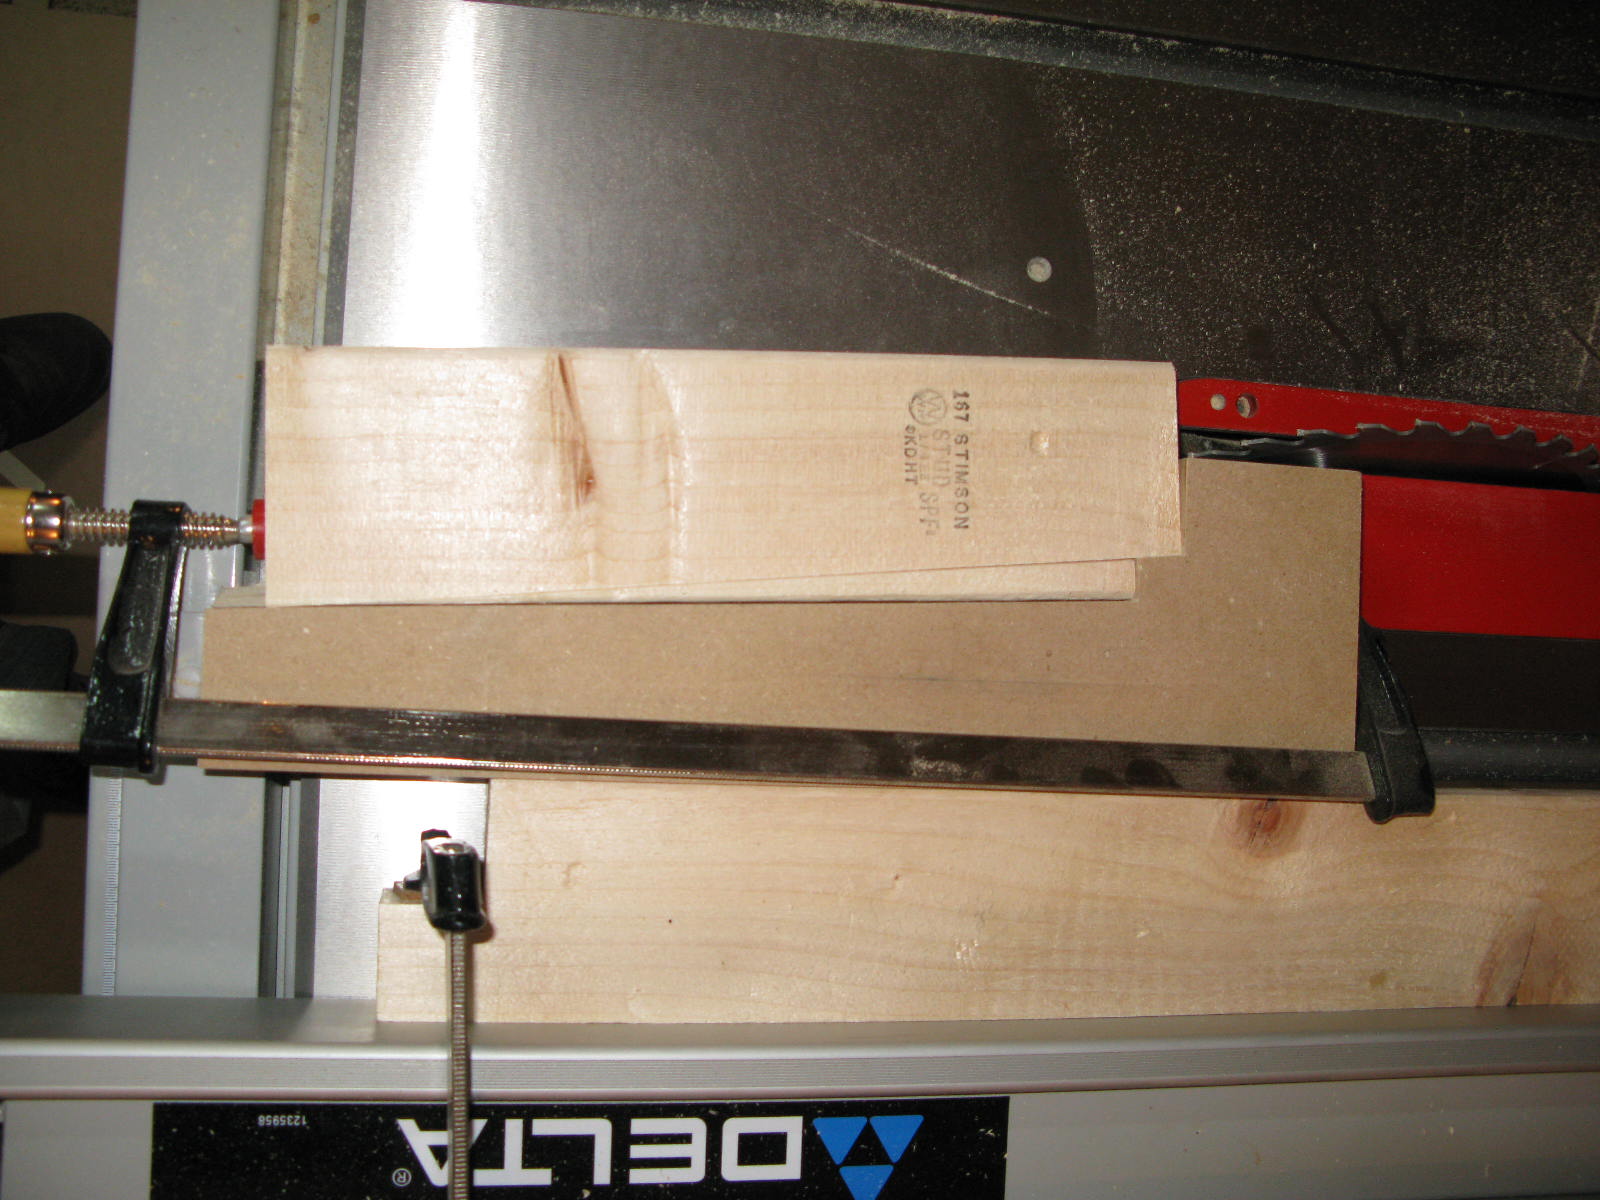
 I used a taper jig to cut the angles. The dual recesses on the jig allow you to cut both compound angles by just flipping the setup over. The goal was a large dodecagon, so I determined the interior angles of a dodecagon and divided that in half to get the bevel. I picked the taper based upon what size circles I wanted at the top and bottom.
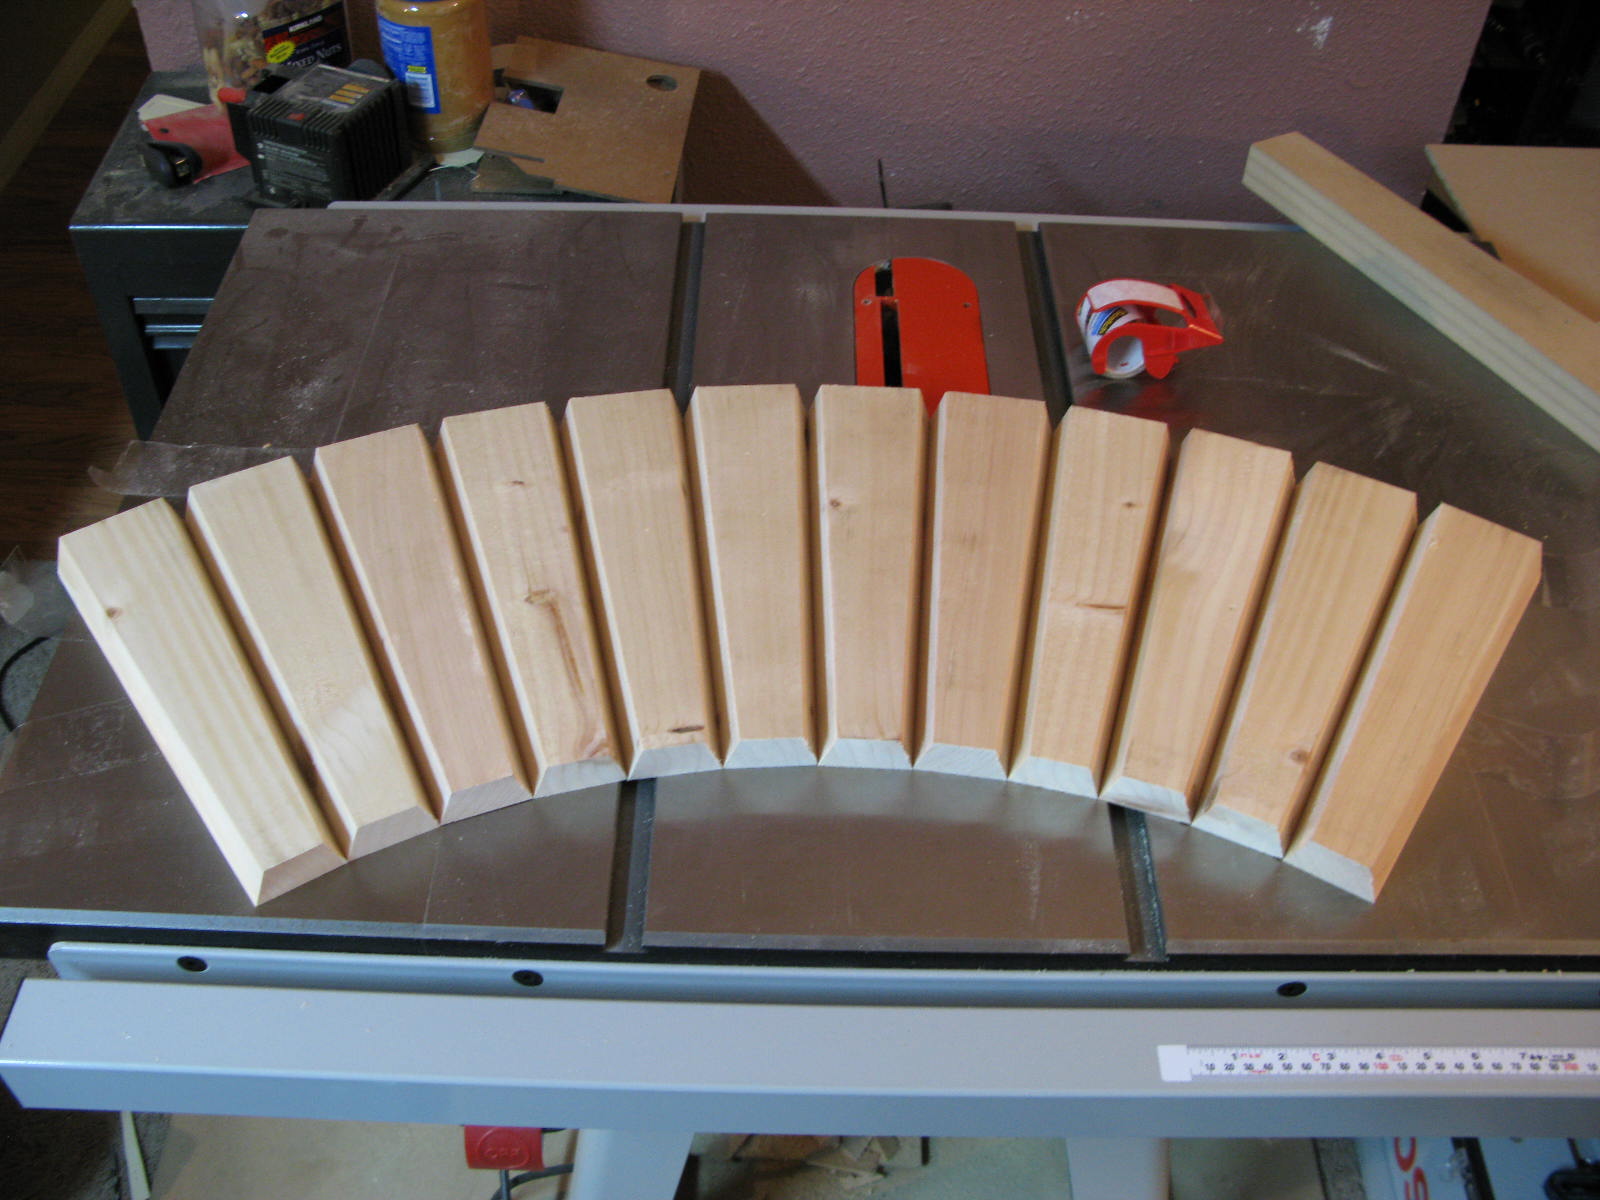
  To glue all of these pieces together, I laid out many large strips of packing tape and butted the tapered pieces together on top of them, which looks like a large hand fan;). I used a TON of Titebond, not worrying about excess and simply wrapped it into the tapered dodecagon shape. I tightly wrapped the whole unit with tape until it wouldn’t budge. After the glue dried, I used a power planer (handheld) to hog off the lion’s share of the corners to round things out, the I went at it with a smaller belt sander to get closer to final dimensions. Then it was just a lot of work with a card scraper and sand paper.
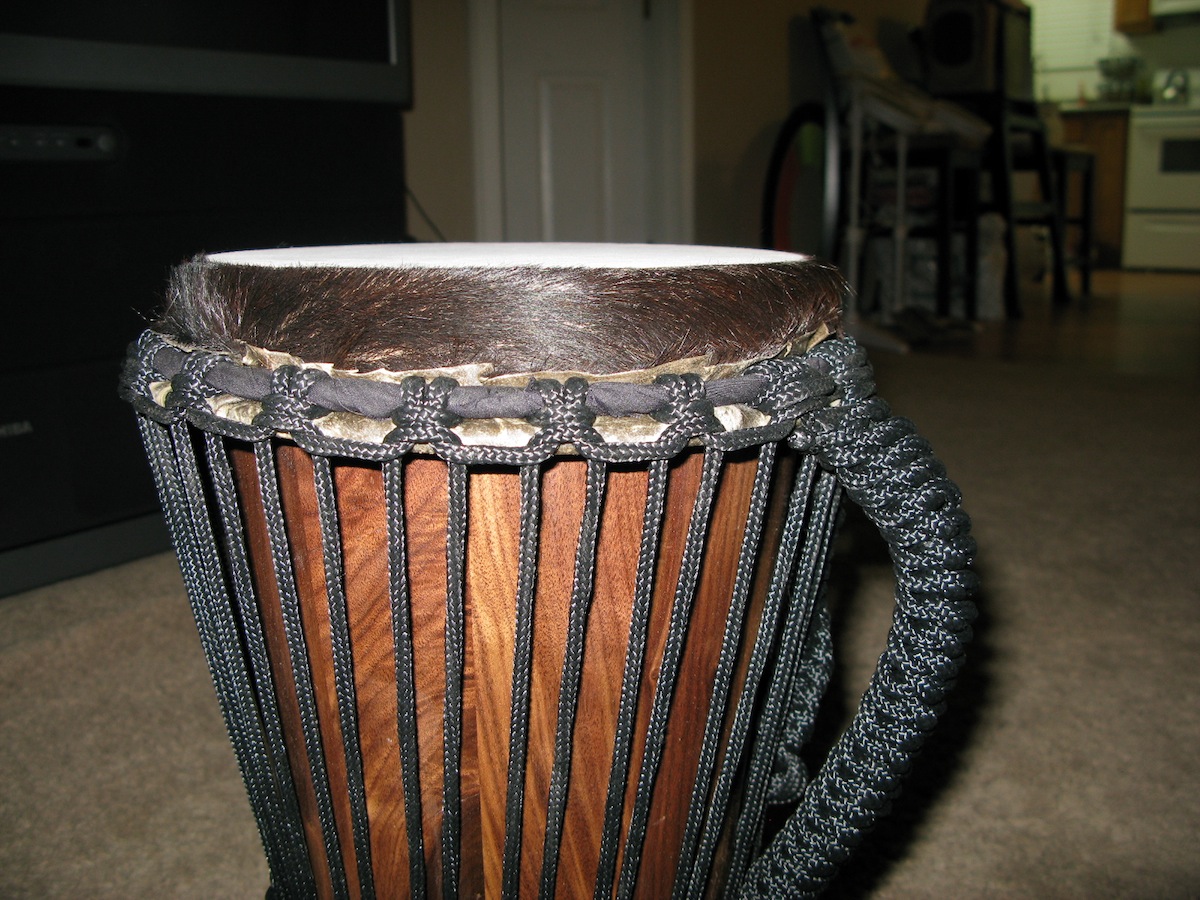
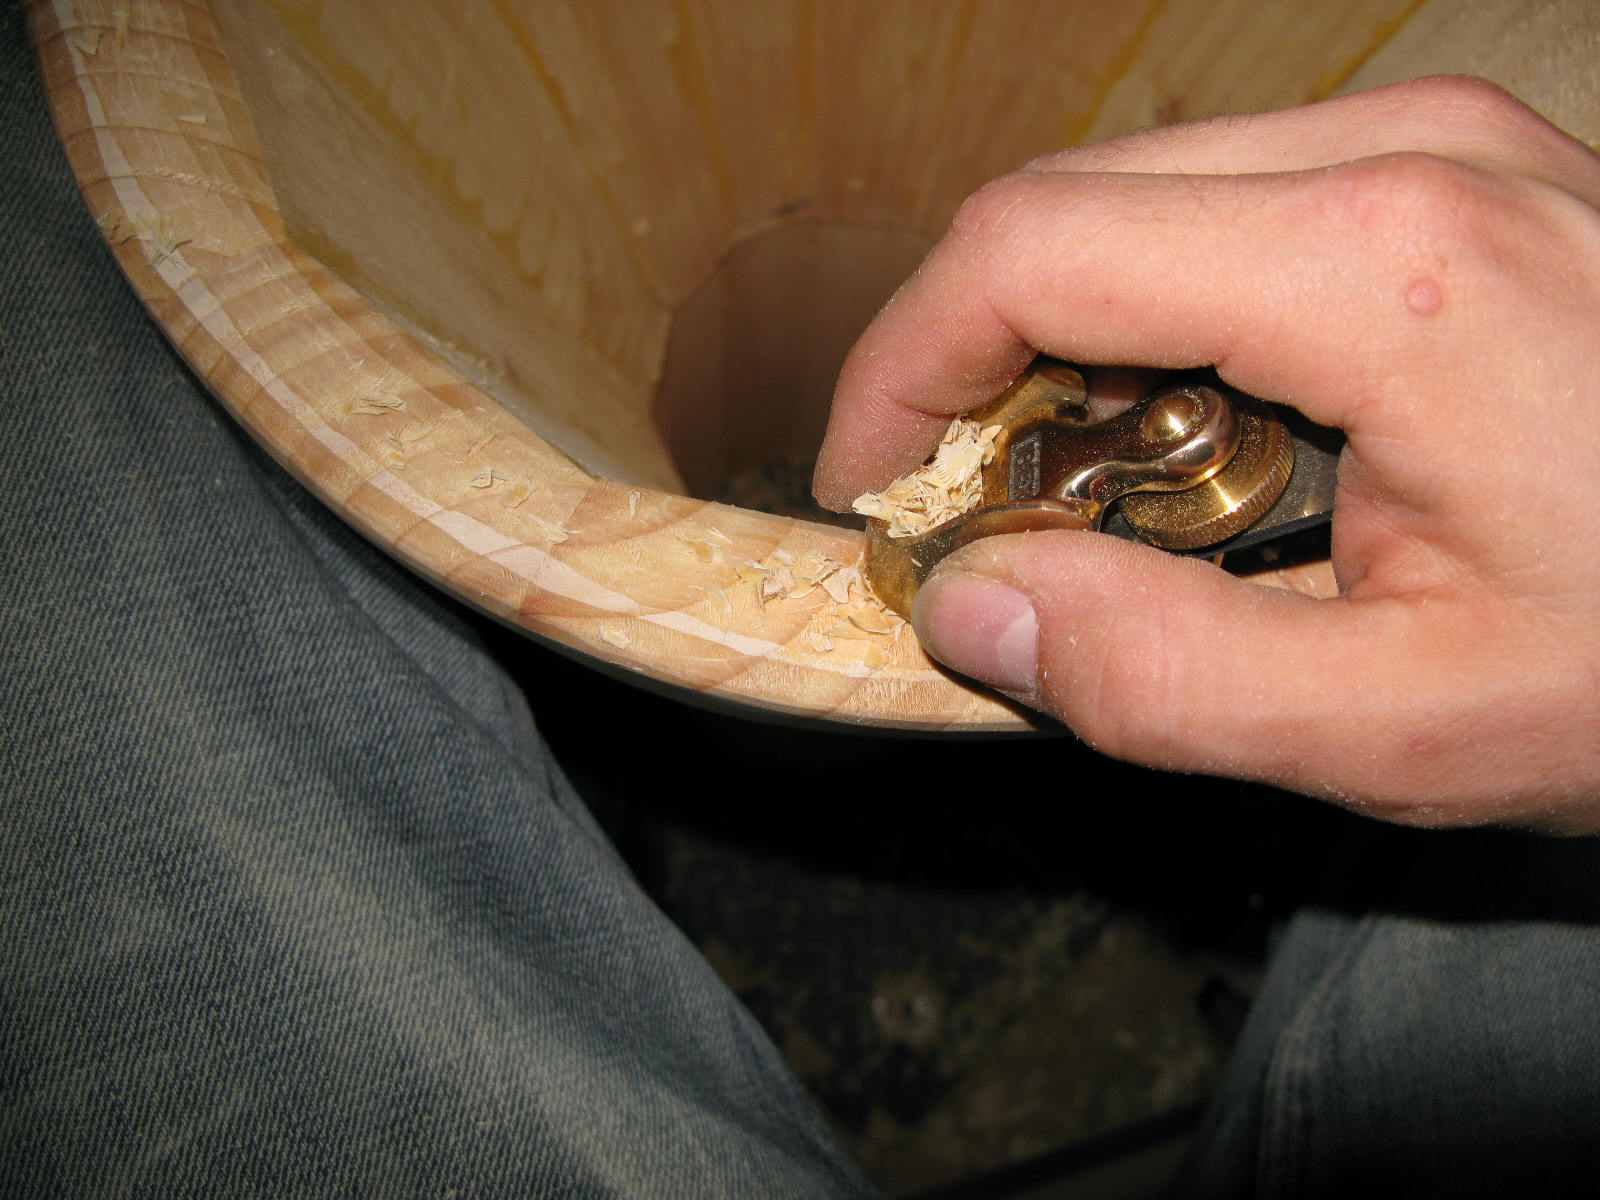
  I used a violin plane (Ibex) and some rasps to shape the top and then cleaned it up with card scrapers and sand paper. Once again, I’ve included pictures from another project to give an idea of what the process looks like. I ordered an african goat skin from, conveniently, goatskins.com, soaked it in warm water to soften things up and cut it into an oversized circle (about 5″ too large on the radius). I took some 1/4″ steel bar I picked up at Ace and bent them into appropriately sized circles, using a board with a a couple of lag bolts in it to help me bend them (two of the same size for the top and one much smaller for around half-way up the drum). I welded them with a mig welder. I took 1″ thick strips of cloth, sprayed the back with spray adhesive, and wrapped the rings with the strips.
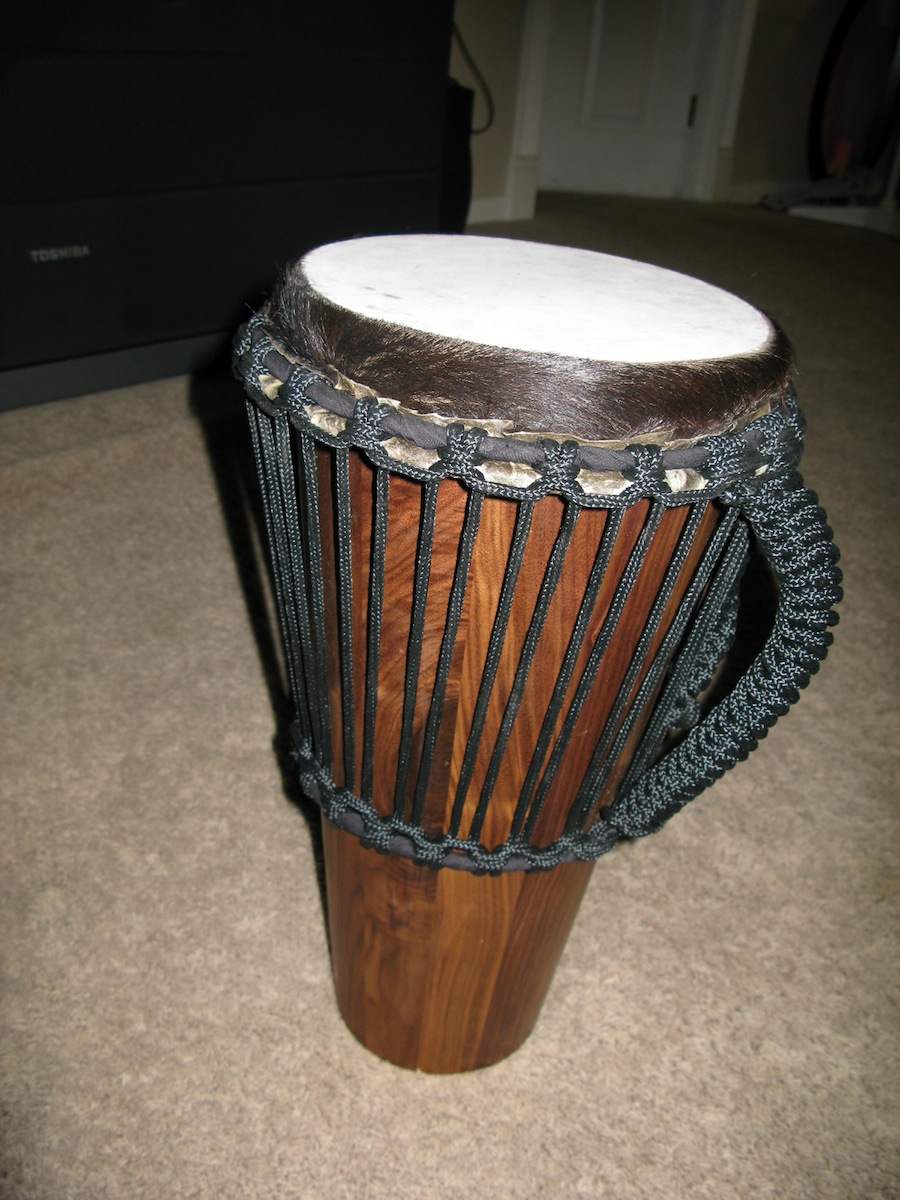
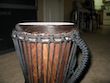
The process of heading the drum is a bit in depth to cover here, but check out this website for more info. After heading the drum using nearly 100 ft. of rope! (about $20 at drumrope.com….gotta love these witty names;) I had to shave the goatskin on top! I simply took a razor blade and had at it like you’d shave yourself, being careful not so cut the skin. After shaving it, I sanded it nice and smooth to give a good hand-feel and shape the tone a little. You have to re-tension the head after a few weeks as the skin stretches. It was loads of fun and my brother loves it!


