Garrett’s Garage Wood Shop
Shop Tour
-
Submitted by Garrett Gerard from Cincinnati, OH
Added on January 21, 2016
Tools often outlive their owners. This is a sad truth, but a woodworker’s skills, passions, and genius are often passed to the next generation posthumously through the tools they leave behind; this is my story.
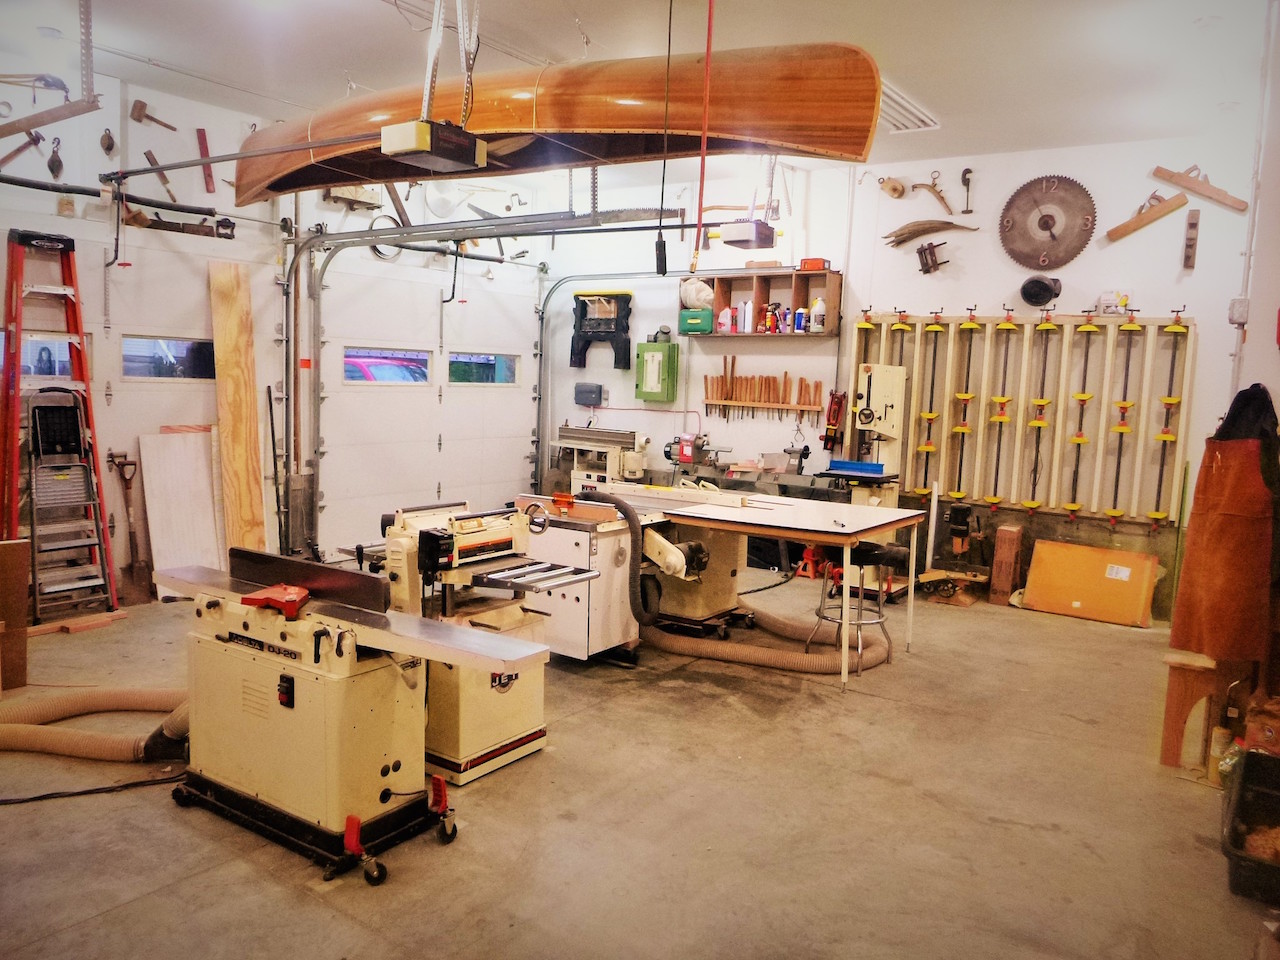
My wife and I had a comfortable home in an urban setting with precisely zero space for a wood shop. In my spare time, I had been working in a family friend’s shop, whose late husband (Tom) was a full-time amazing person and part-time woodworker. After a few years of me working in her basement our family friend decided that it was time to move on and sell the equipment. I would have bought it, but I had no place for it in our current living situation. My wife knew that I wanted to continue woodworking and decided to make a bold move. One day, out of the blue, my wife sent me a picture of an old house on the outskirts of town with a 750 SF heated and air conditioned attached garage. She told me, “Go take a look at it; if you like it, buy it, and build your dream shop.” I liked it, and bought it. What followed was a massive undertaking (for one guy with a full-time job anyway…) involving removing the spare kitchen, wiring up a new electric panel and sub panel for the shop, rerouting the plumbing, heating, and HVAC lines, and of course moving Tom’s library of woodworking tools. I got many of the ideas for the shop from guys on the internet; my hope is that I can pass some of those ideas from my shop setup on to yours.
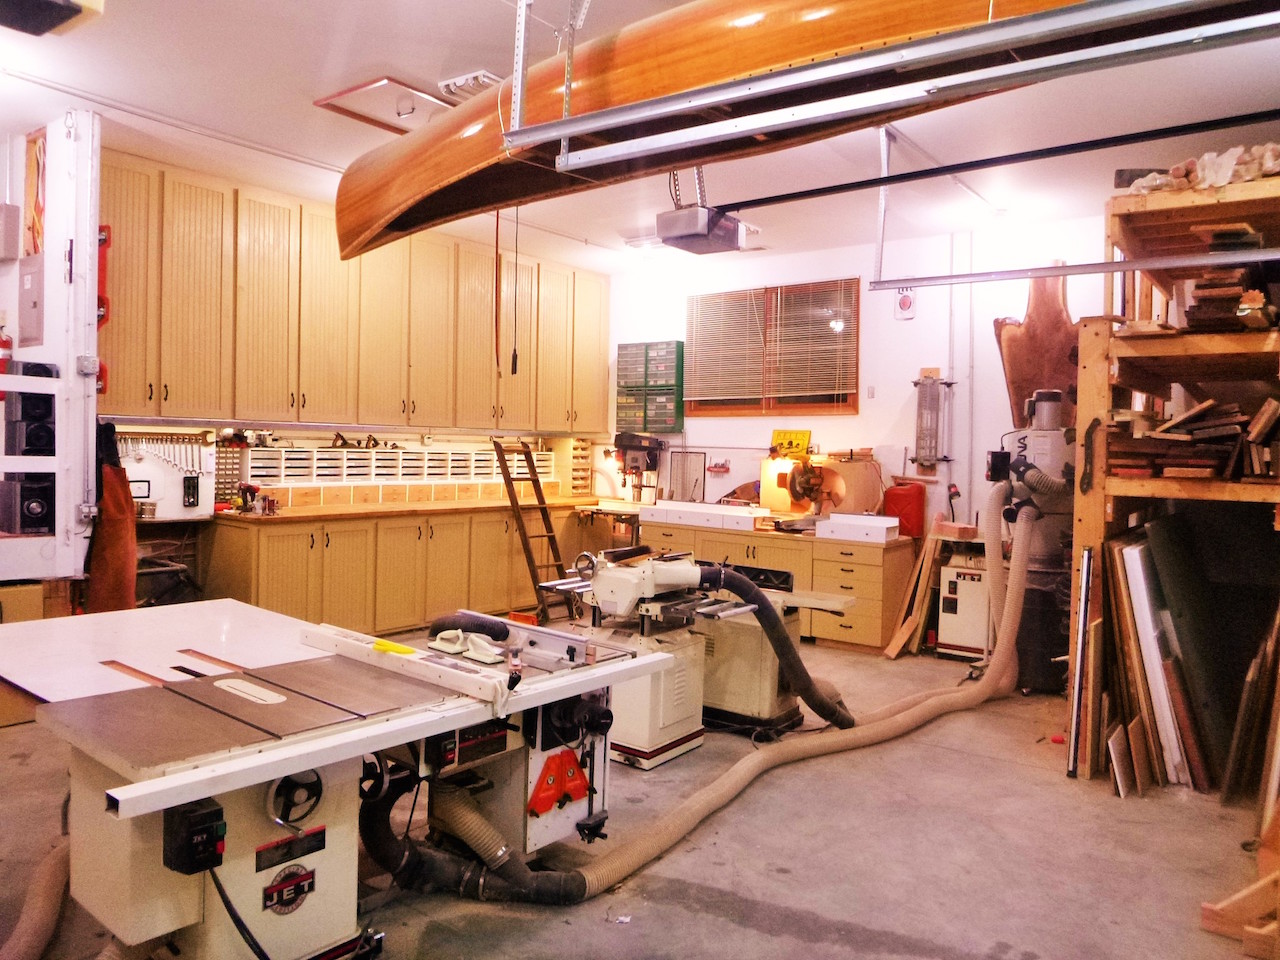
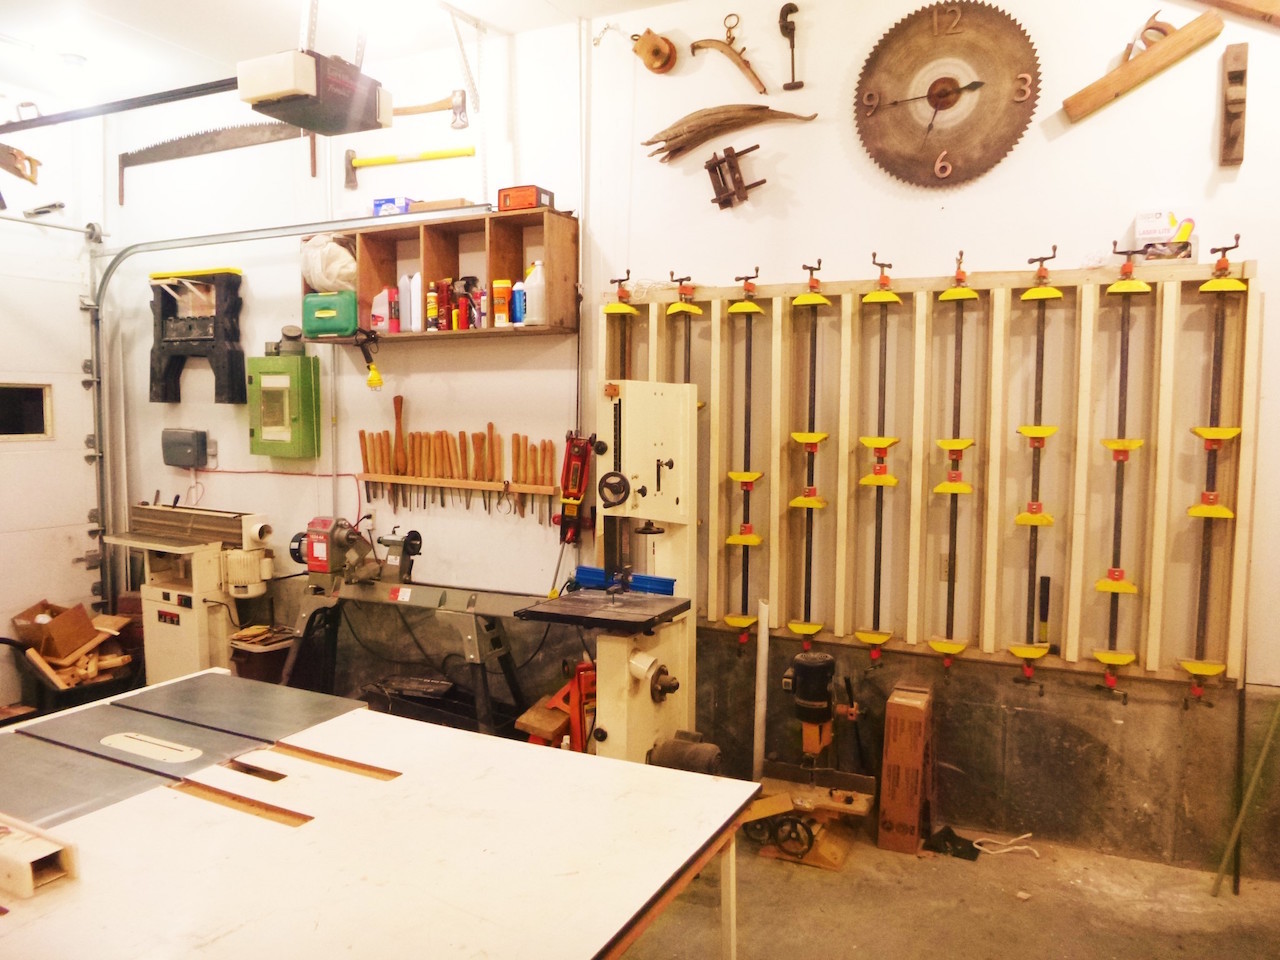
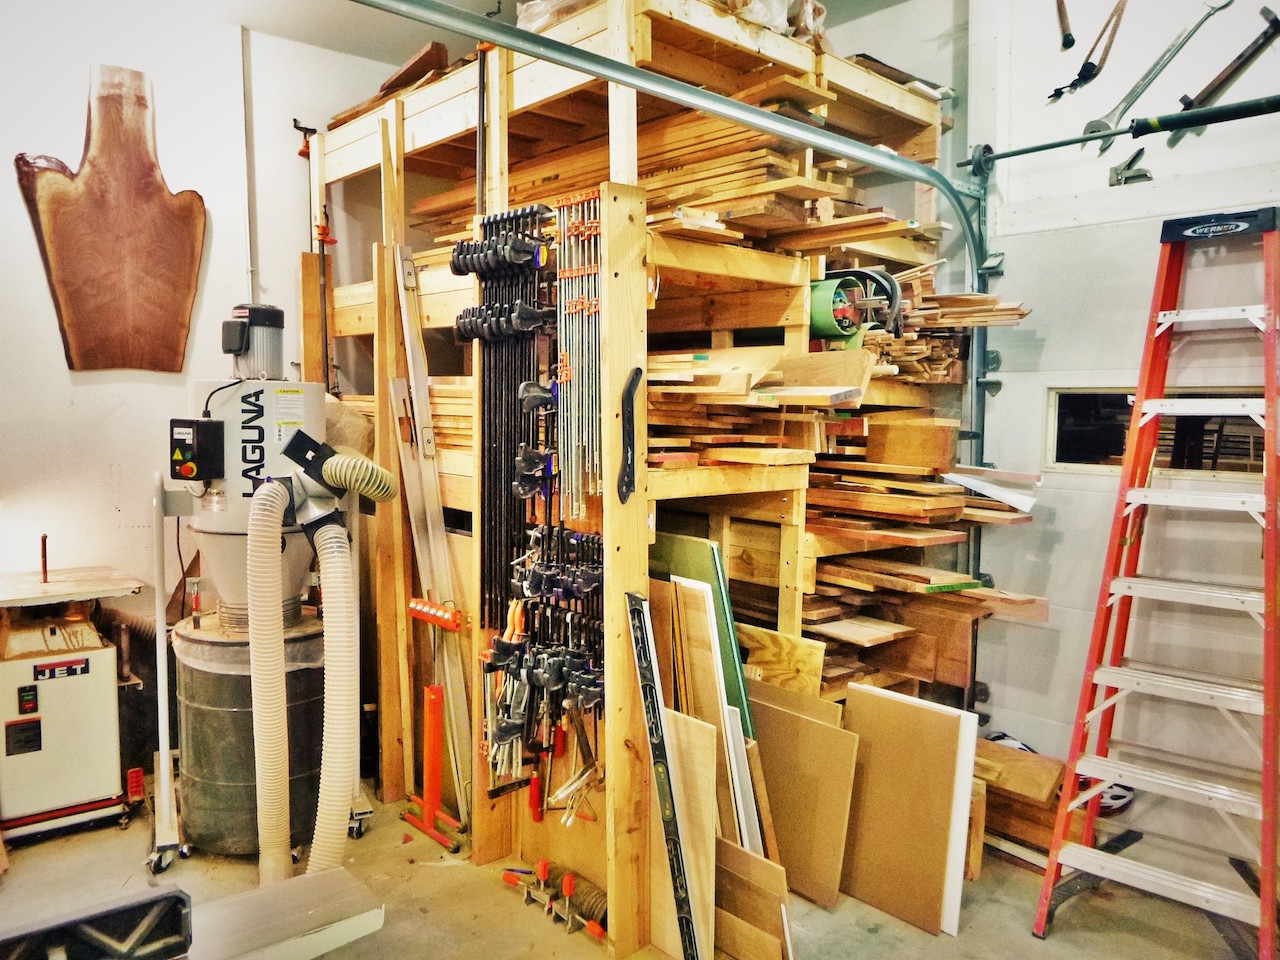
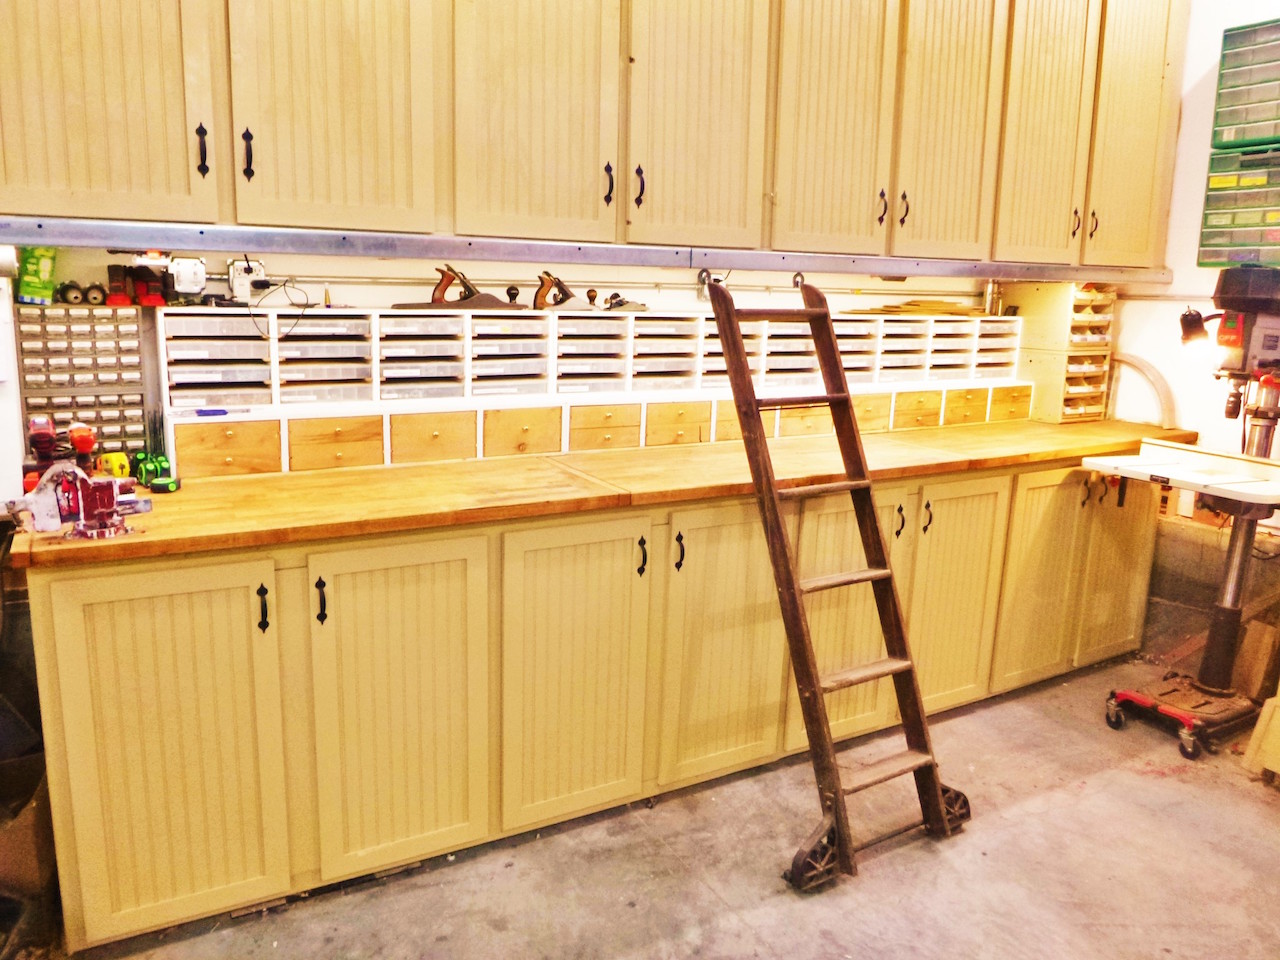
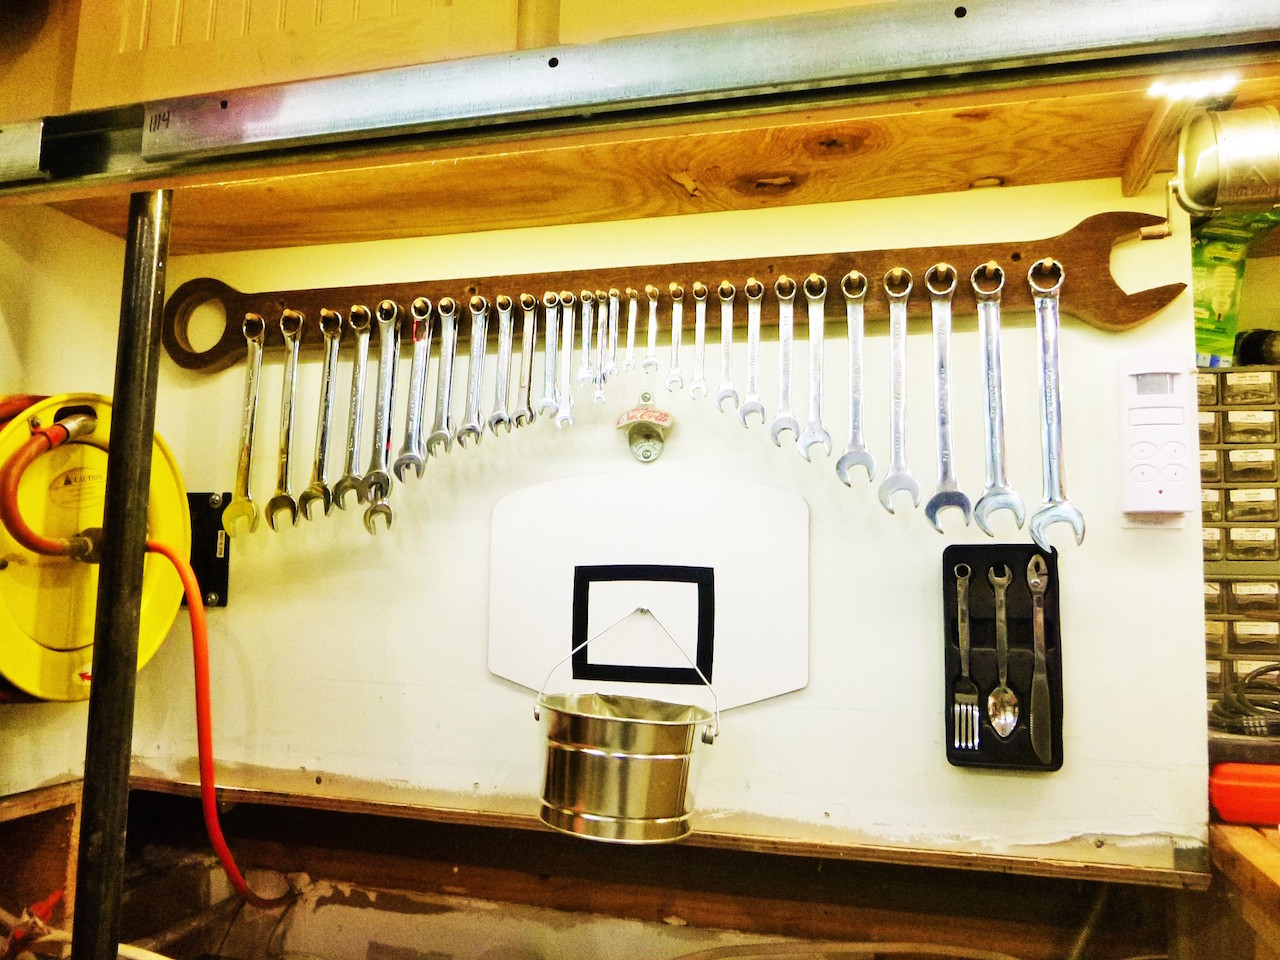
At the center of the shop is table saw setup. There is a dedicated dado saw to the right of the main saw, which reduces the annoyance of blade changes. The table router setup is to the right of that on the same plane. Dust collection is integrated into the saws and the router cabinet. NOTE: if you want zero dust from your miter saw, take a look at my miter saw setup; I boxed the saw in tightly and put a 4″ hose on the bottom of the box. ZERO dust escapes when the dust collector is on. The main shop cabinets are made out of studs, cheap plywood and beadboard from a big box store, so I’ve got probably $500 in materials in the cabinets. The ceilings are 12-feet high, so I needed a way to reach the top shelves of the upper cabinets. I used an old library ladder that I found on Craigslist and attached it to some barn-door hardware. Again, it was cheap; that whole setup cost me about $150. Take a look at the clamp storage; it is just 3/4″ conduit running through holes in some studs, but that is the most compact way I could think of to store my clamps, and there are 75 of them on the rack. I mounted my bar clamps permanently on the wall for gluing up panels, which keeps my limited horizontal surfaces clear.
While I was building the shop, I kept thinking, “What would Tom do?” and that really helped guide my decision-making. The result is an efficient, organized and functional shop that gets plenty of use by my friends and neighbors as well as myself. Tom would be proud to know that he was the inspiration for such a place.
Advertisers


