Dave’s Woodworking Shop
Shop Tour
-
Submitted by Dave F from Centerville, OH
Added on May 8, 2013
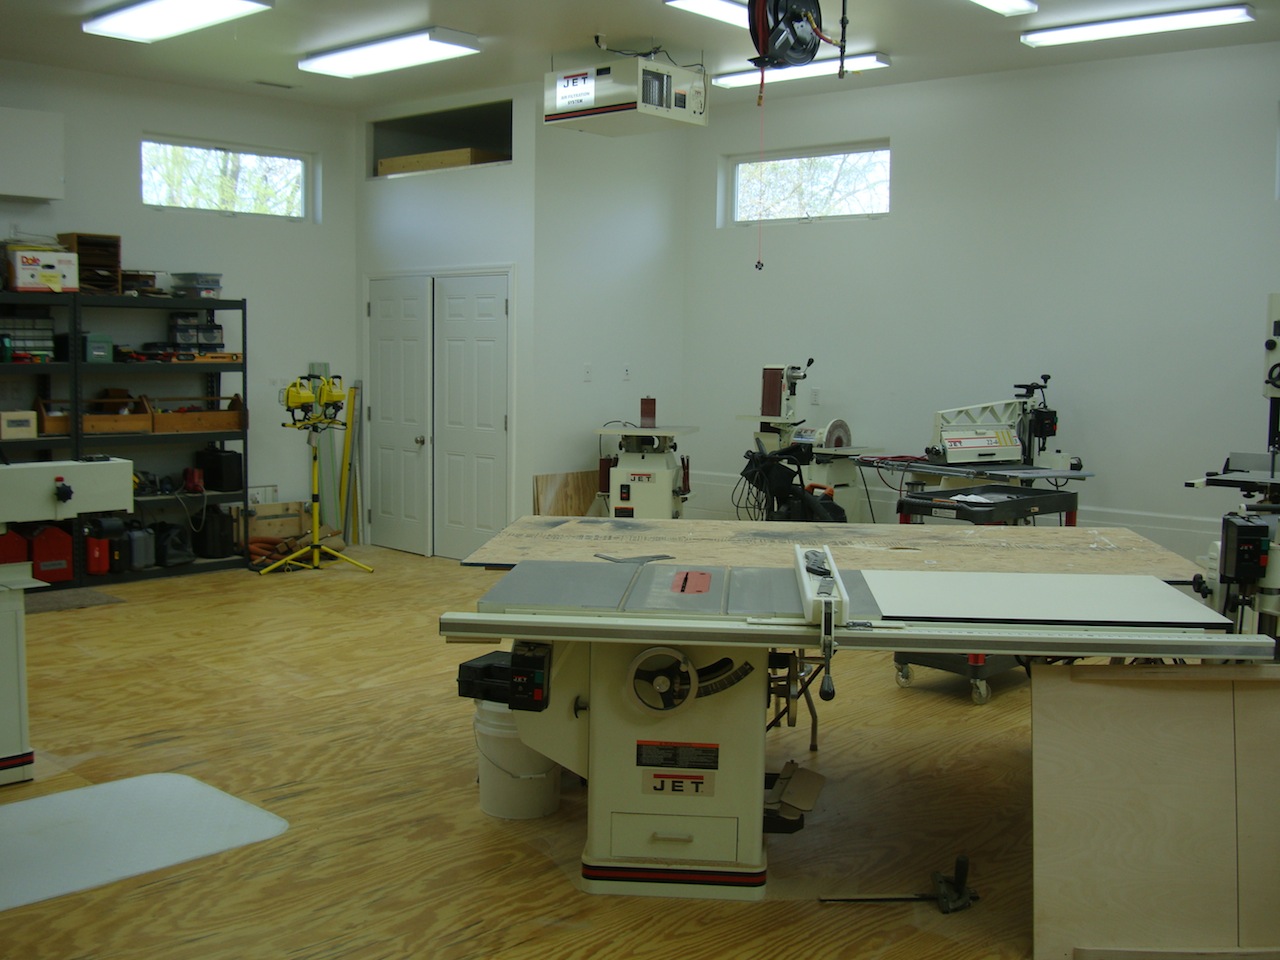
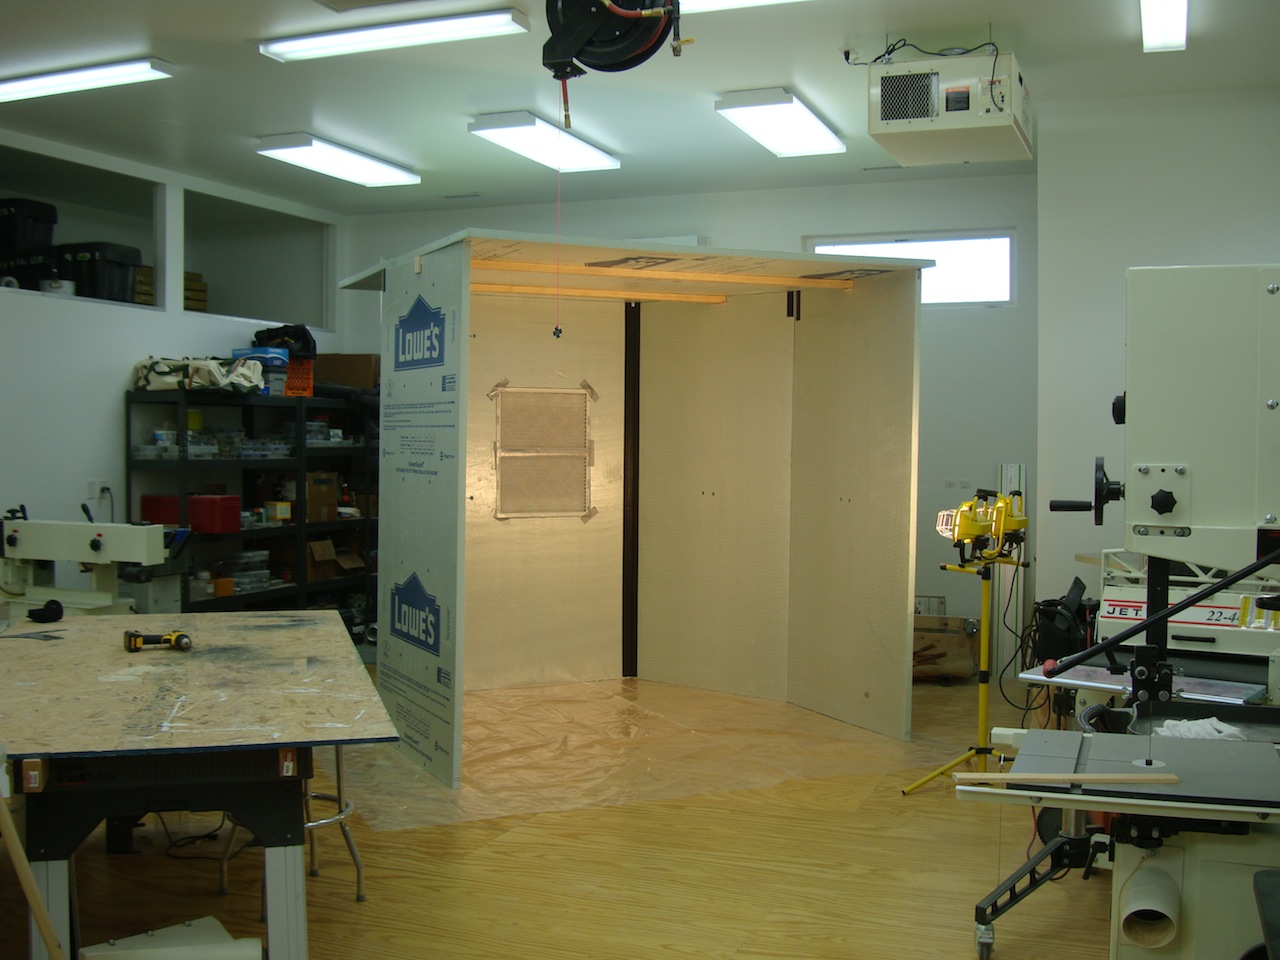
It’s been almost 30 years since my first wood shop and I’m finally able to have the nice shop that I’ve always dreamed of. The shop is approximately 900 sf and is connected to the back of a large two car garage. The entire building took 1 ½ years to build before I finally put down the hammer and called it complete. I posted some photos on “Wood Talk Forum” as I was building.
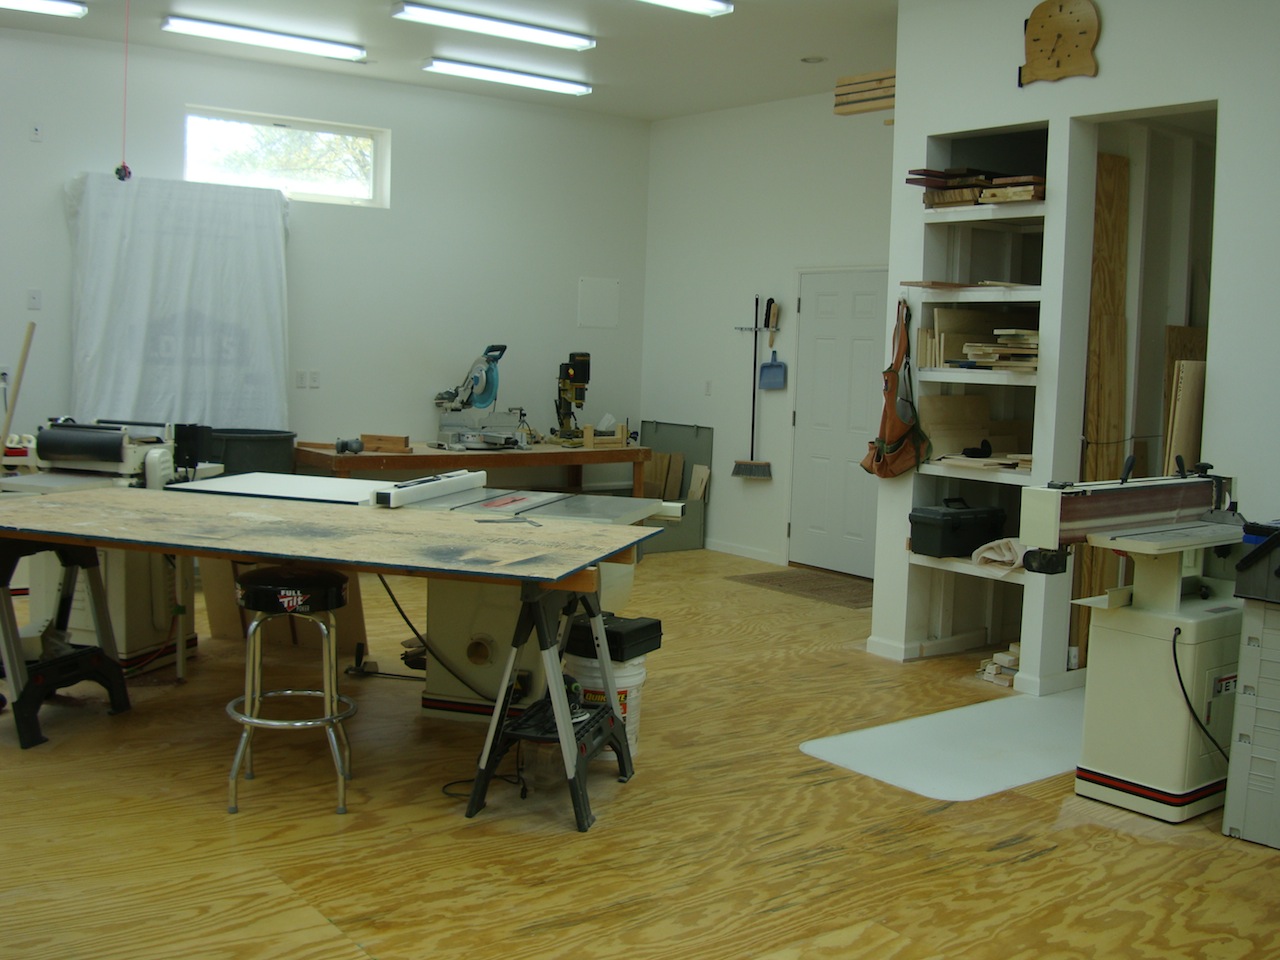
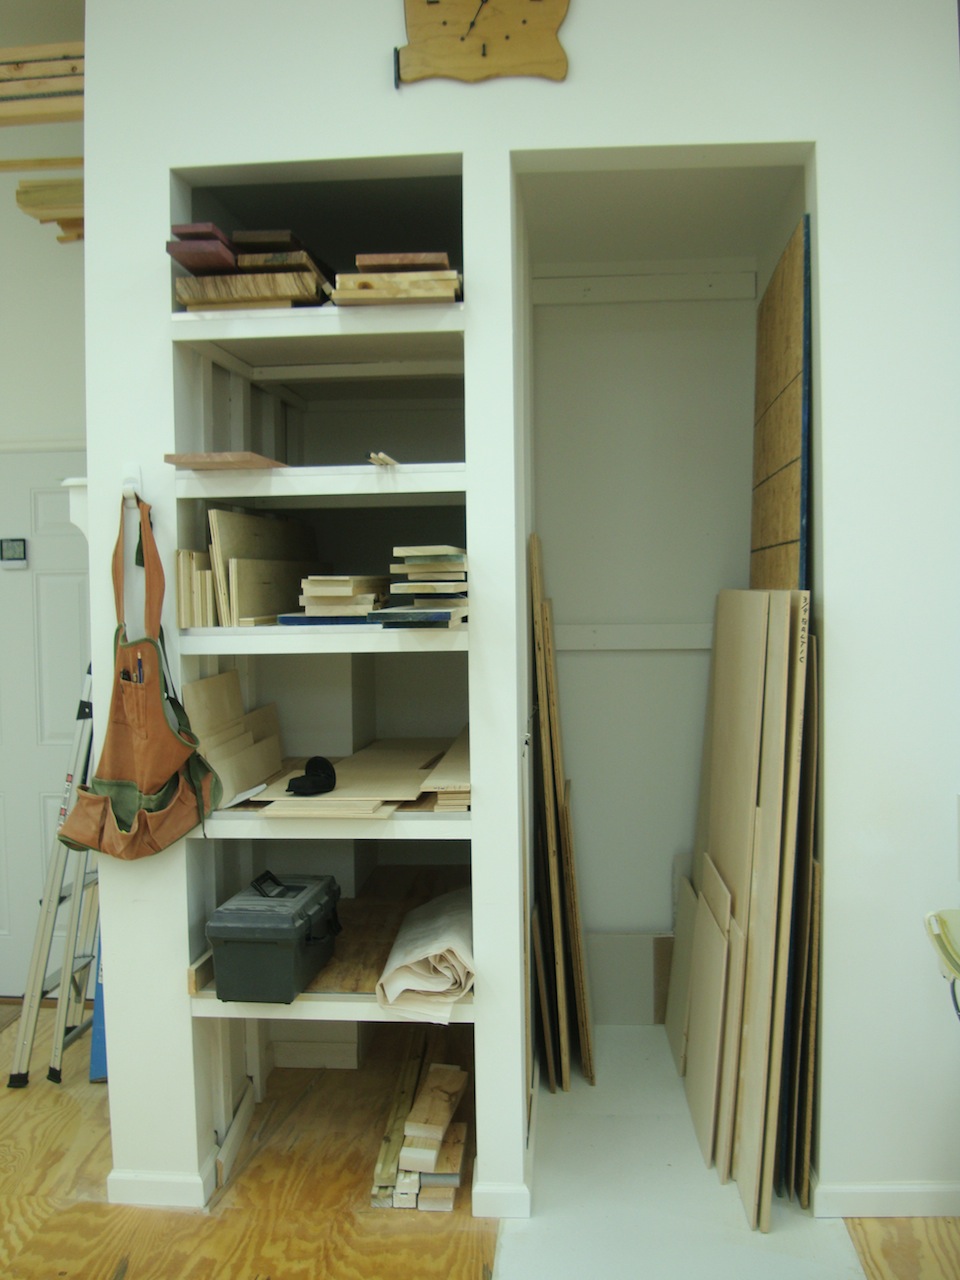
I framed it using 2X6 insulated walls with 5/8” drywall that reaches 11’ for plenty of height. I plumbed the garage and shop for compressed air with iron pipe and have a 60 gal compressor in its own room in the garage. The HVAC is a heat pump that is used only for the wood shop area so I can keep working through the winters here in Ohio. There is plenty of lighting throughout the shop which is controlled by 4 switches which allow me to use only what is needed at the time. In the back corner is a room for the future dust collector but for now it acts as a large closet. The 2X5’ windows are high enough to allow plenty of wall space around the perimeter. The floor is plywood screwed to 2X4 treated lumber with hard foam insulation sandwiched between the sleepers. This was well worth the effort and is great on my knees and back when I’m in the shop all day. If interested, I talk about how I installed the floor in another article “How to Install a Plywood Shop Floor.”
I’ve been grateful over the years to be able to save enough money to purchase all the Jet equipment at one time. Once I was ready, I waited for one of Jet’s yearly sales and since I was purchasing multiple items through my local dealer, they gave me additional savings on top. The combined savings allowed me to purchase two additional pieces of equipment for the same amount.
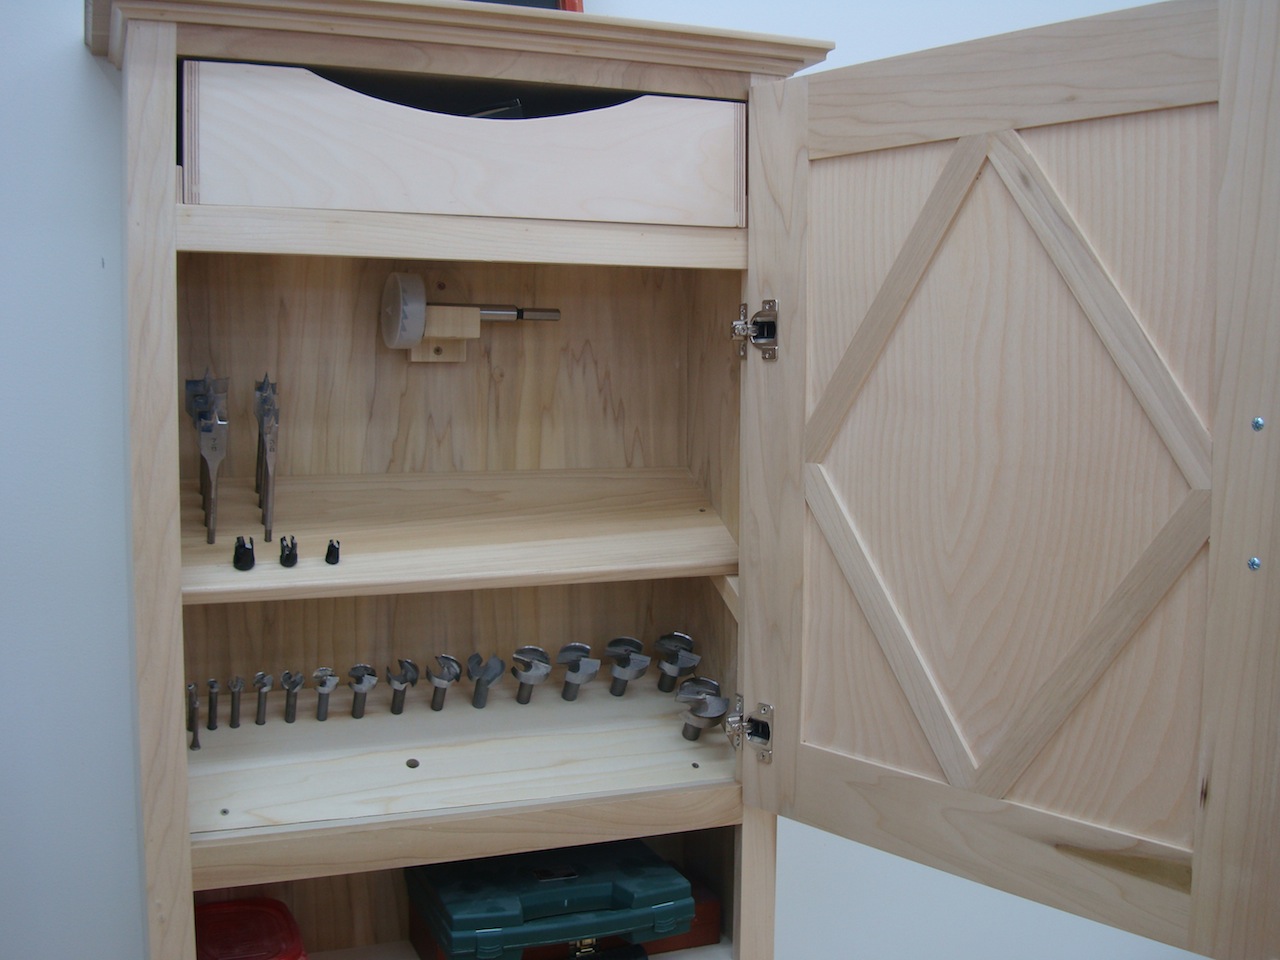
As you can see the walls are bare so I plan on building each cabinet for tools and storage differently, i.e. raised panel or flat panel doors, different hinges etc. This will help me regain my woodworking skills that have gone dormant plus build in ways that are new to me. I built the cabinet for the router table to house all the bits and accessories and this was the first time I sprayed on paint and water based poly so that was a good experience. The drill cabinet was also going to be painted black since I had leftover paint but I like how the door turned out so I wanted to keep it natural looking.
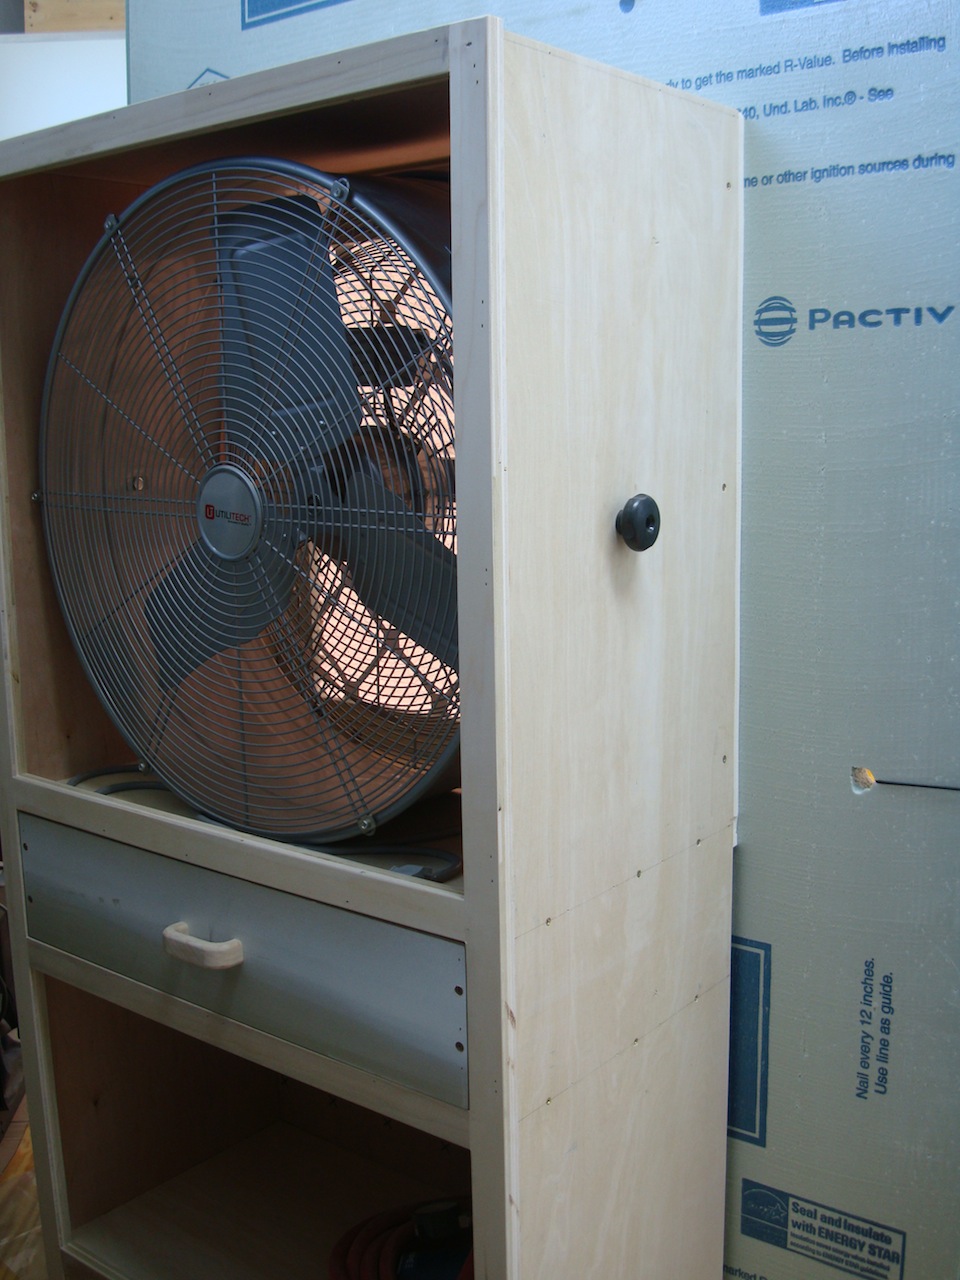
My finishing skills need updating since the only thing I ever sprayed in the past was lacquer and sanding sealers. I had expected almost no overspray when using my HVLP gun but there was enough to land on the surface of my projects so I took the next step and made a portable spray booth. I used (7) 4X8’ foam boards, 5 for the walls and 2 for the ceiling and some 2X4s to help keep it solid in case I accidentally bump the walls. The filters are 16X25” taped together and inset into the foam board. Scrap lumber was used to build a fan box to mount the fan off the floor. The foam pads seal the fan box to the booth once the fan is operating. The entire booth is about 11” thick when all the walls are folded together and is covered in a blanket against the wall in one of the pictures. I may end up only using 3 walls instead of 5, it will all depend on how much space is available once I build an actual bench or two.
The next project will be to build a bench for the miter saw which will store much of my smaller lumber and some lumber racks on the wall above the door and jointer so I can have a place to acclimatize lumber to the shop conditions before I start cutting into them. Then I will build an out-feed table/bench to replace my saw horses.
Advertisers


