Trenching for Plumbing and Electrical
Article - August 26, 2012
Trenching
One of the biggest expenses in this project is the plumbing and electrical work. The primary reason being that both required extensive trenching in order to connect to existing resources. Once I saw the associated costs in the estimate, my initial instinct was to say, “forget about it!” But as usual, Nicole was the voice of reason and reminded me how useful it would be to have a slop sink for things like washing hands and rinsing finishing equipment. Not only that, but I’m one of those people who will let myself be distracted whenever the opportunity presents itself. So every time I go into the house to answer nature’s call, you can bet I’ll waste 30 minutes asking Nicole why the sky is blue and rough-housing with my dogs. Thinking long-term, the bathroom and slop sink are almost necessities. So let’s start digging!
Electrical
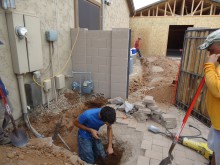
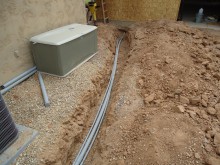
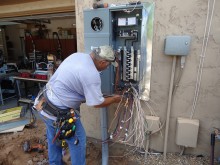
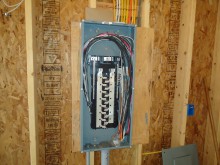
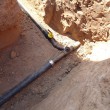
For the power, we had two important goals. First, we needed to connect the shop’s 200 amp sub-panel to the house panel. Second, we needed to upgrade the house panel to 400 amps which required a home run to the electric company connection. The trench from the shop to the house panel was only about 40′, but with our compacted soil, the going was tough and often required the help of a jack-hammer. But as you can see, both panels are now connected and we even have some extra conduit installed for things like cable, internet, and phone.
Plumbing
For plumbing, we needed to tie into a water supply as well as sewage. The trip to the water supply was about 110′ and the sewage connection continued on from there another 30′. This trench required the most work as it had to cross the driveway. Good thing we have pavers instead of concrete! The sewage tie-in was made at approximately 4′ in depth! Needless to say, the HOA probably isn’t too happy about my little dirt piles.
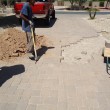
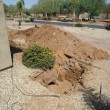
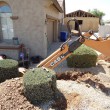
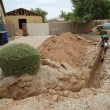
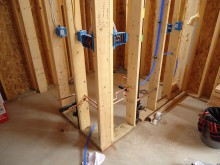
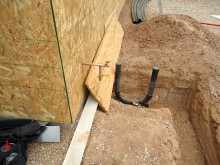
When it was all said and done, the interior plumbing was all set for a toilet, a sink, and a slop sink on the shop side of the bathroom wall. The second picture below is of the exterior wall of the bathroom, prior to making the final water and sewer connections. I missed my opportunity to get a picture of the completed work.
I’ll have another post in a couple of days that should bring us up to speed including insulation, drywall, and preliminary stucco work before the trench was filled up again.


